2022-10-15
15 Tips for Drone Photography
by: Rafn Sig,-
If you have bought yourself a drone and want to be a drone photographer the most important thing is learn how to fly effectively. You have to know your aircraft and the entire mechanic so you can focus on what’s most important—capturing one of a kind shots.
And that means practice, practice and did I mention practice.

Tip 1: Plan ahead where you will fly.
Tip 2: Get out and fly as much as possible.
Tip 3: Pack spares (batteries, cables, etc.)
Tip 4: Slow down, enjoy, and take better photos.
Tip 5: Pay attention to the wind.
Tip 6: Pay attention to your height.
Tip 7: A Drone camera is more than straightforward shooting.
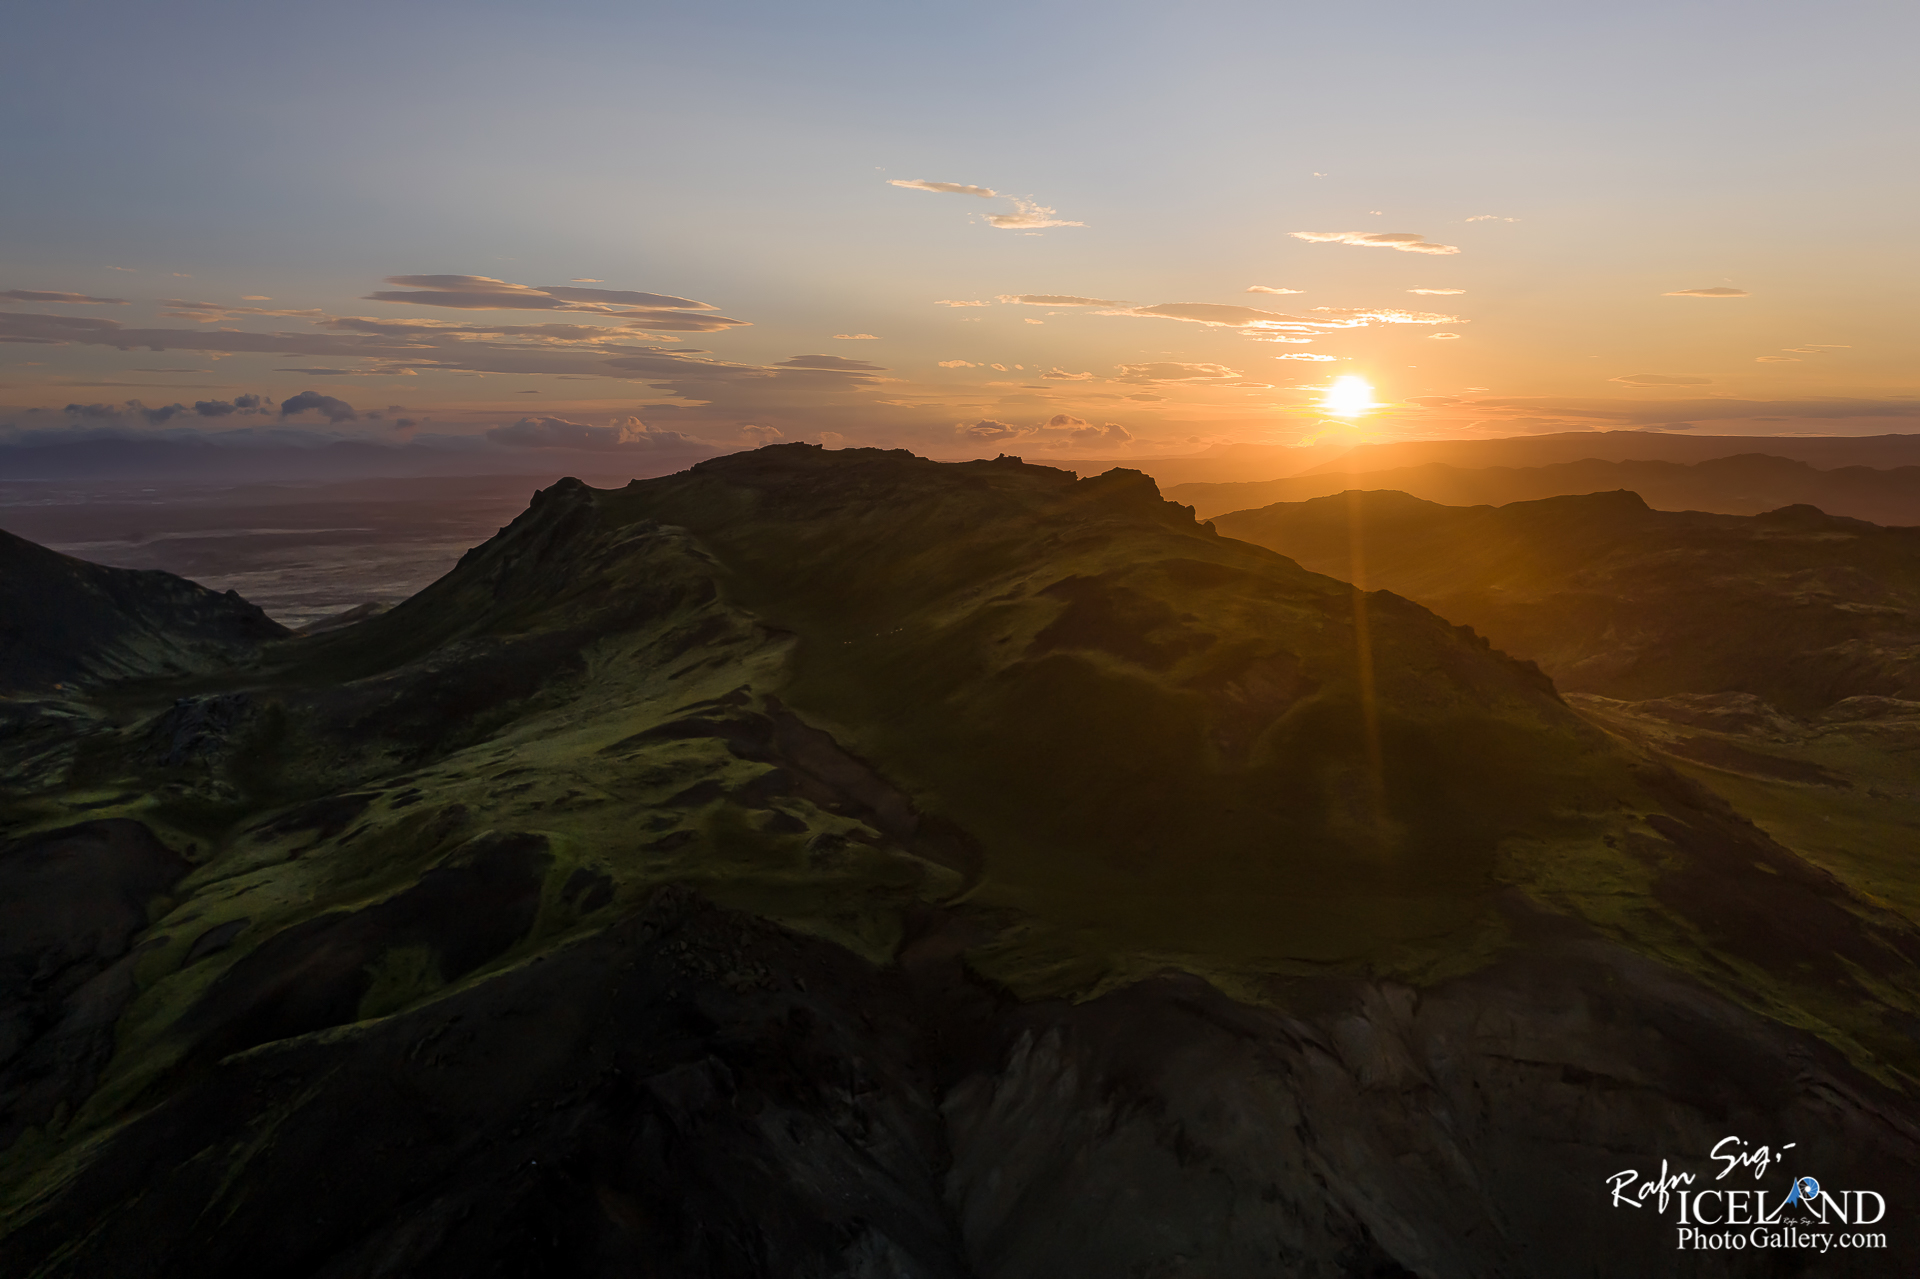
Tip 8: Light plays a crucial role.
Tip 9: Use the rule of thirds.
Tip 10: Shoot in RAW format.
Tip 11: Shoot manual and use the right aperture.
Tip 12: Use filters.
Tip 13: Edit your photos.
Tip 14: Respect privacy and other people
Tip 15: Break all the rules.
Tip 1: Plan ahead where you will Fly
When it comes to taking a professional drone shots, it all begins before the drone is in the air. Drone photography involves knowing where you can fly in the first place, so it’s important that you spend a bit of time doing some research and a good time to do that is on the rainy days or when there is a high wind outside and no conditions to fly.
Instead of send him up into the air at some location and hoping to capture something cool, plan ahead. You can do that with Google Maps or Google Earth. The good thing about Google Earth is the 3D function, which allows you to see the location more accurate.
Don’t get me wrong, It can be fun to send the drone up just somewhere (I often do that) and look at the area with his eye, and you often will be surprised what you will see. The only problem with that is you will drain your batteries.
So, before you go out flying, select the location, check the weather conditions, and the time of day of your shot. All of these factors will play a big part in how your photo will turn out in the end.
Tip 2: Get out and fly as much as possible
To become a better drone photographer you should get out as much as possible. The more time you spend flying and photographing with the drone, the more likely you get good shots.
If it’s possible for you, you should explore your nearest neighborhood in different light conditions because you will see the difference in you photos and photography. From that experience you will find your own style and you will be more comfortable with your flying.
Well you bought the drone to fly it, so fly it. As strange as it might sound, you should fly your drone even if the aria around you from ground looks boring. The look from above could be totally different. Take the chance at least, you have nothing to lose.
Tip 3: Remember to Pack Spares
Bring along drone spares and accessories like extra batteries, propellers, cables, chargers and filters. It does not hurt to have some lunch with you as well
Tip 4: Enjoy
I really enjoy flying my drone now as I have learned to focus on what builds up a good image and not flying around like a jet. My point is “slow down”.
While I still find it exciting to fly a drone today, I have learned to slow down and focus on what makes a good photo.
Tip 5: Pay attentions to the wind
The negative part of Drone photography is that you can’t always fly because of the wind.
Perhaps you can take of and fly but it is not possible to get good sharp shots with the shutter speed of 1 second if the wind is strong. You have to use faster shutter speed.
If you can afford to send your drone up in much wind, it’s up to you as you might lose it. Well it has happened to me and I won’t do it again as it is too coasty.
Tip 6: Yes I know it’s a Drone
A mistake new drone flyers do is to fly all the way up to maximum legal height. Yes I know it’s often exciting to see the world from up there, but that does not mean you get the best pictures. Usually the best shots are from low angle. Well try it at least.
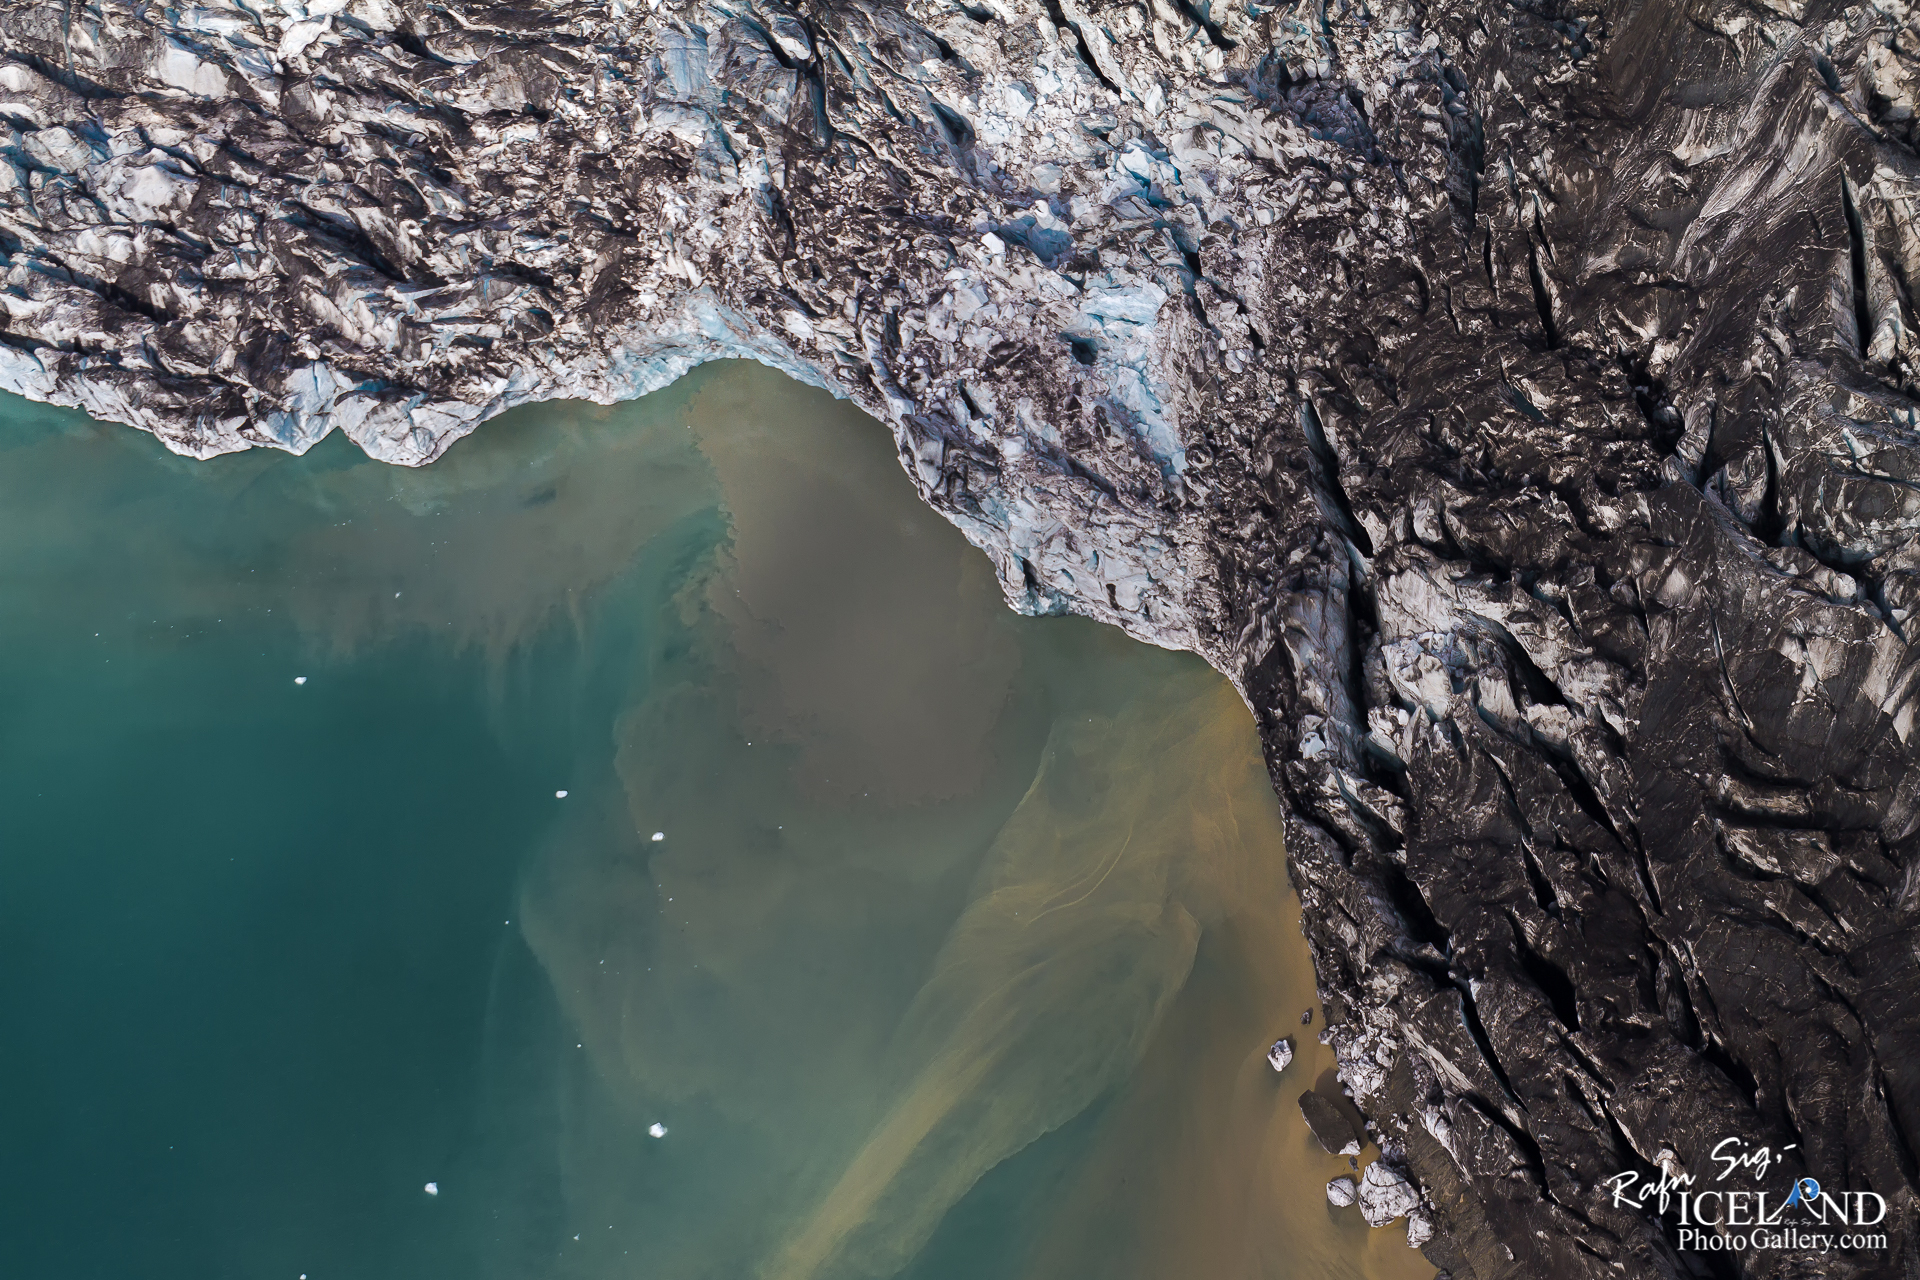
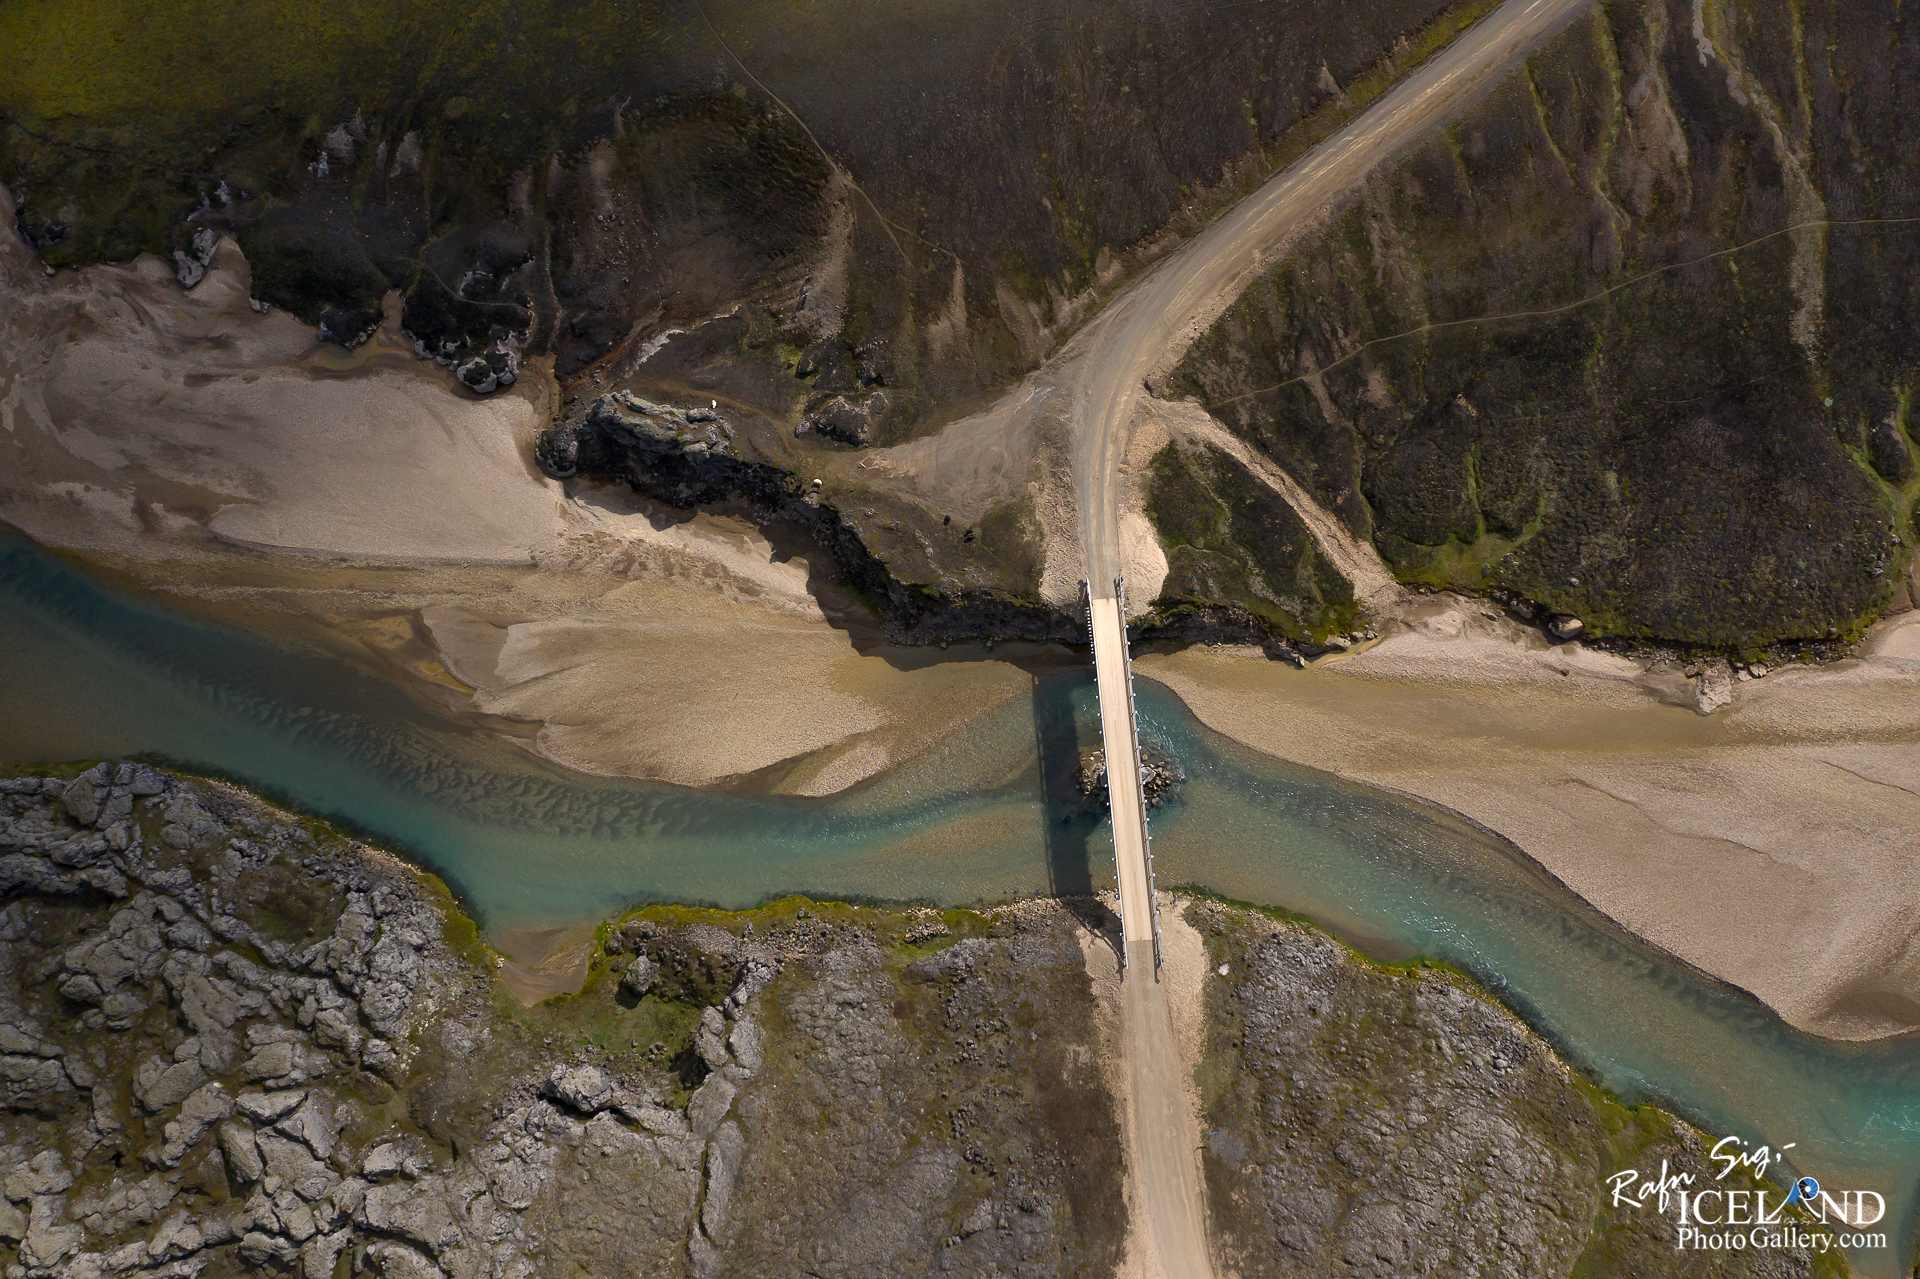
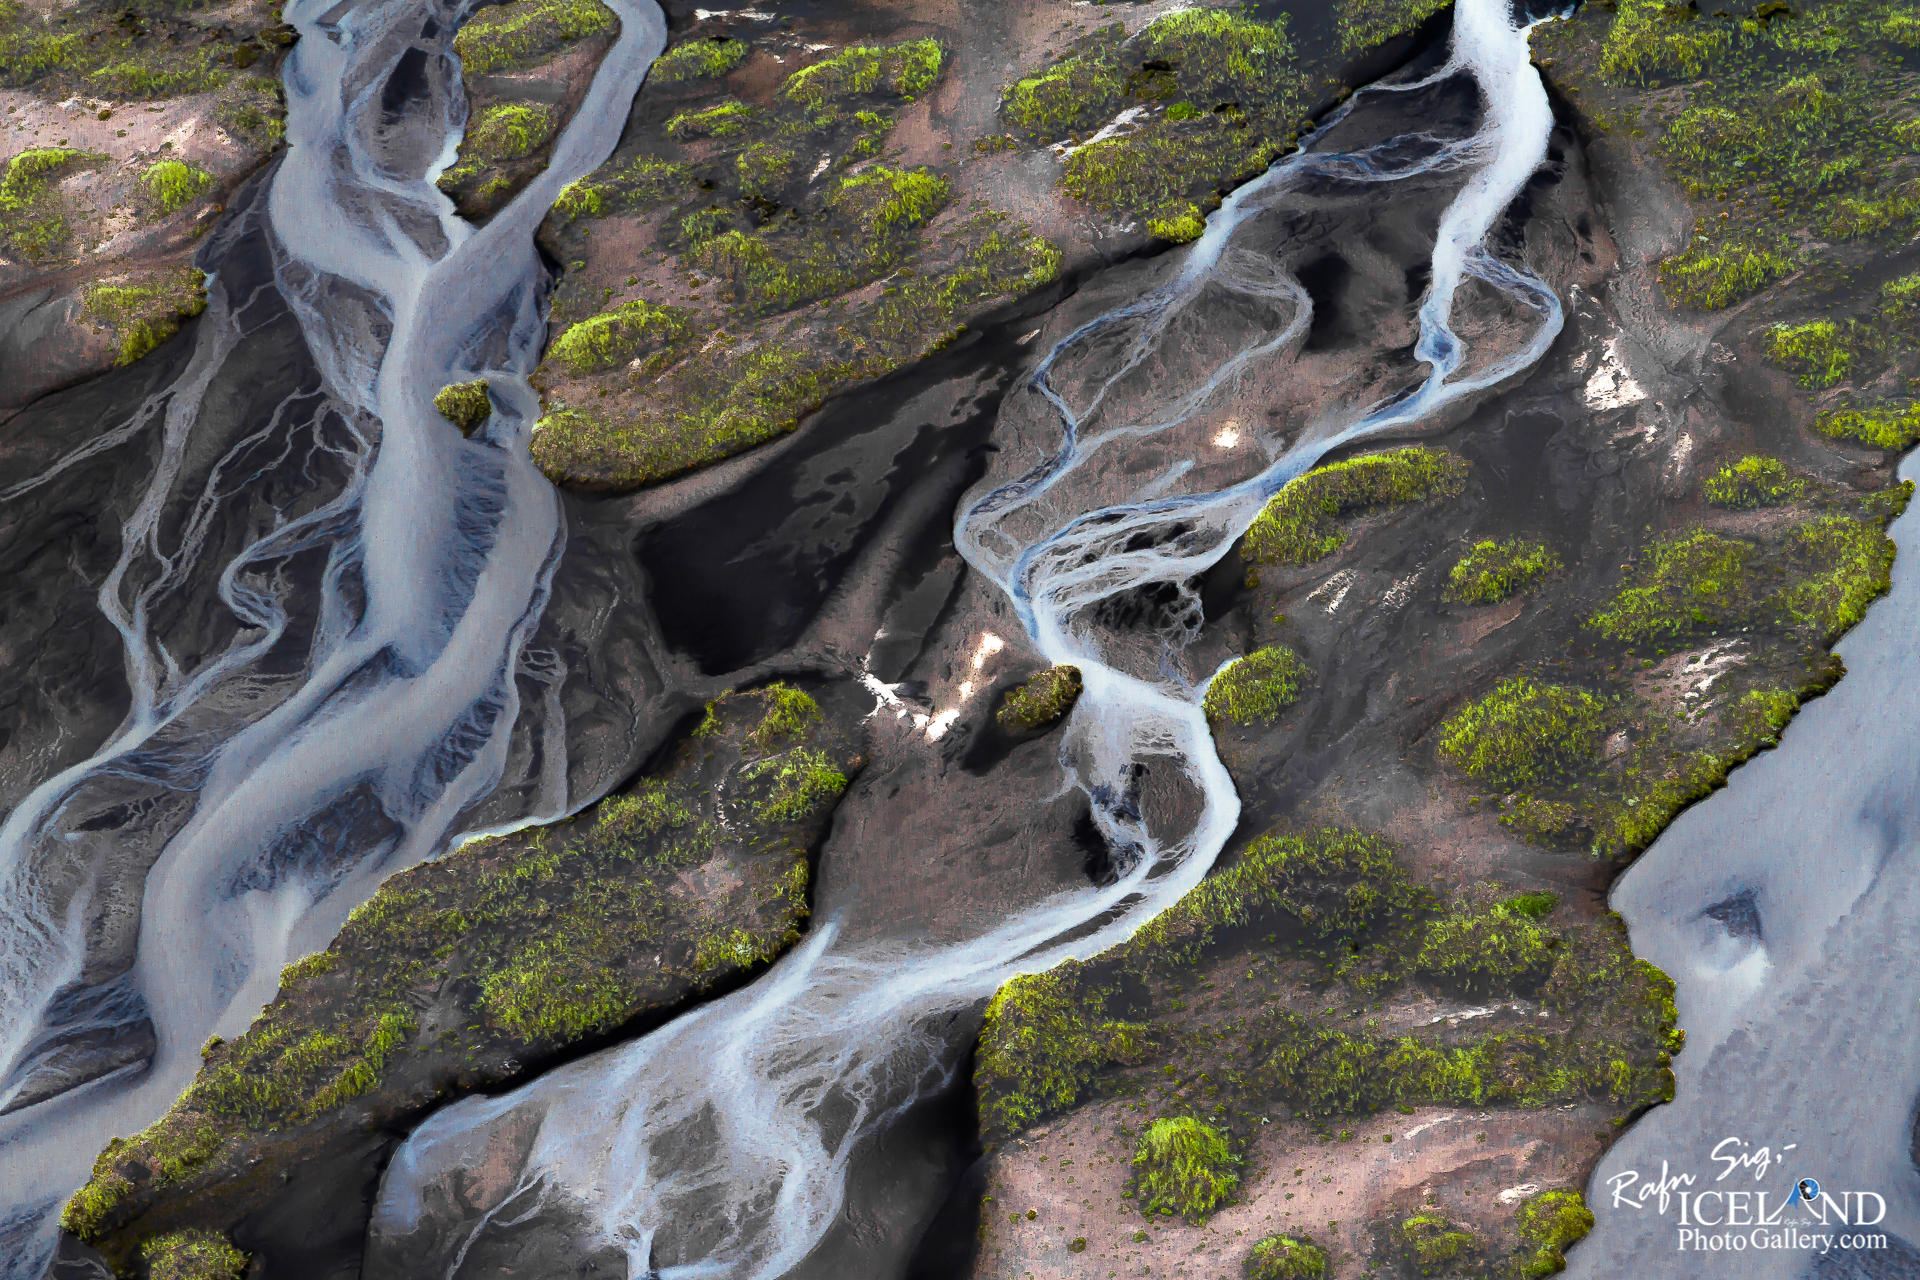
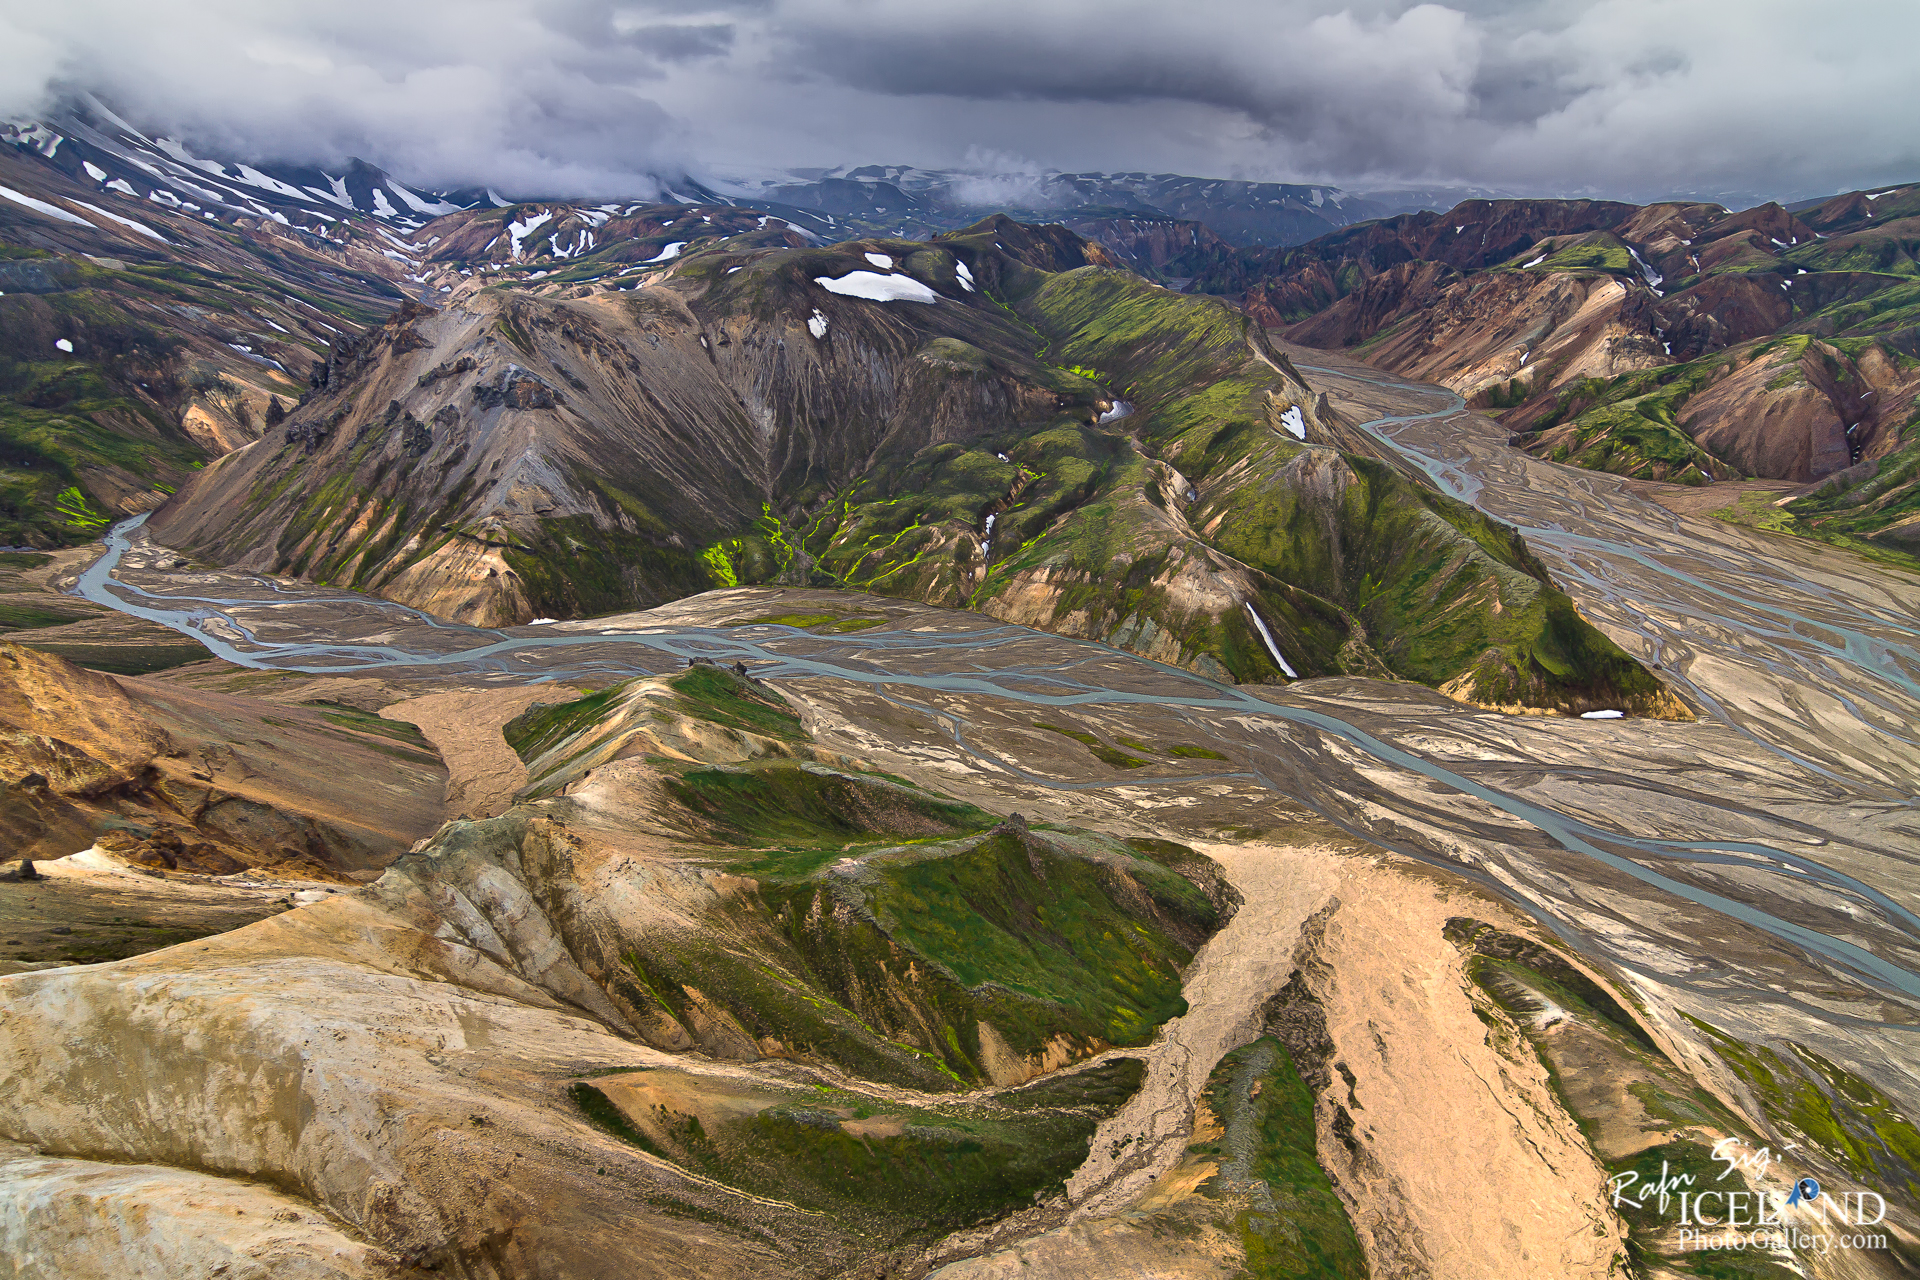
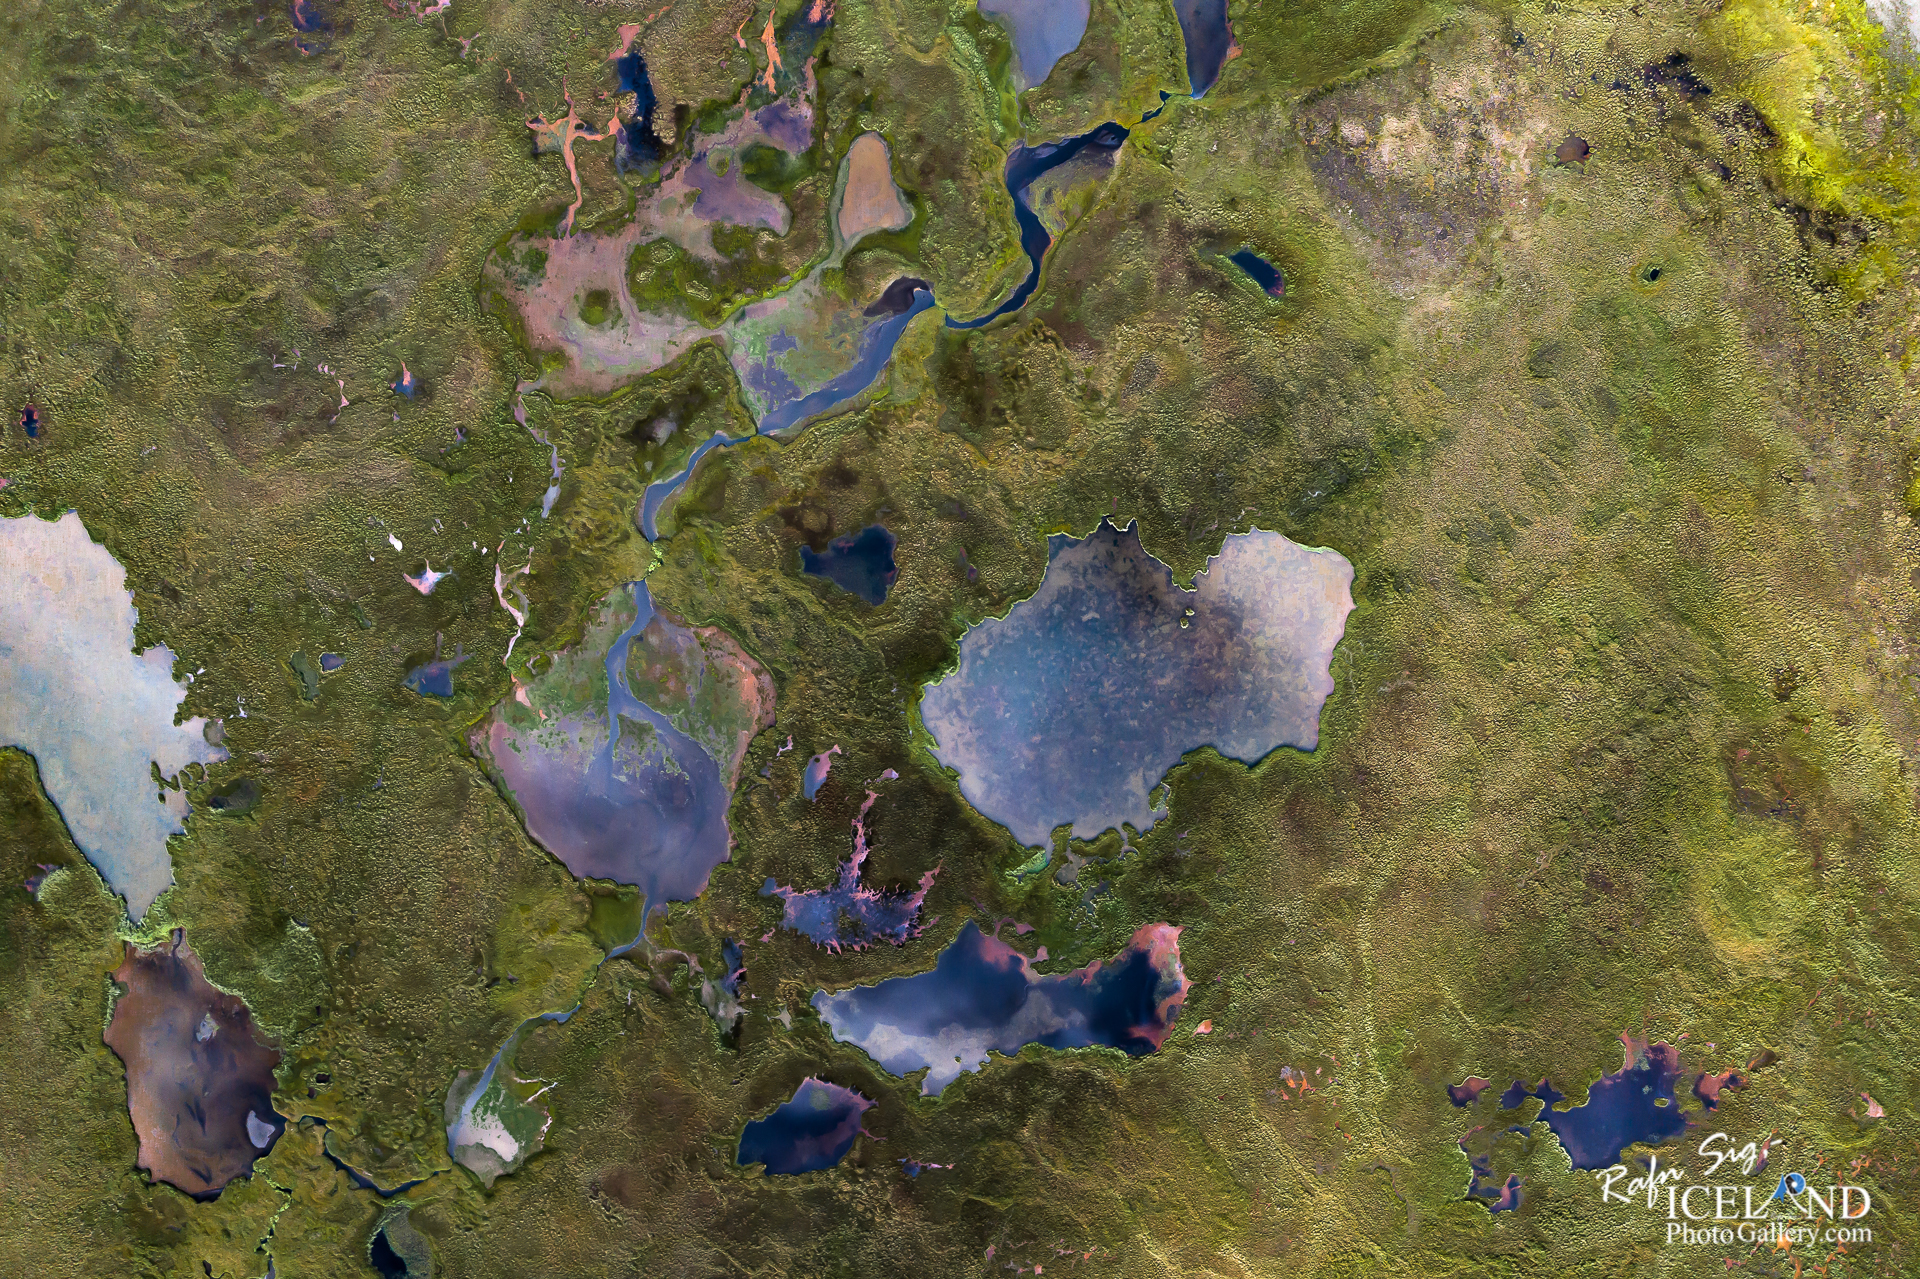
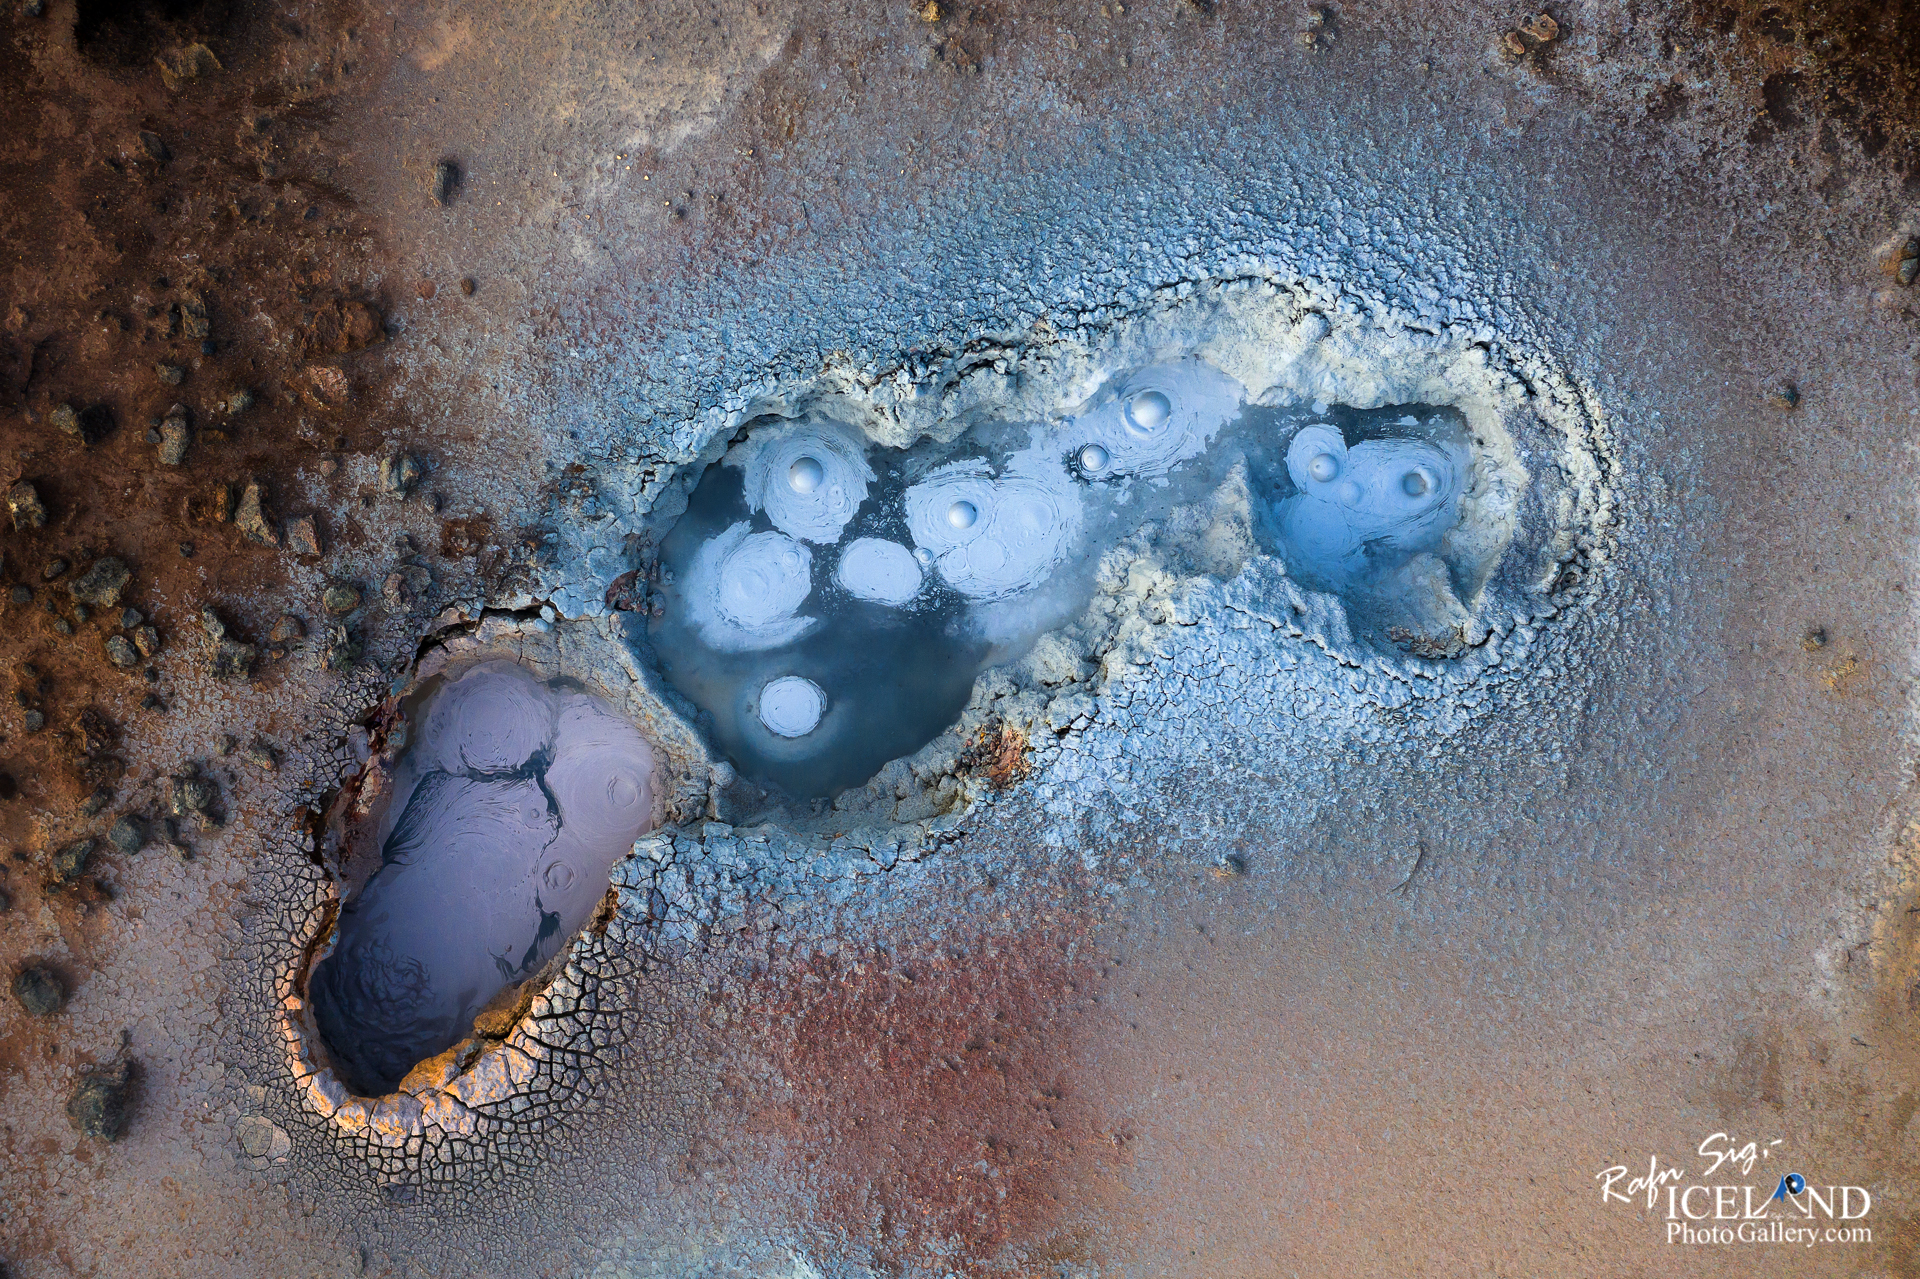
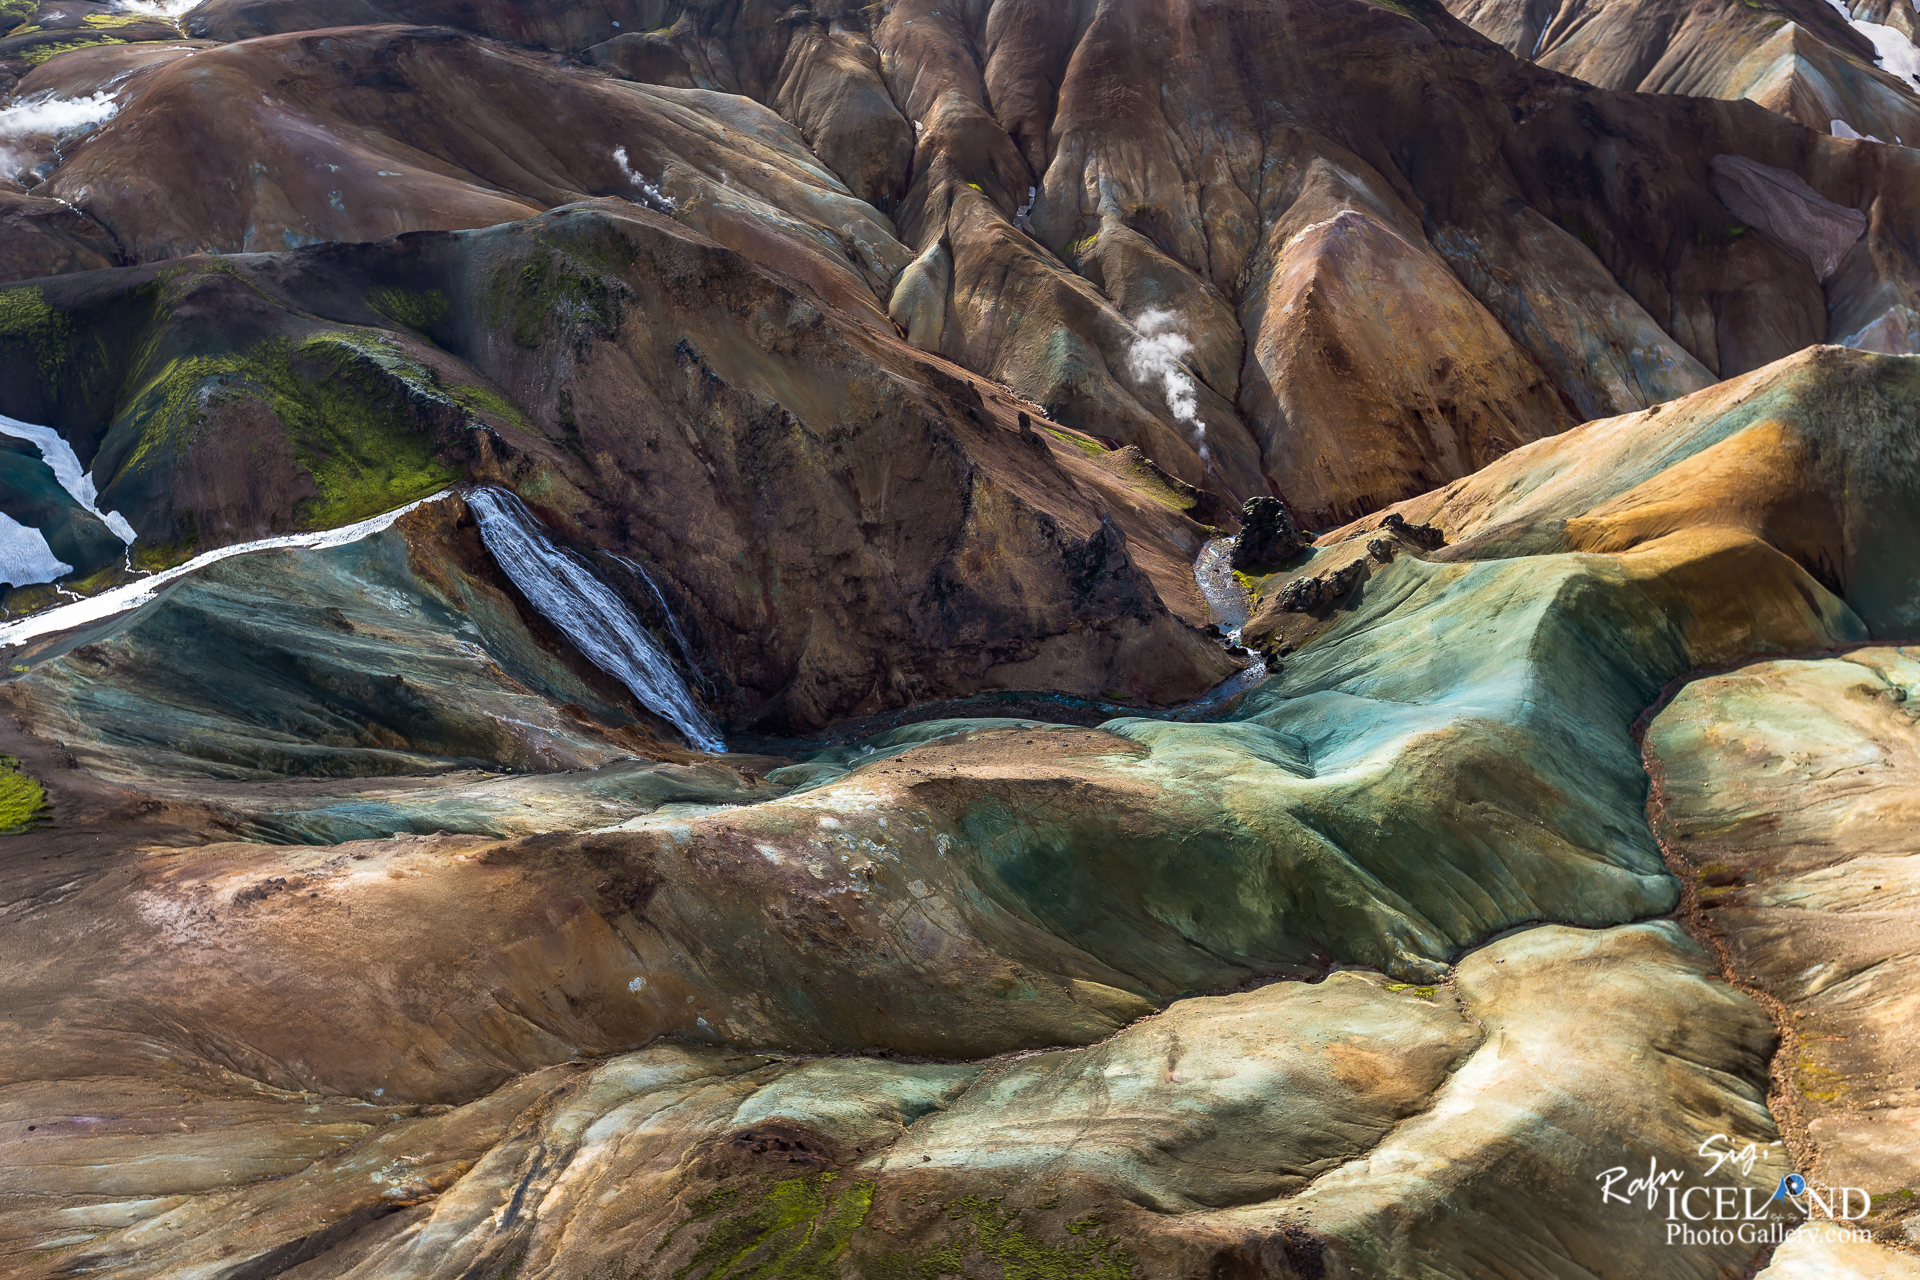
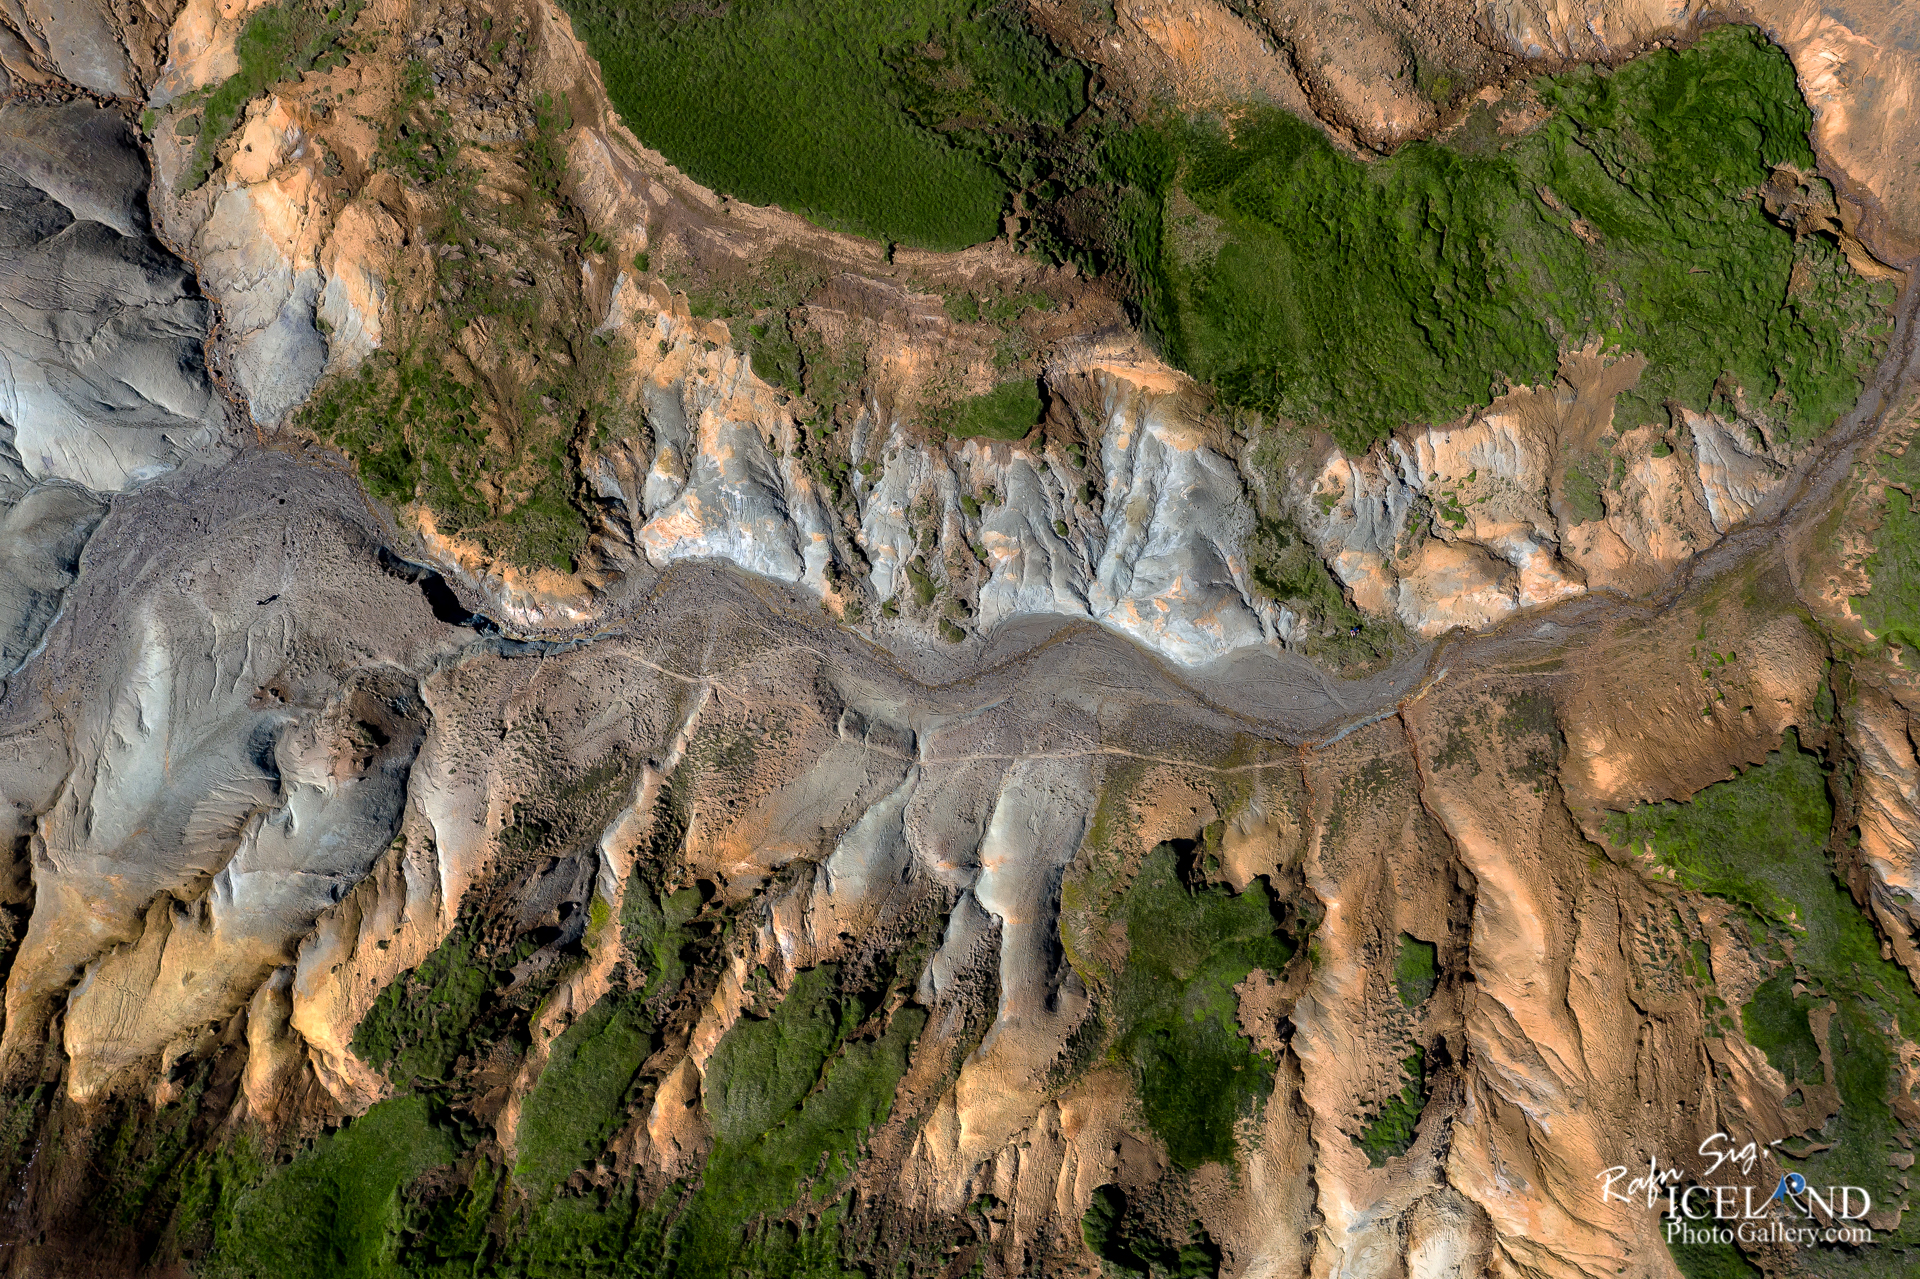
Tip 7: Drone cameras is more than straight forward shooting
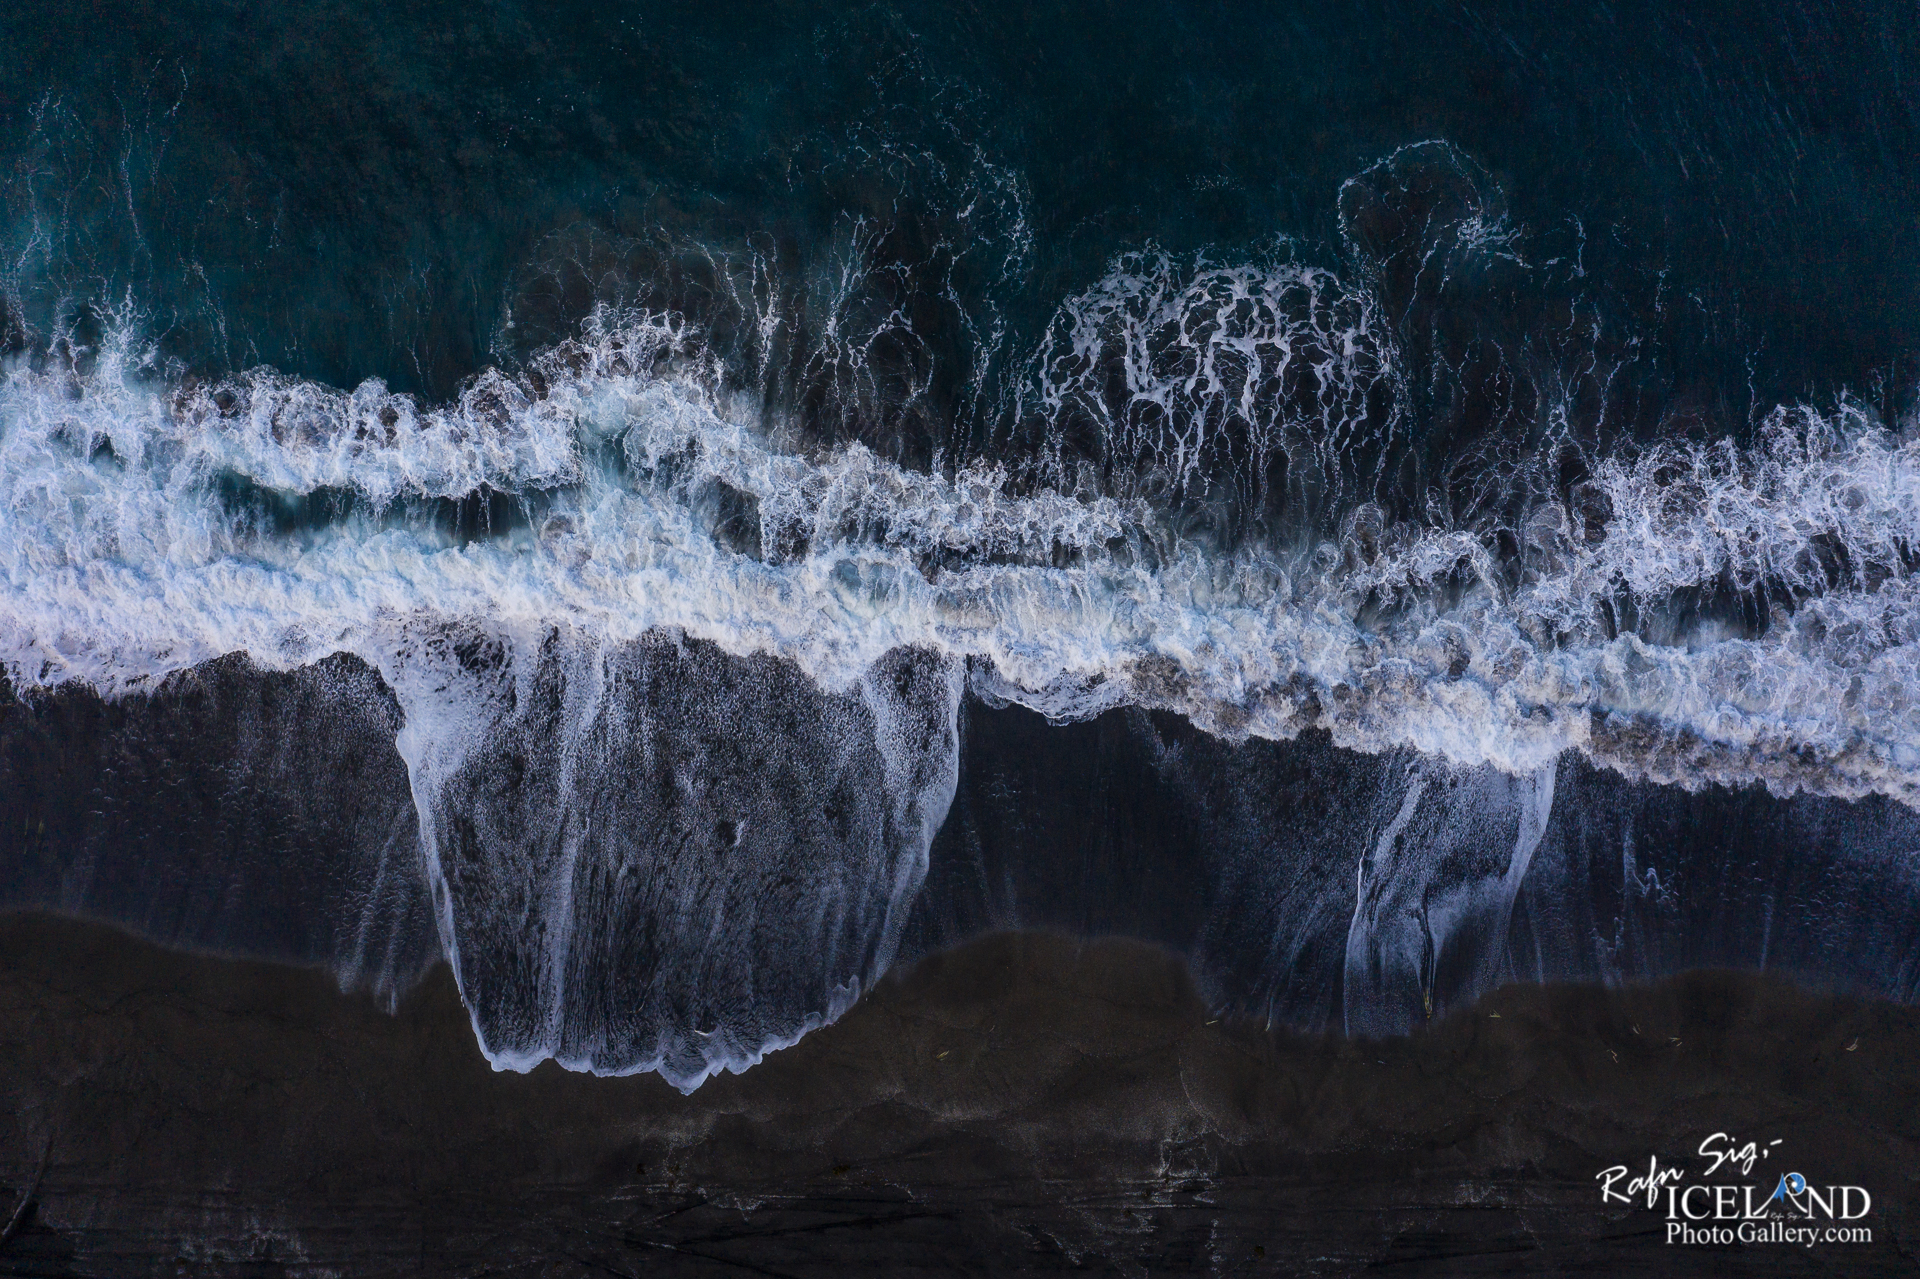
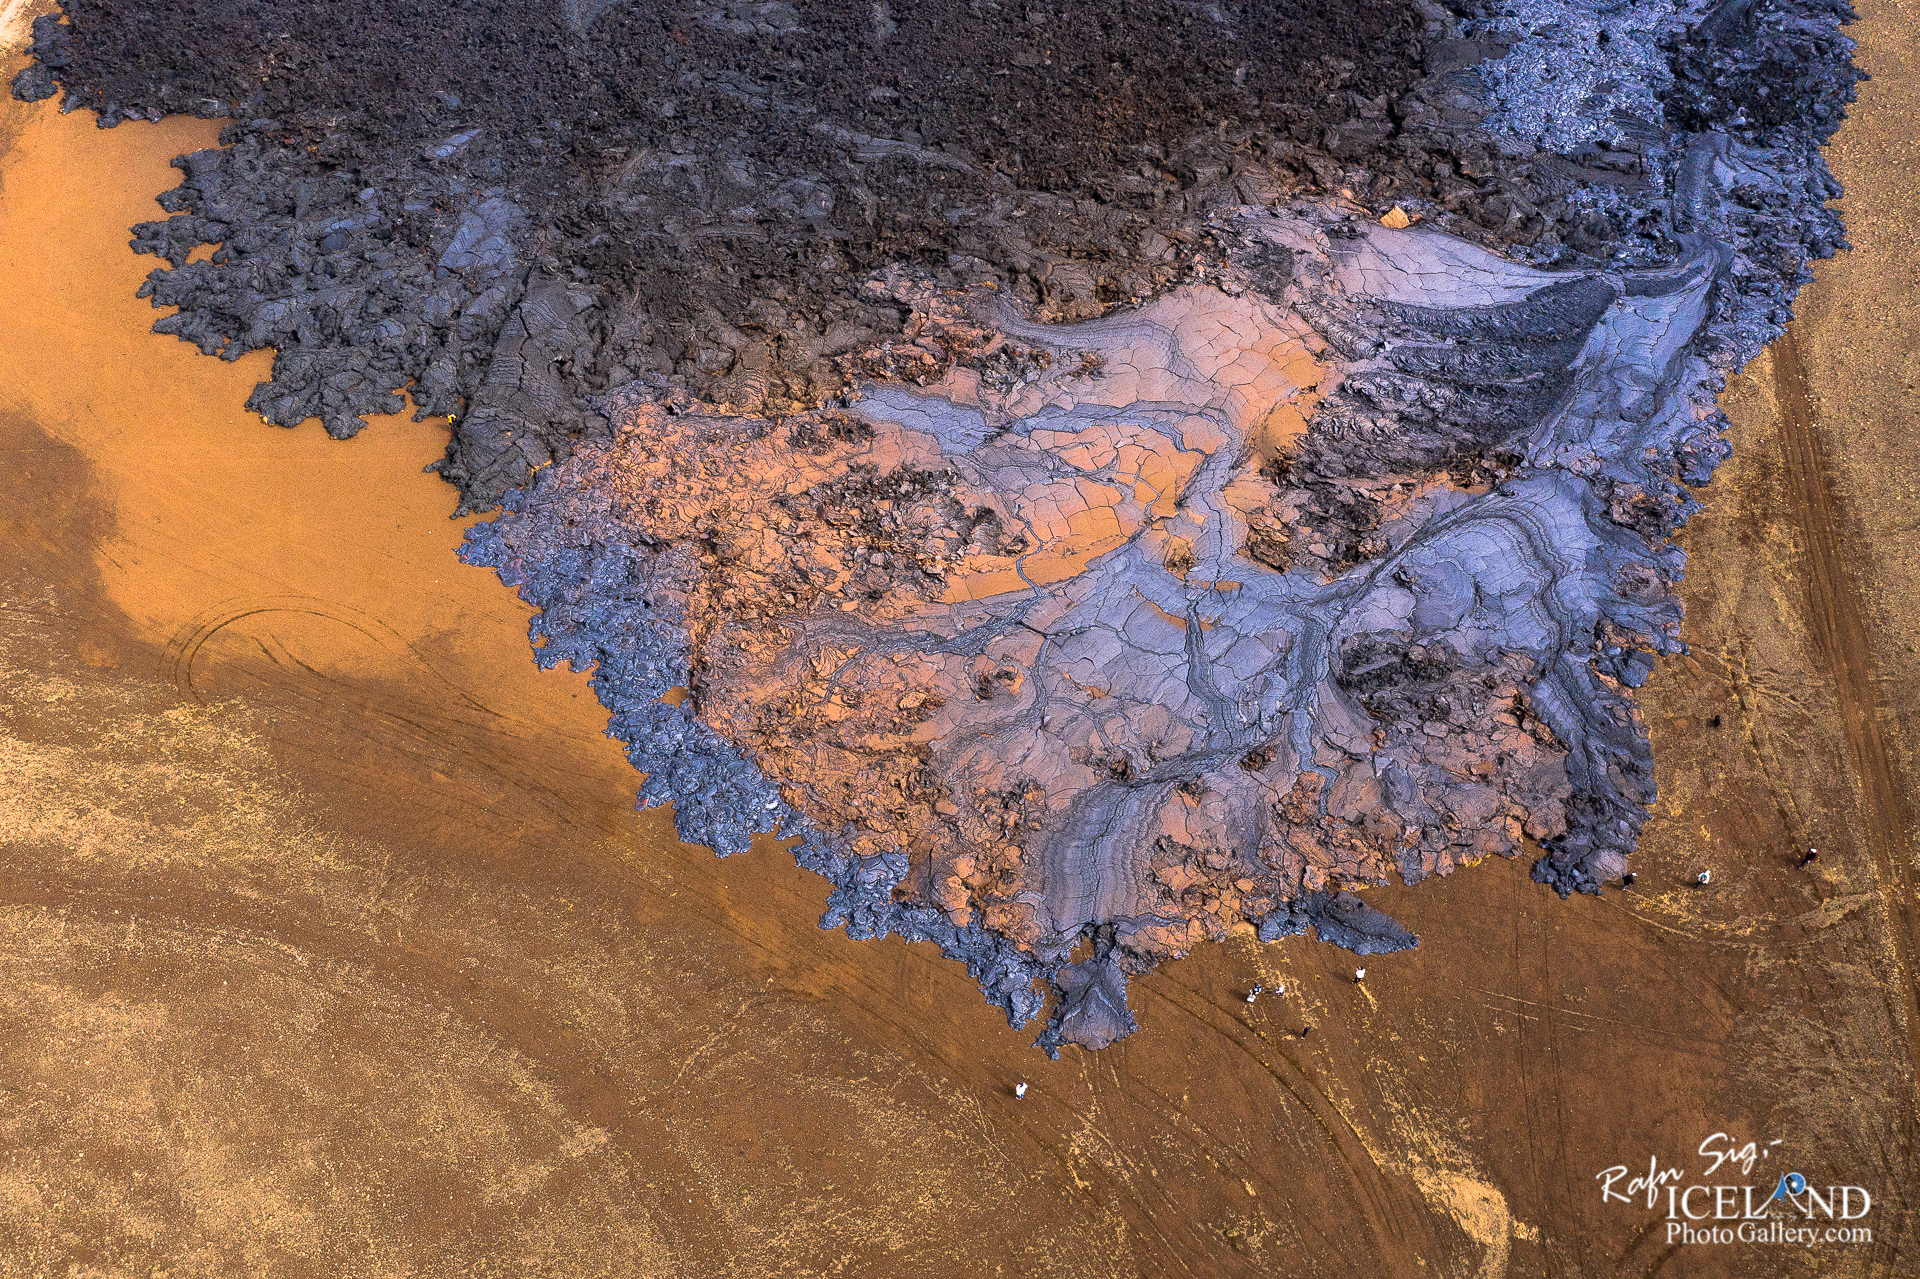
There is one option on your drone that you should not forget, and that is to tilt your camera down, all the way down. You can’t imagine how many beautiful patterns there are in the landscape and I urge you not to miss it. Take your time to find those beautiful “hidden gems”.
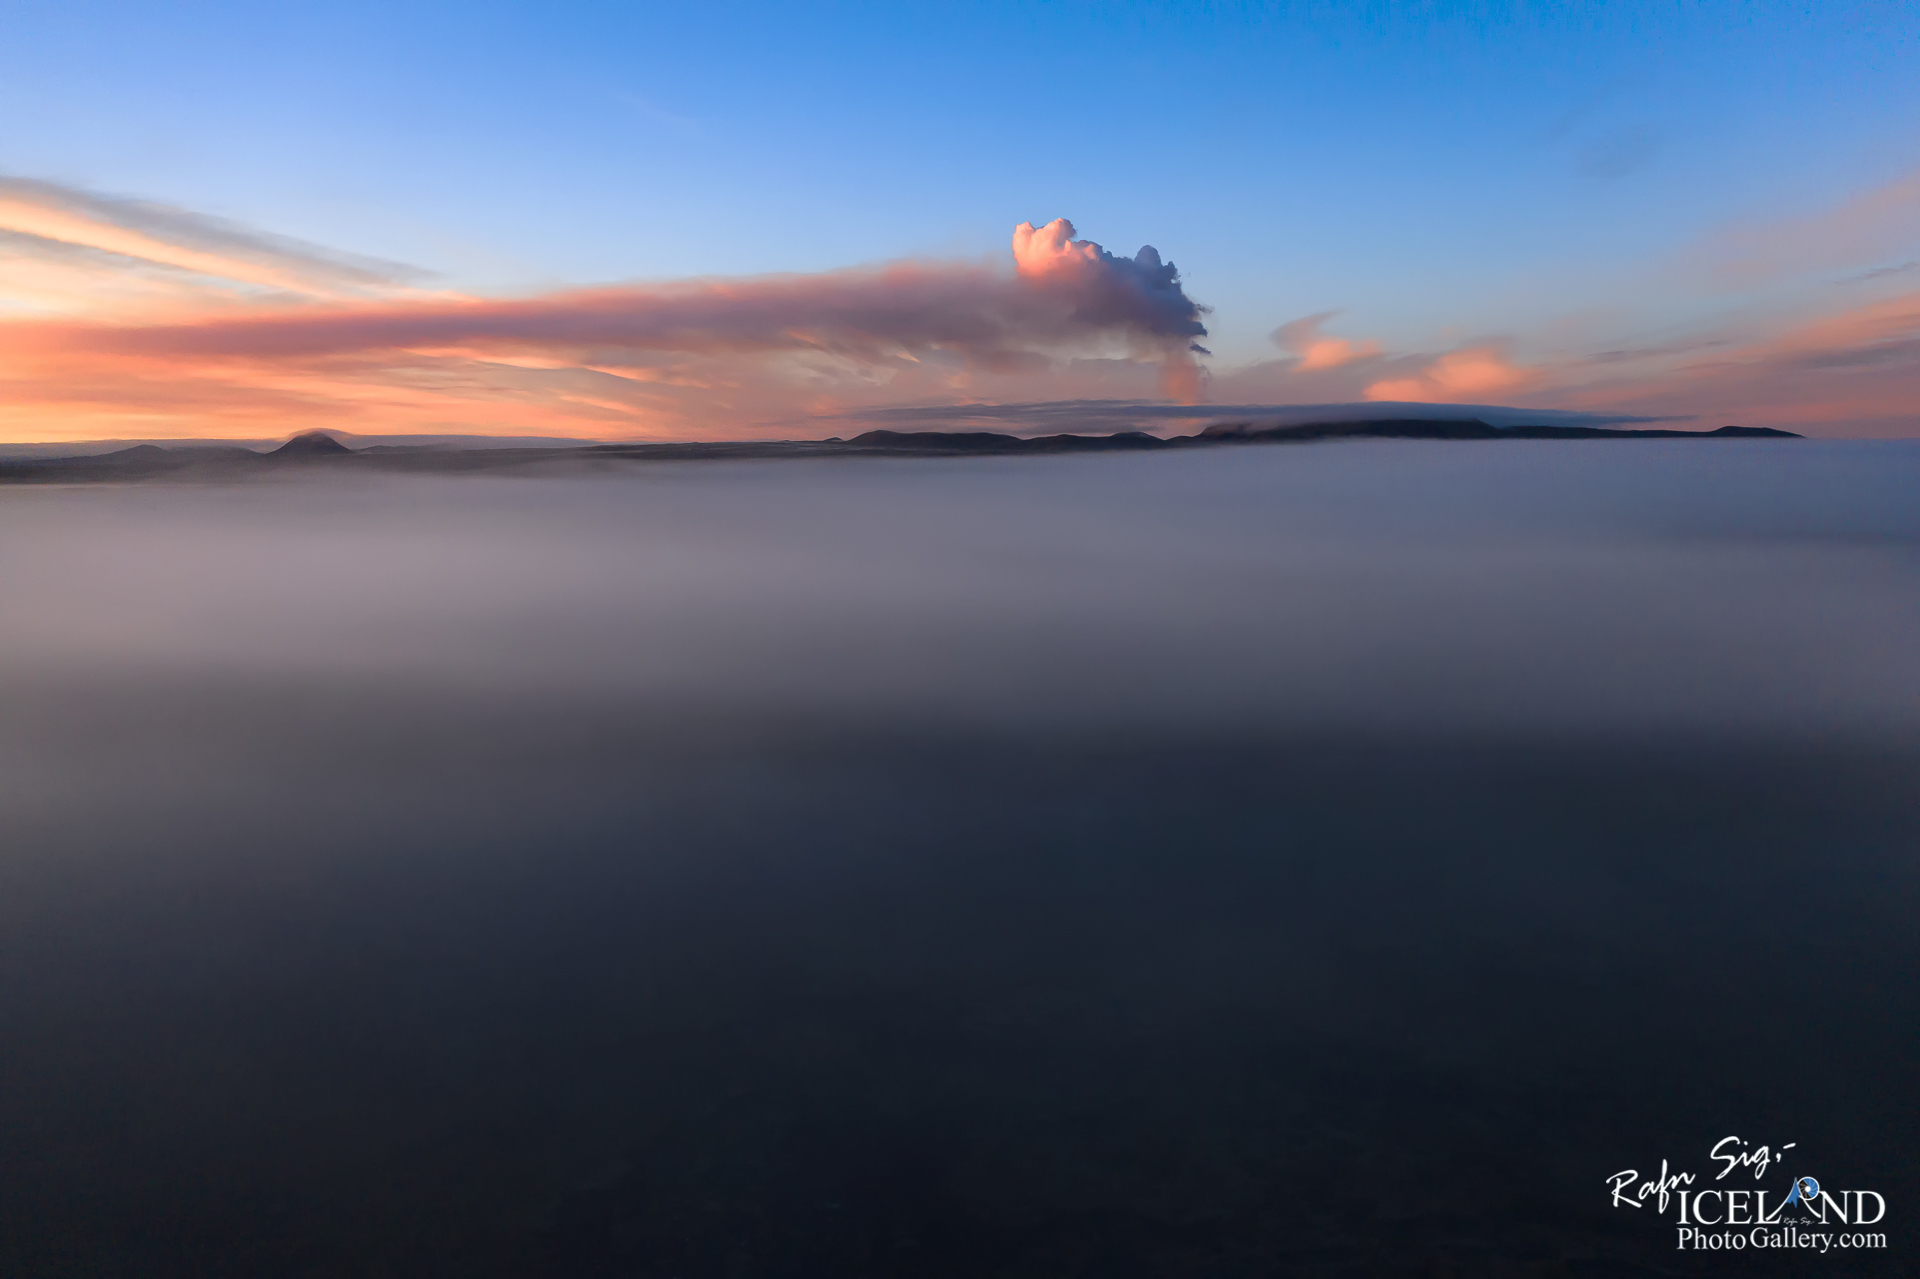
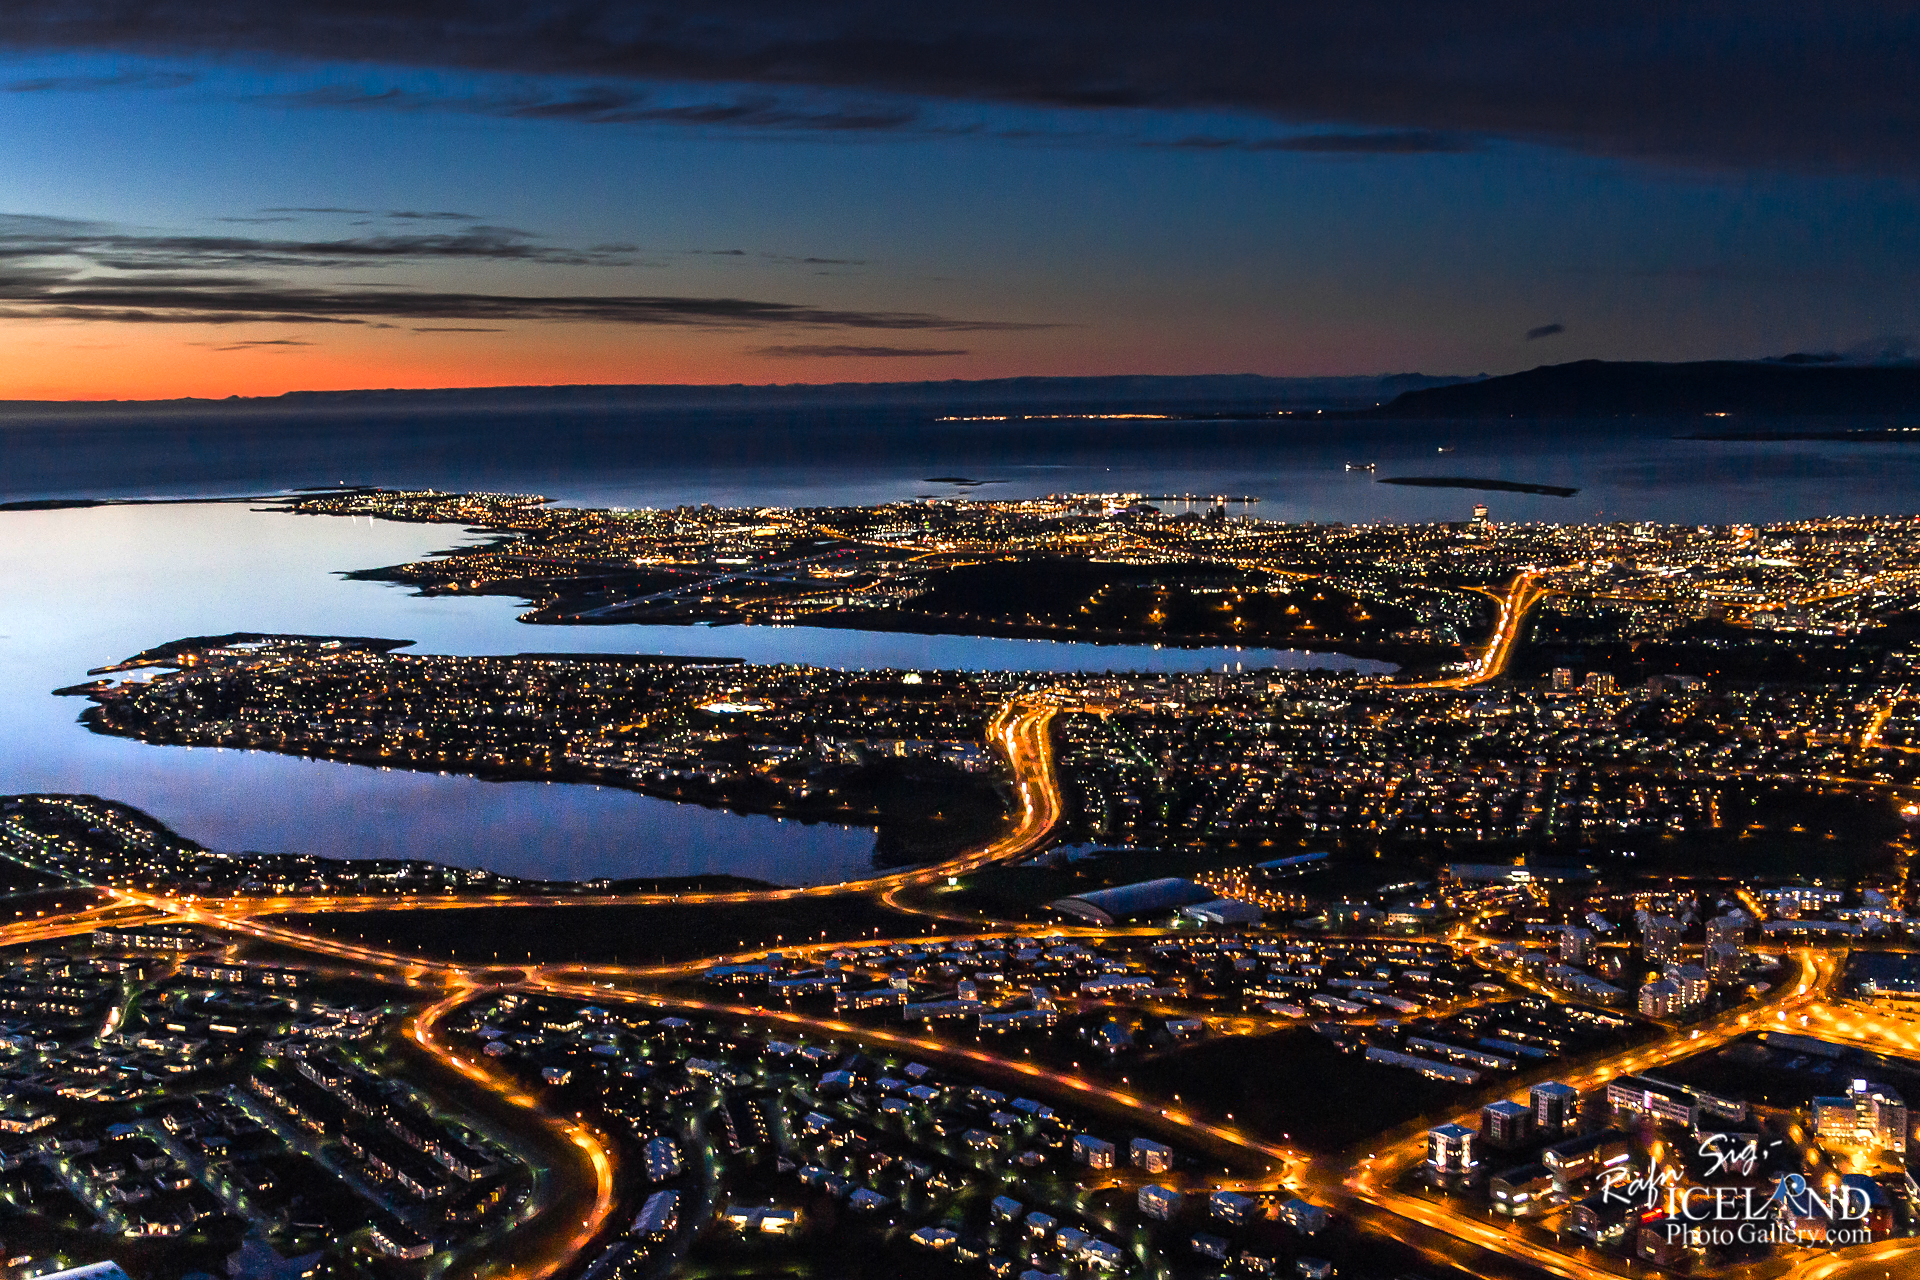
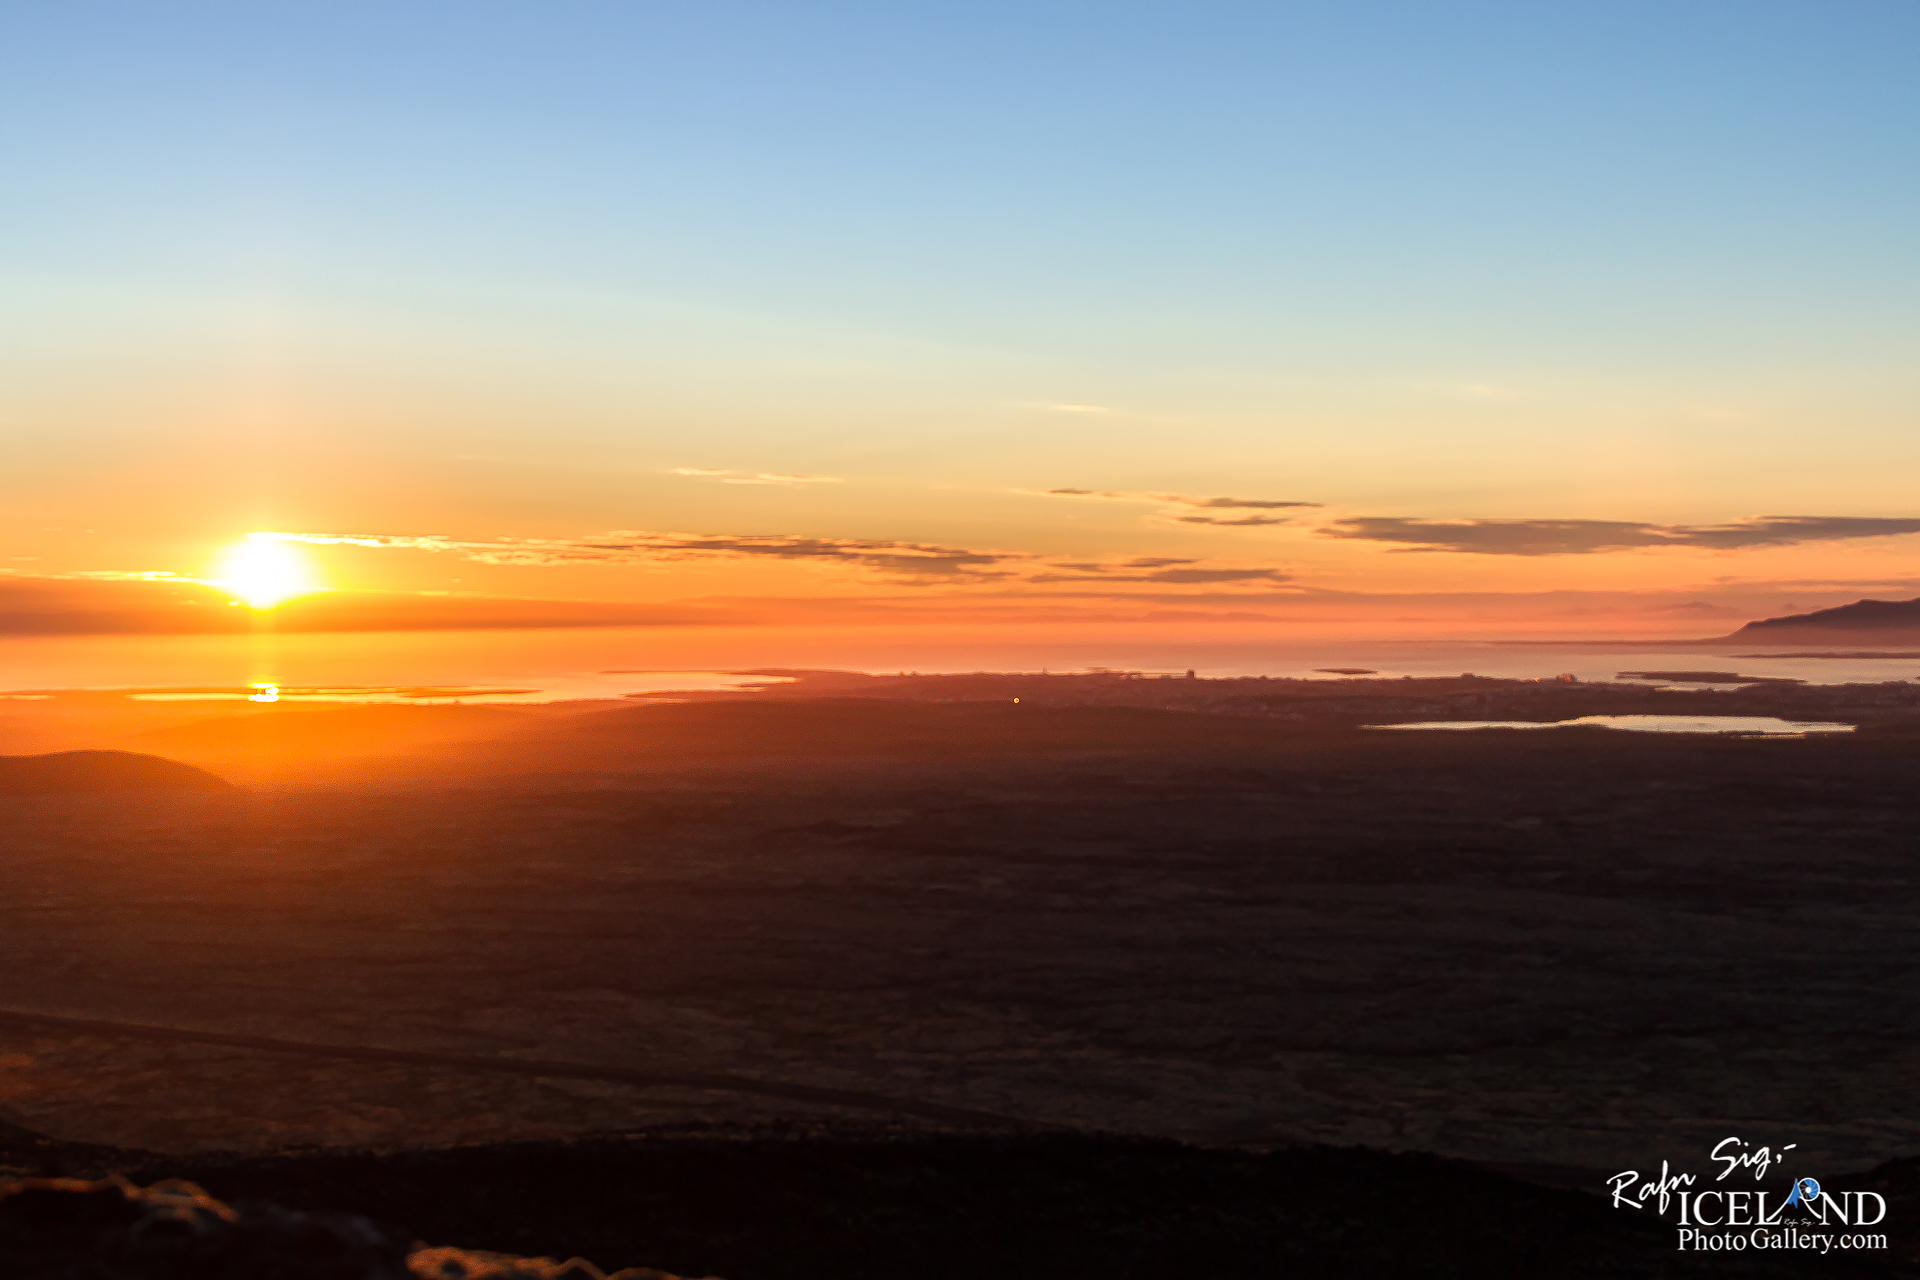
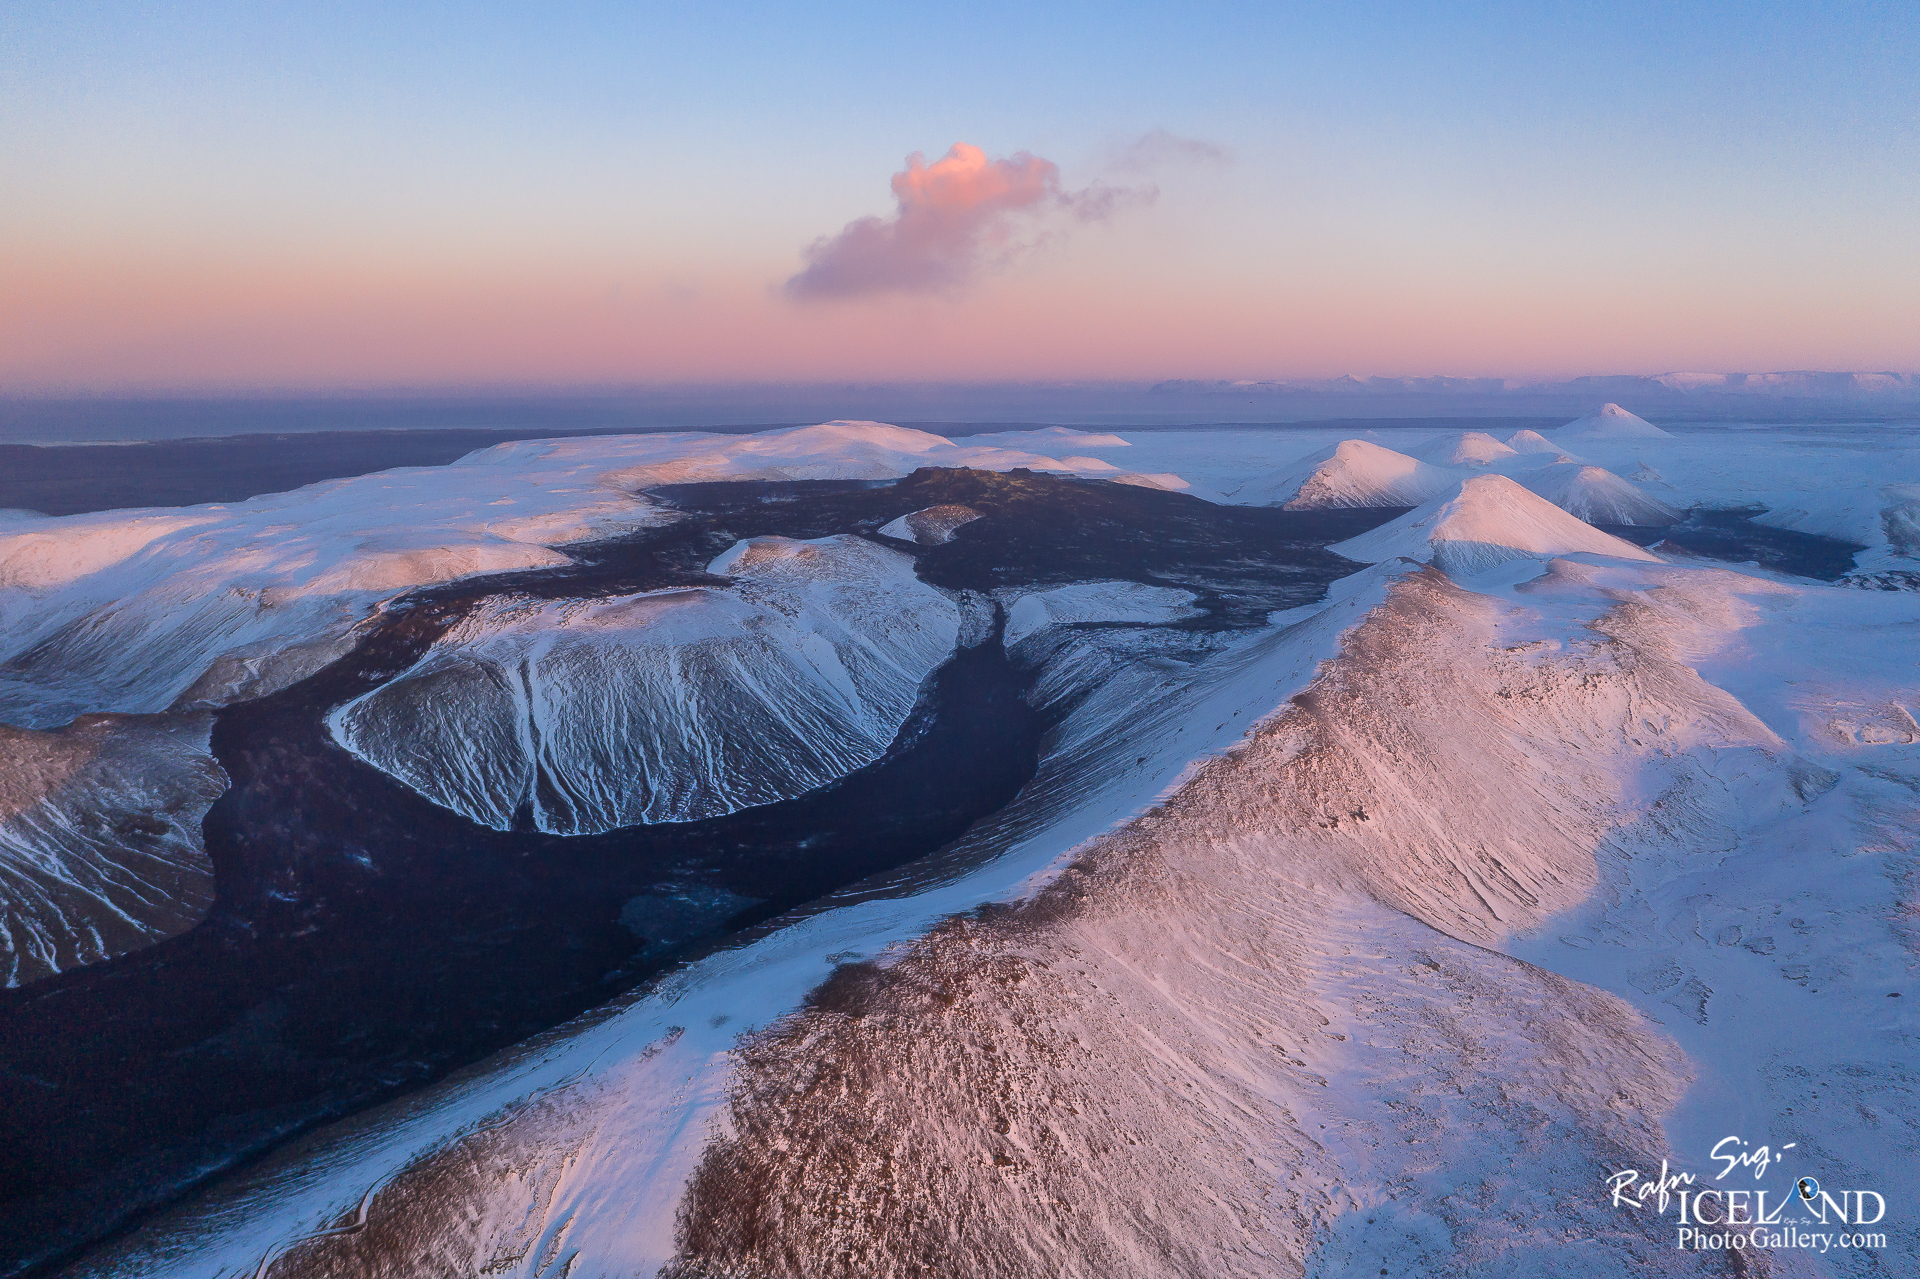
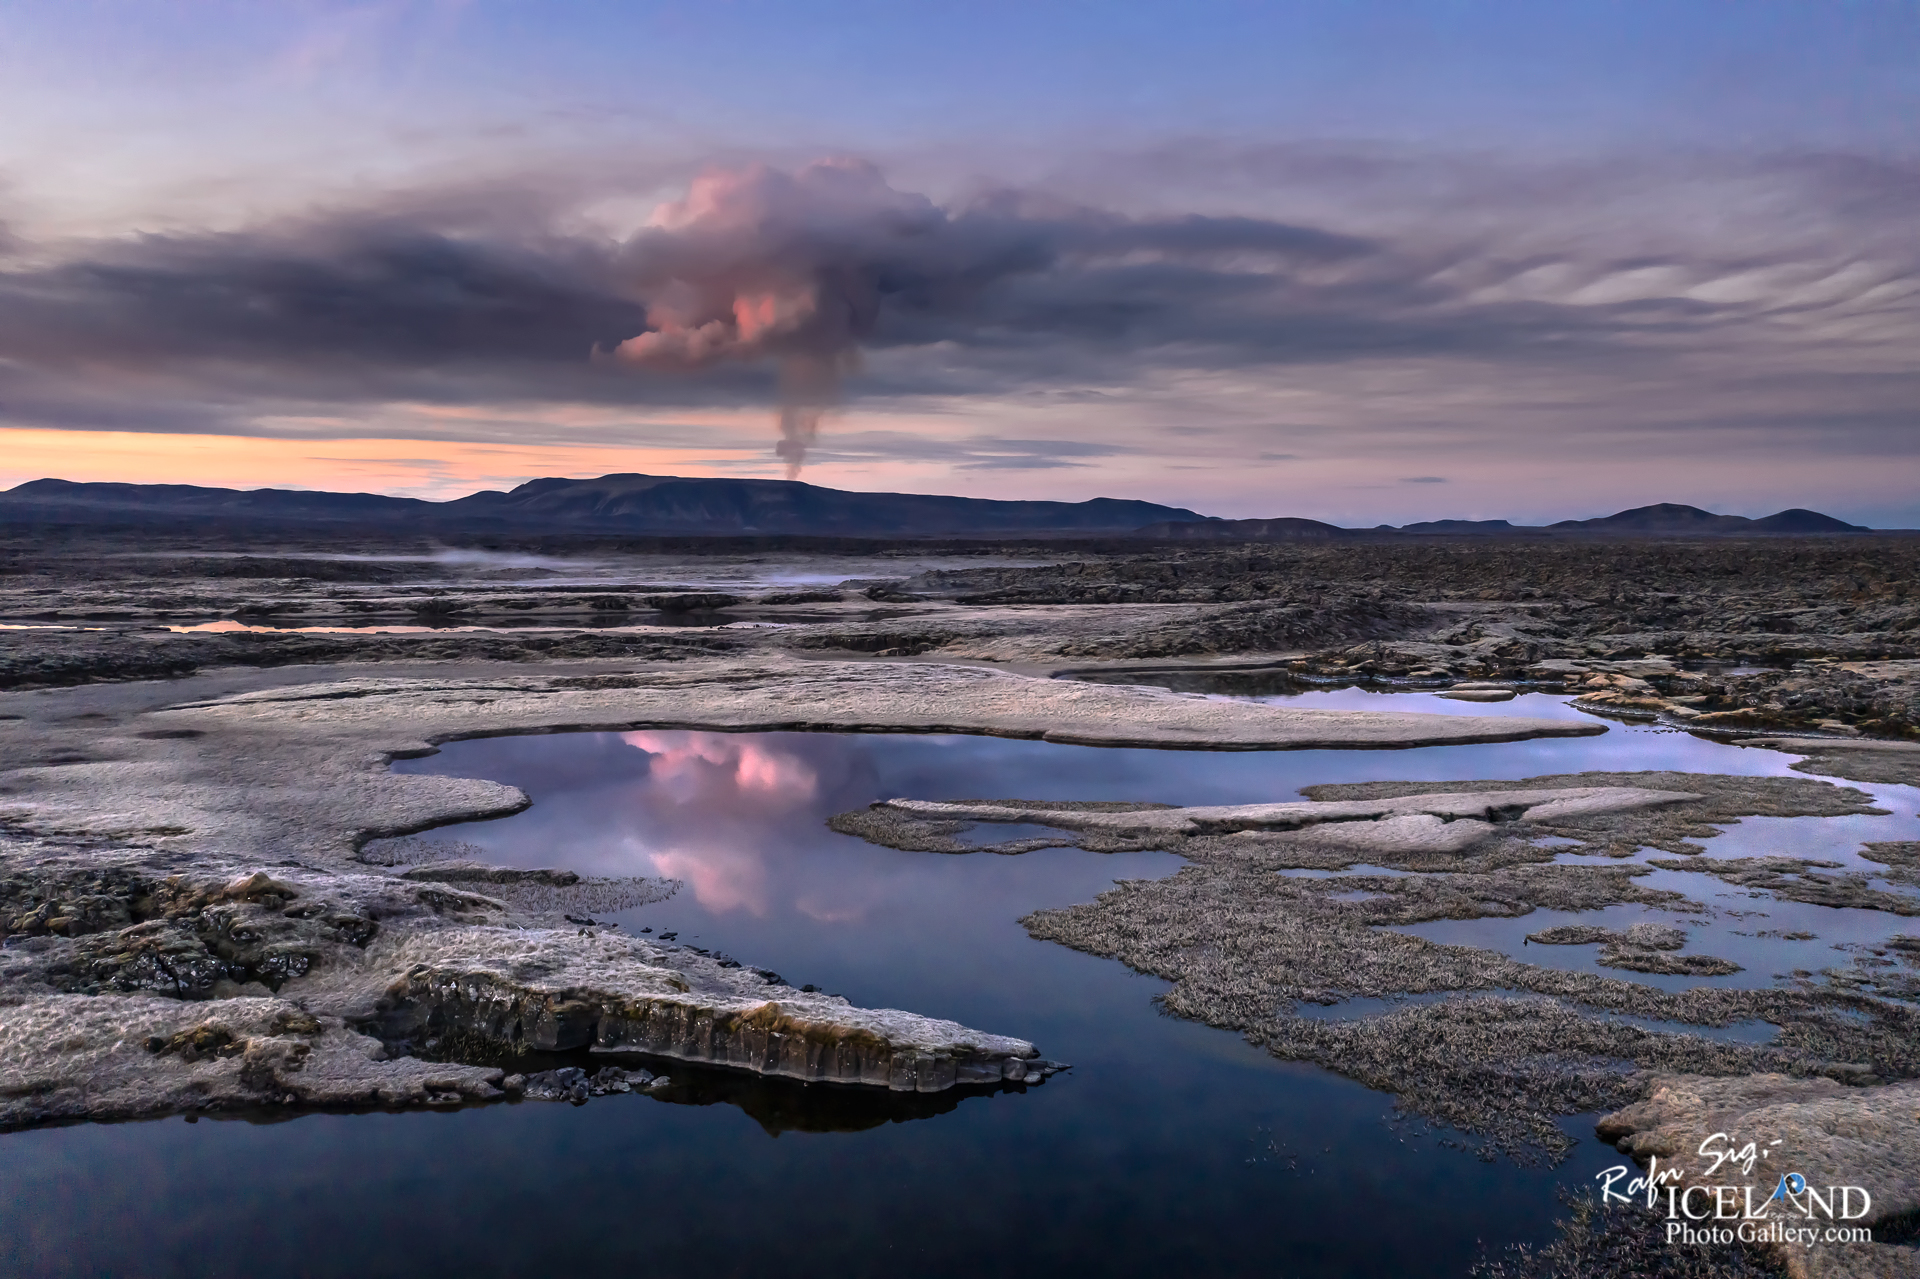
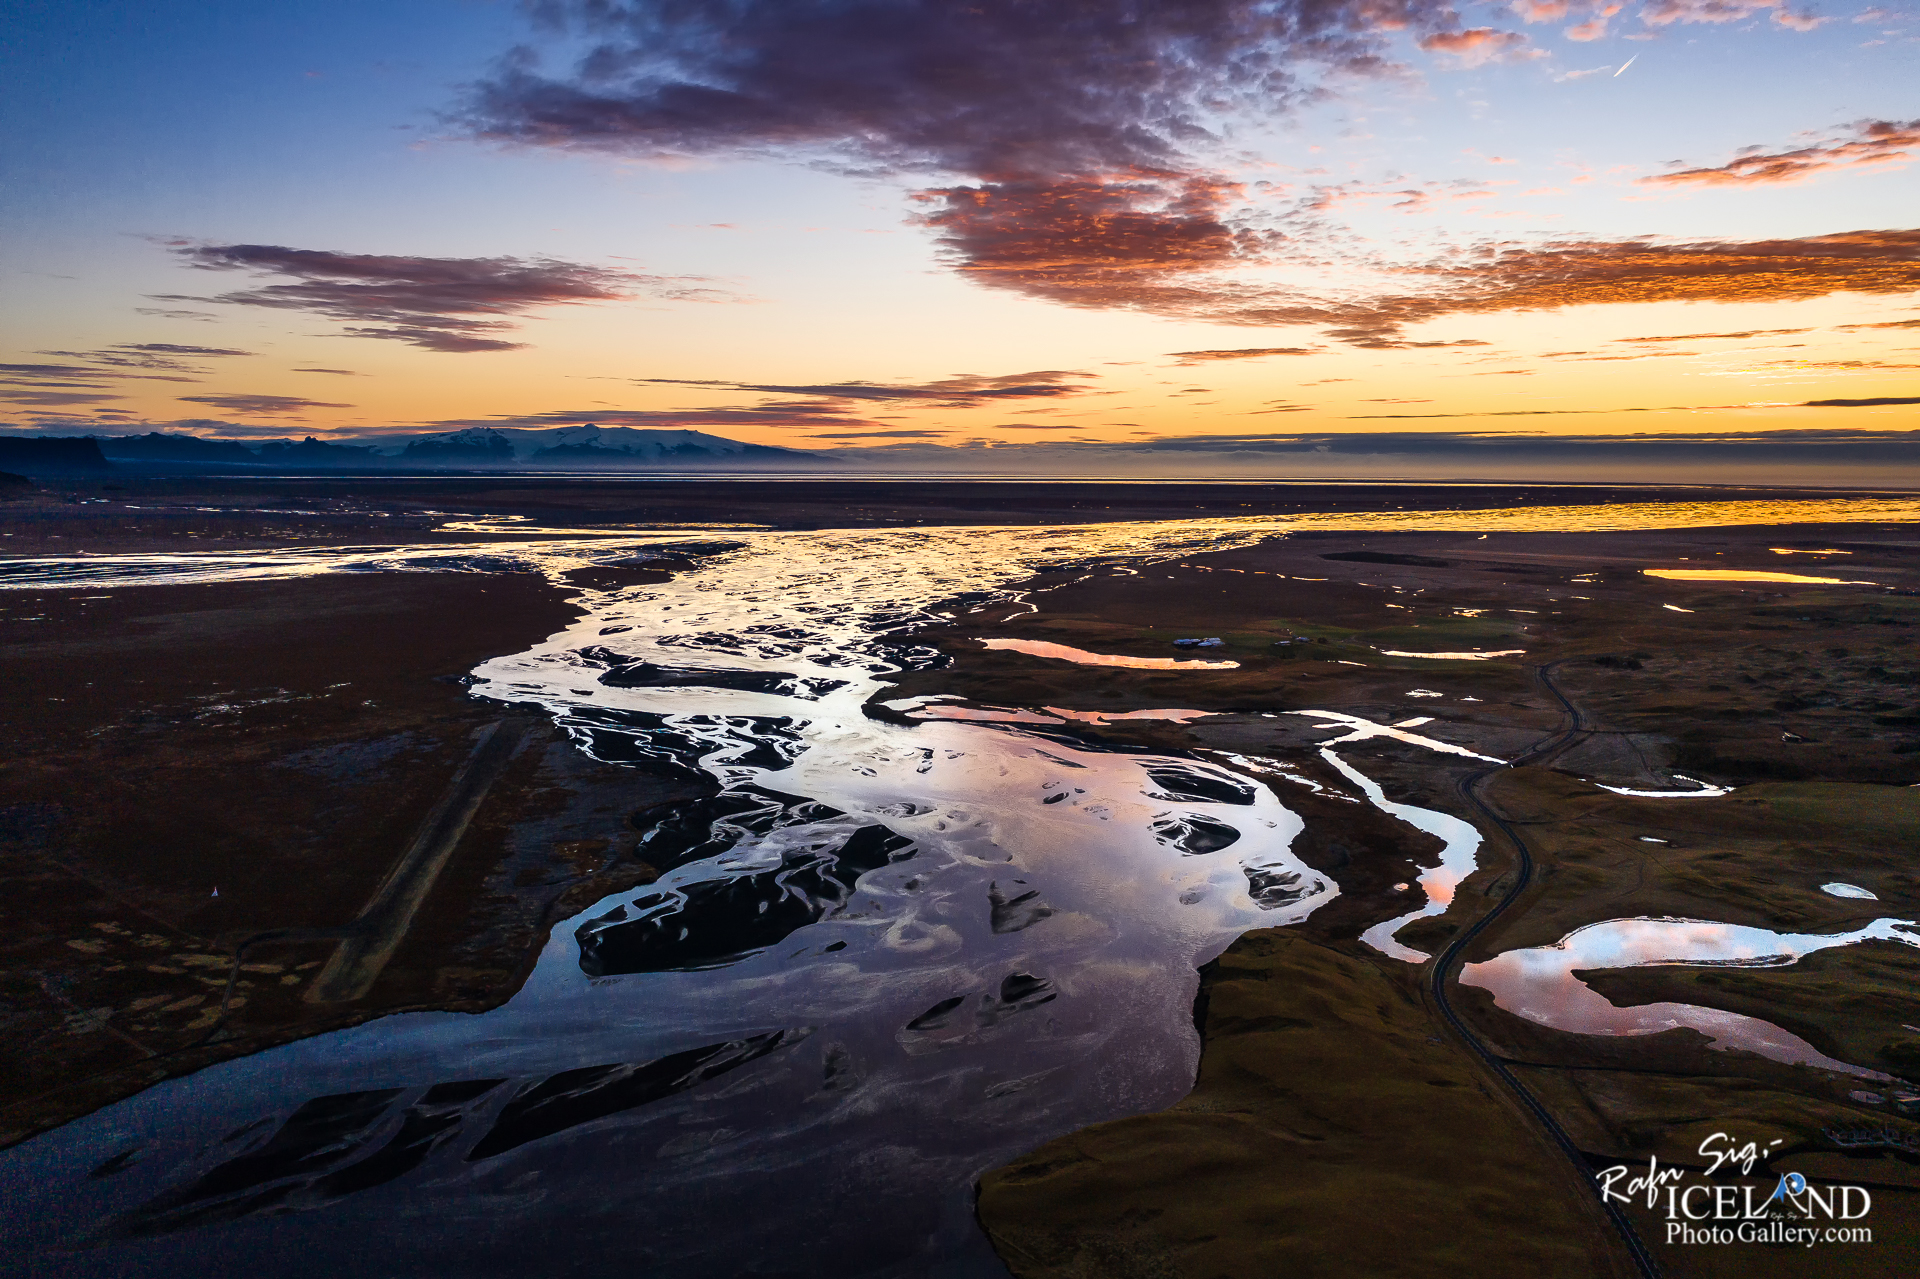
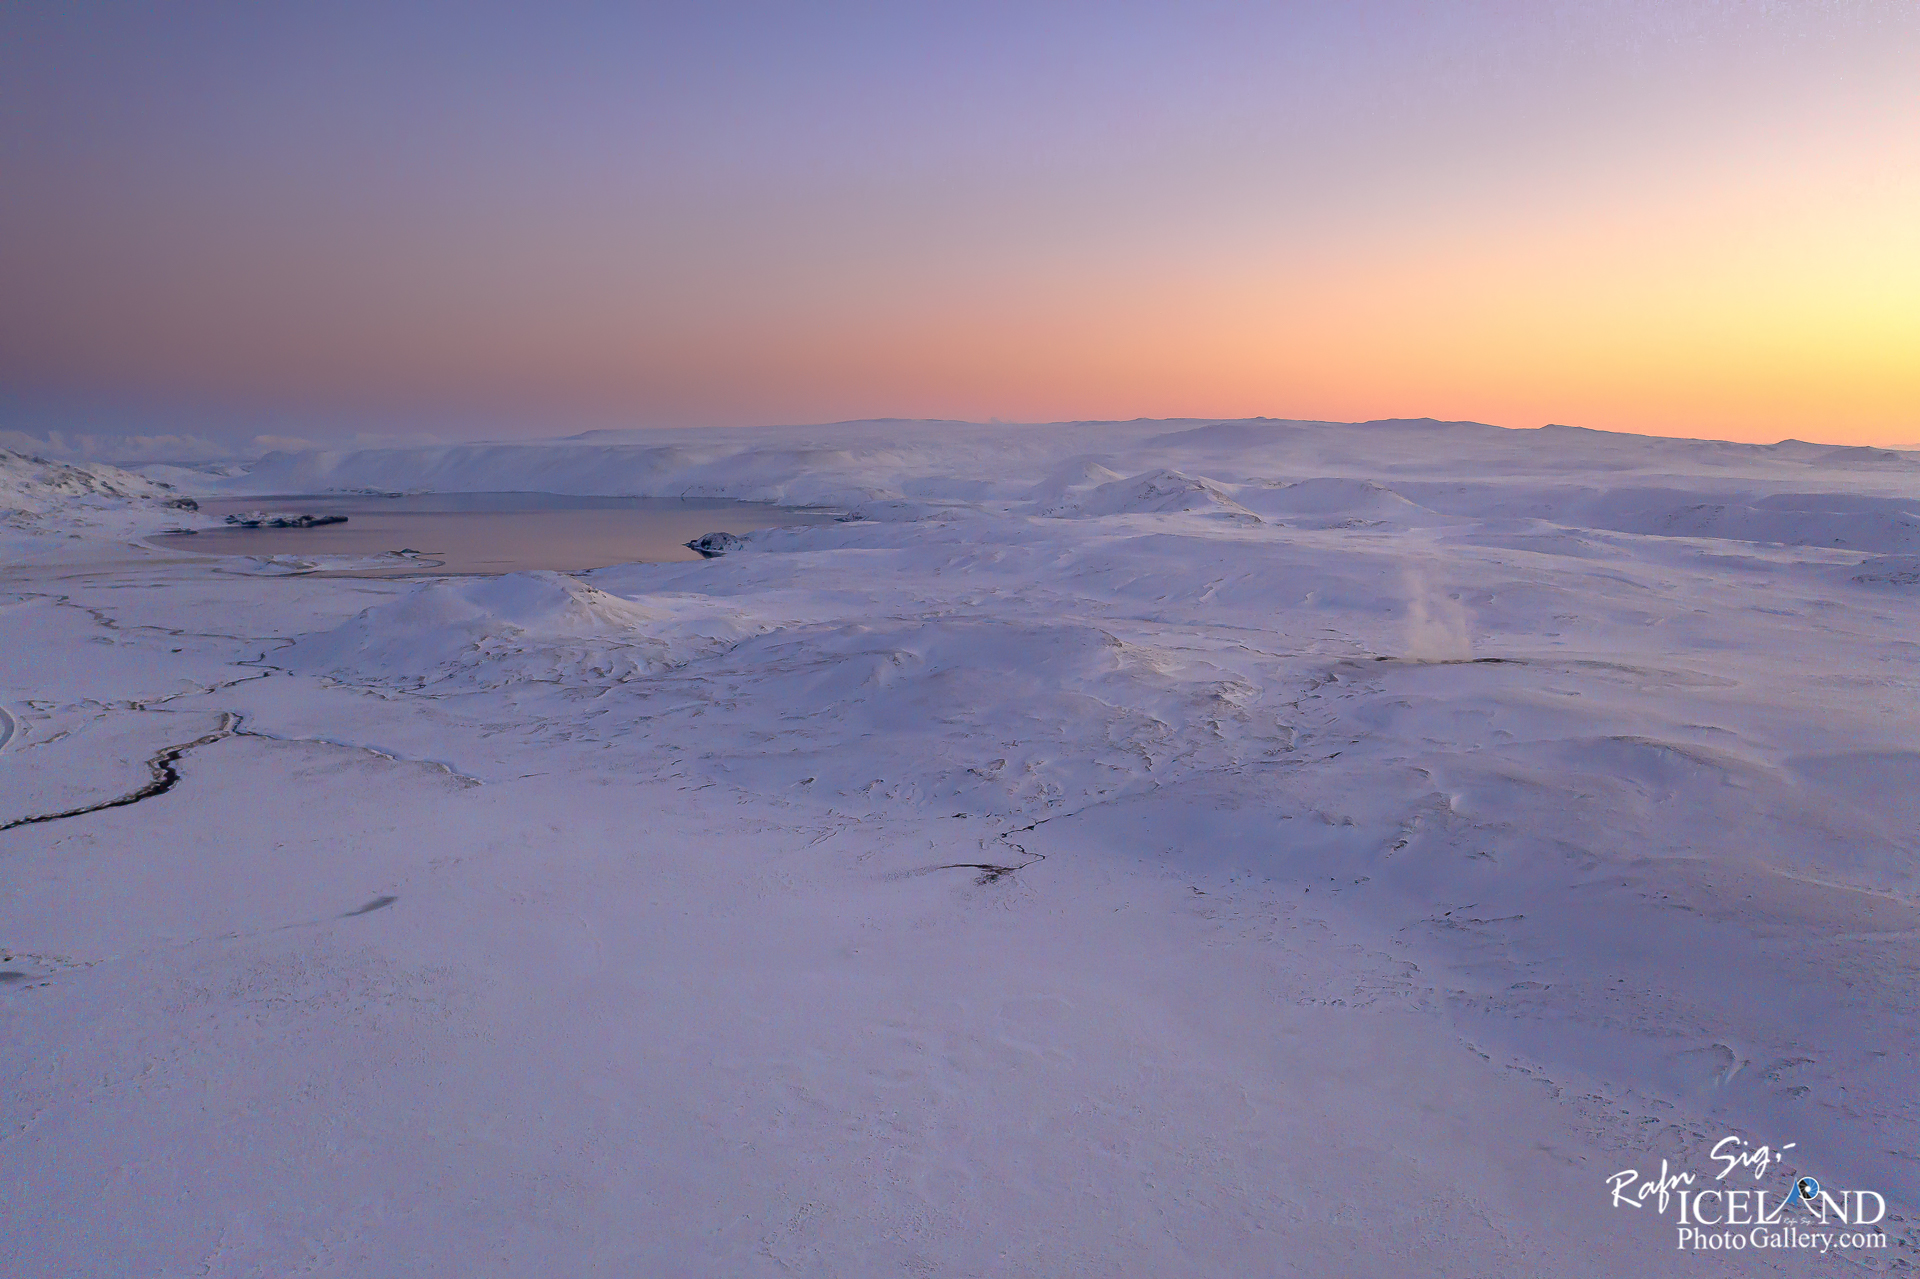
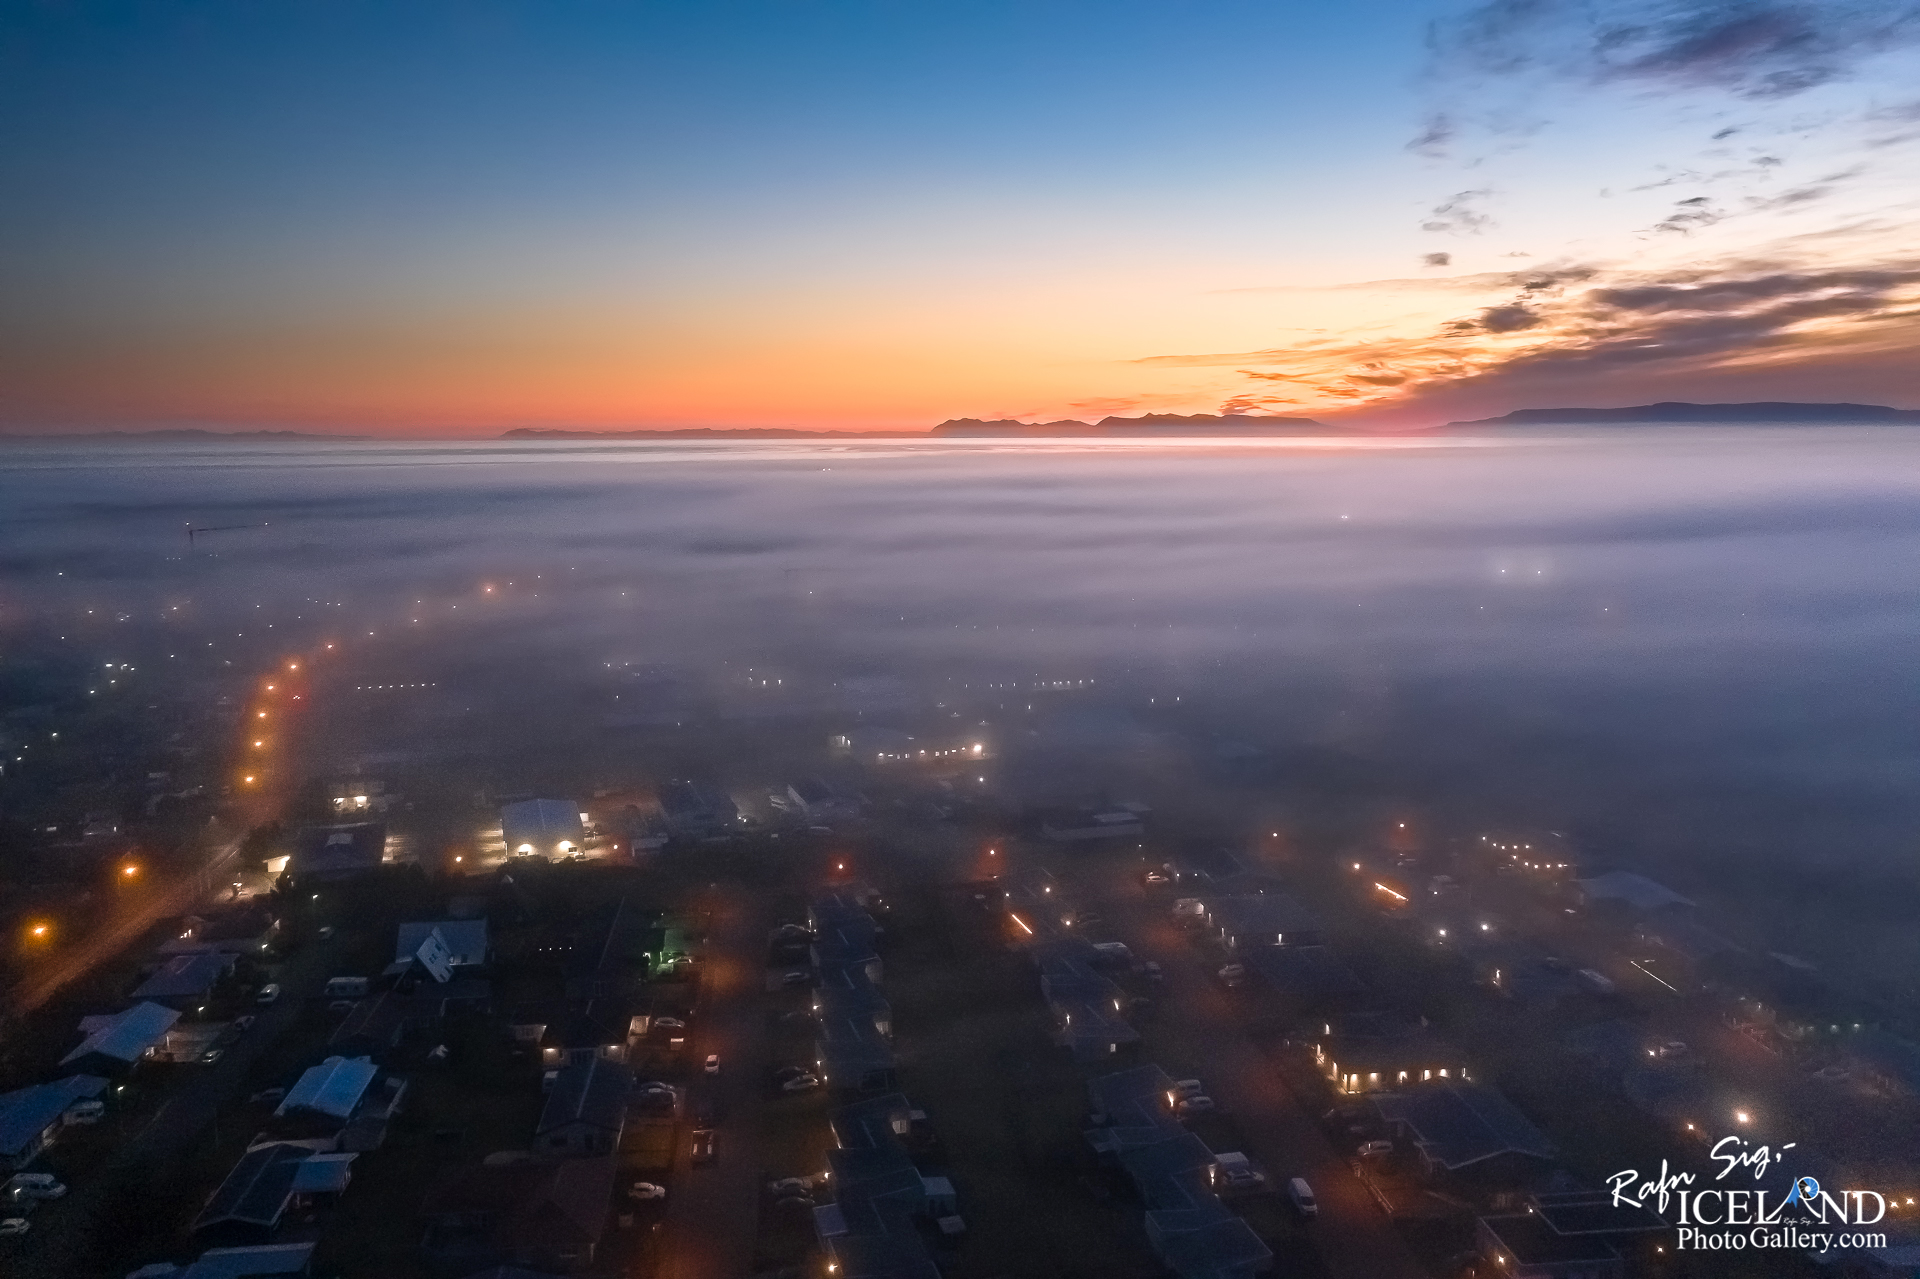
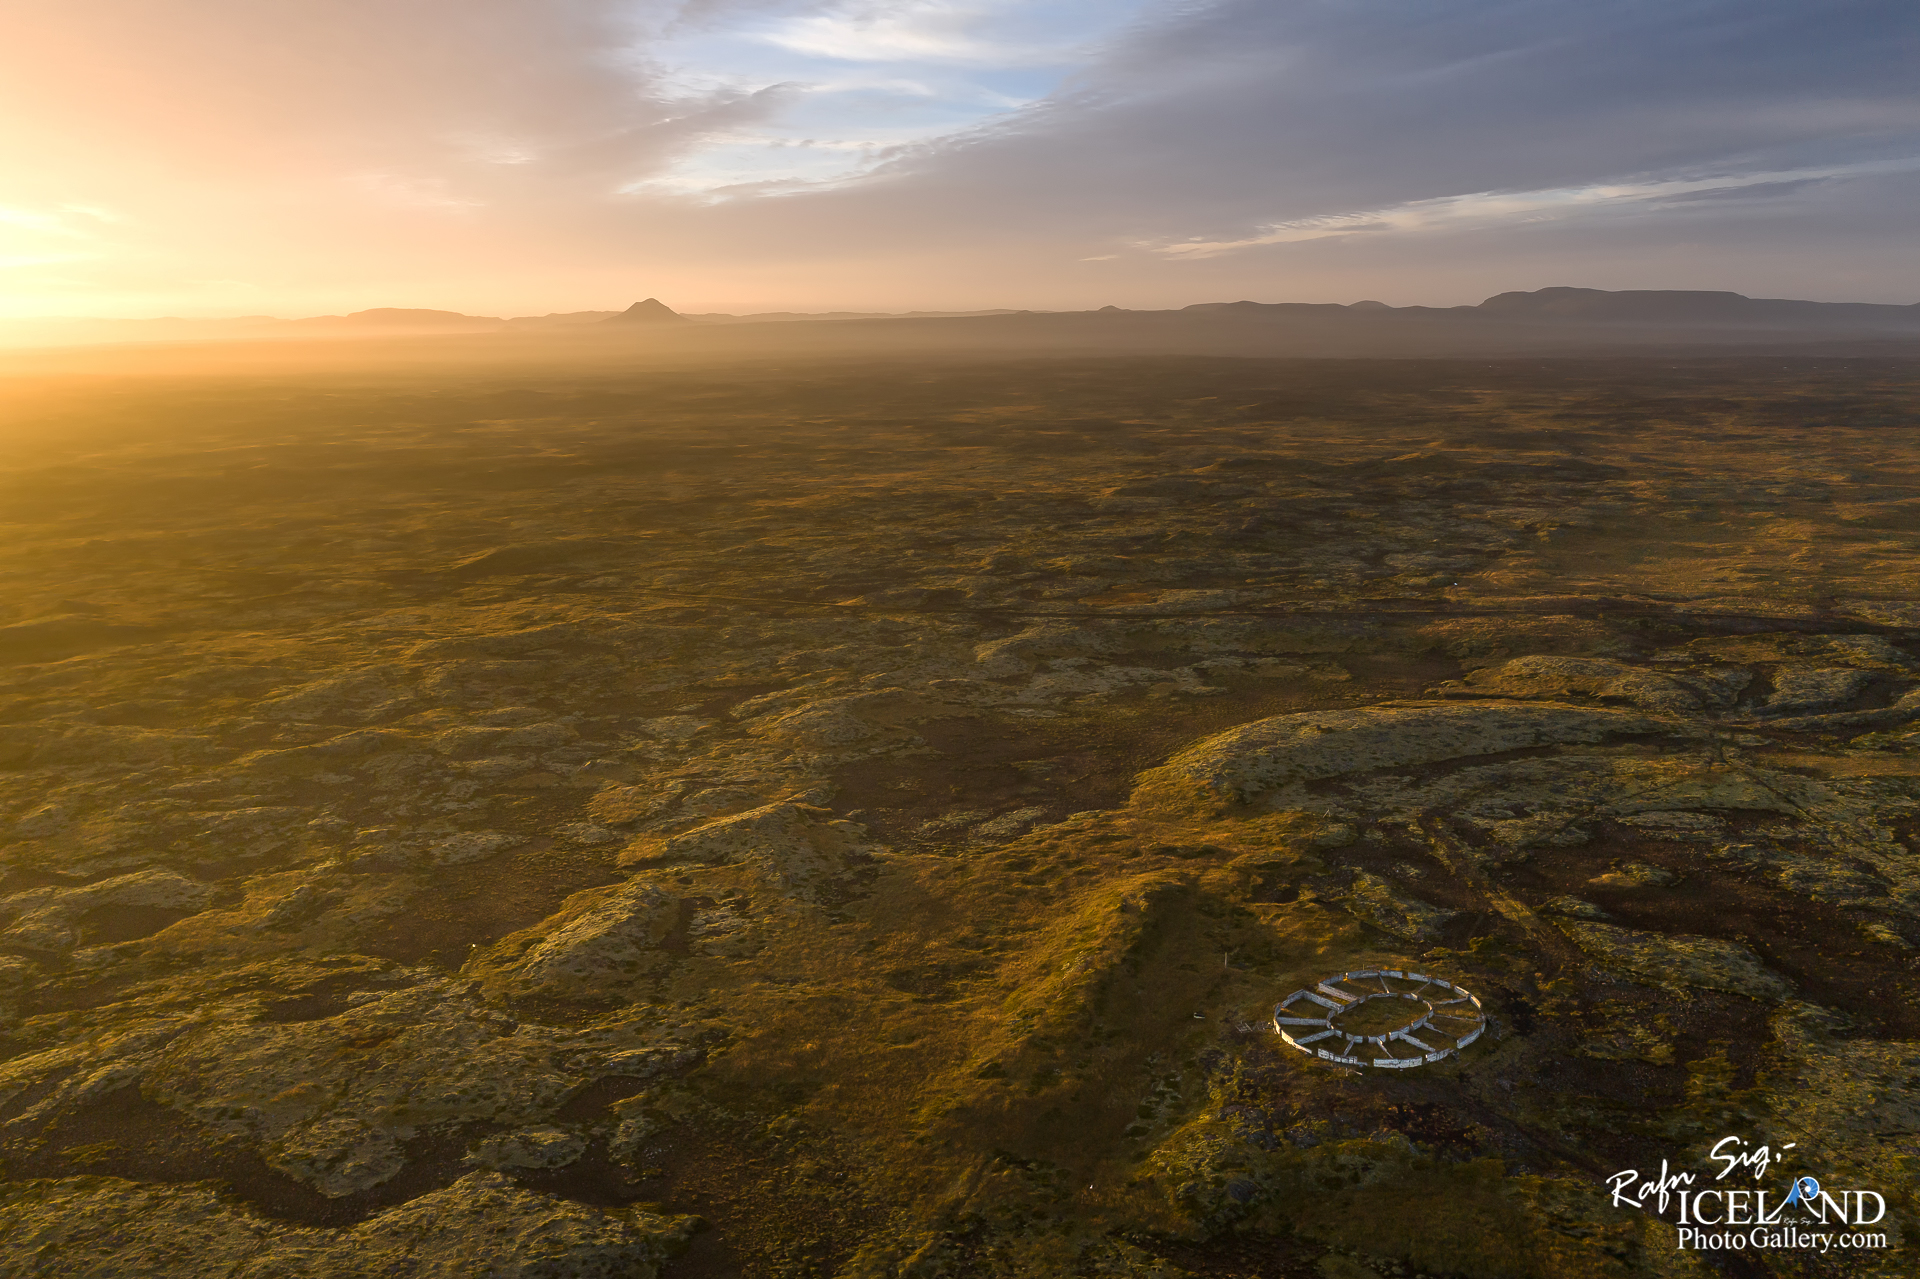
Tip 8: Light plays a crucial role
Light plays a crucial role while taking photographs. Use the “golden hour” if possible – the time of day when sunlight takes on a red-orange color and casts long, dramatic shadows.
This time of day is just as beautiful for drone photographers as with any other form of photography.
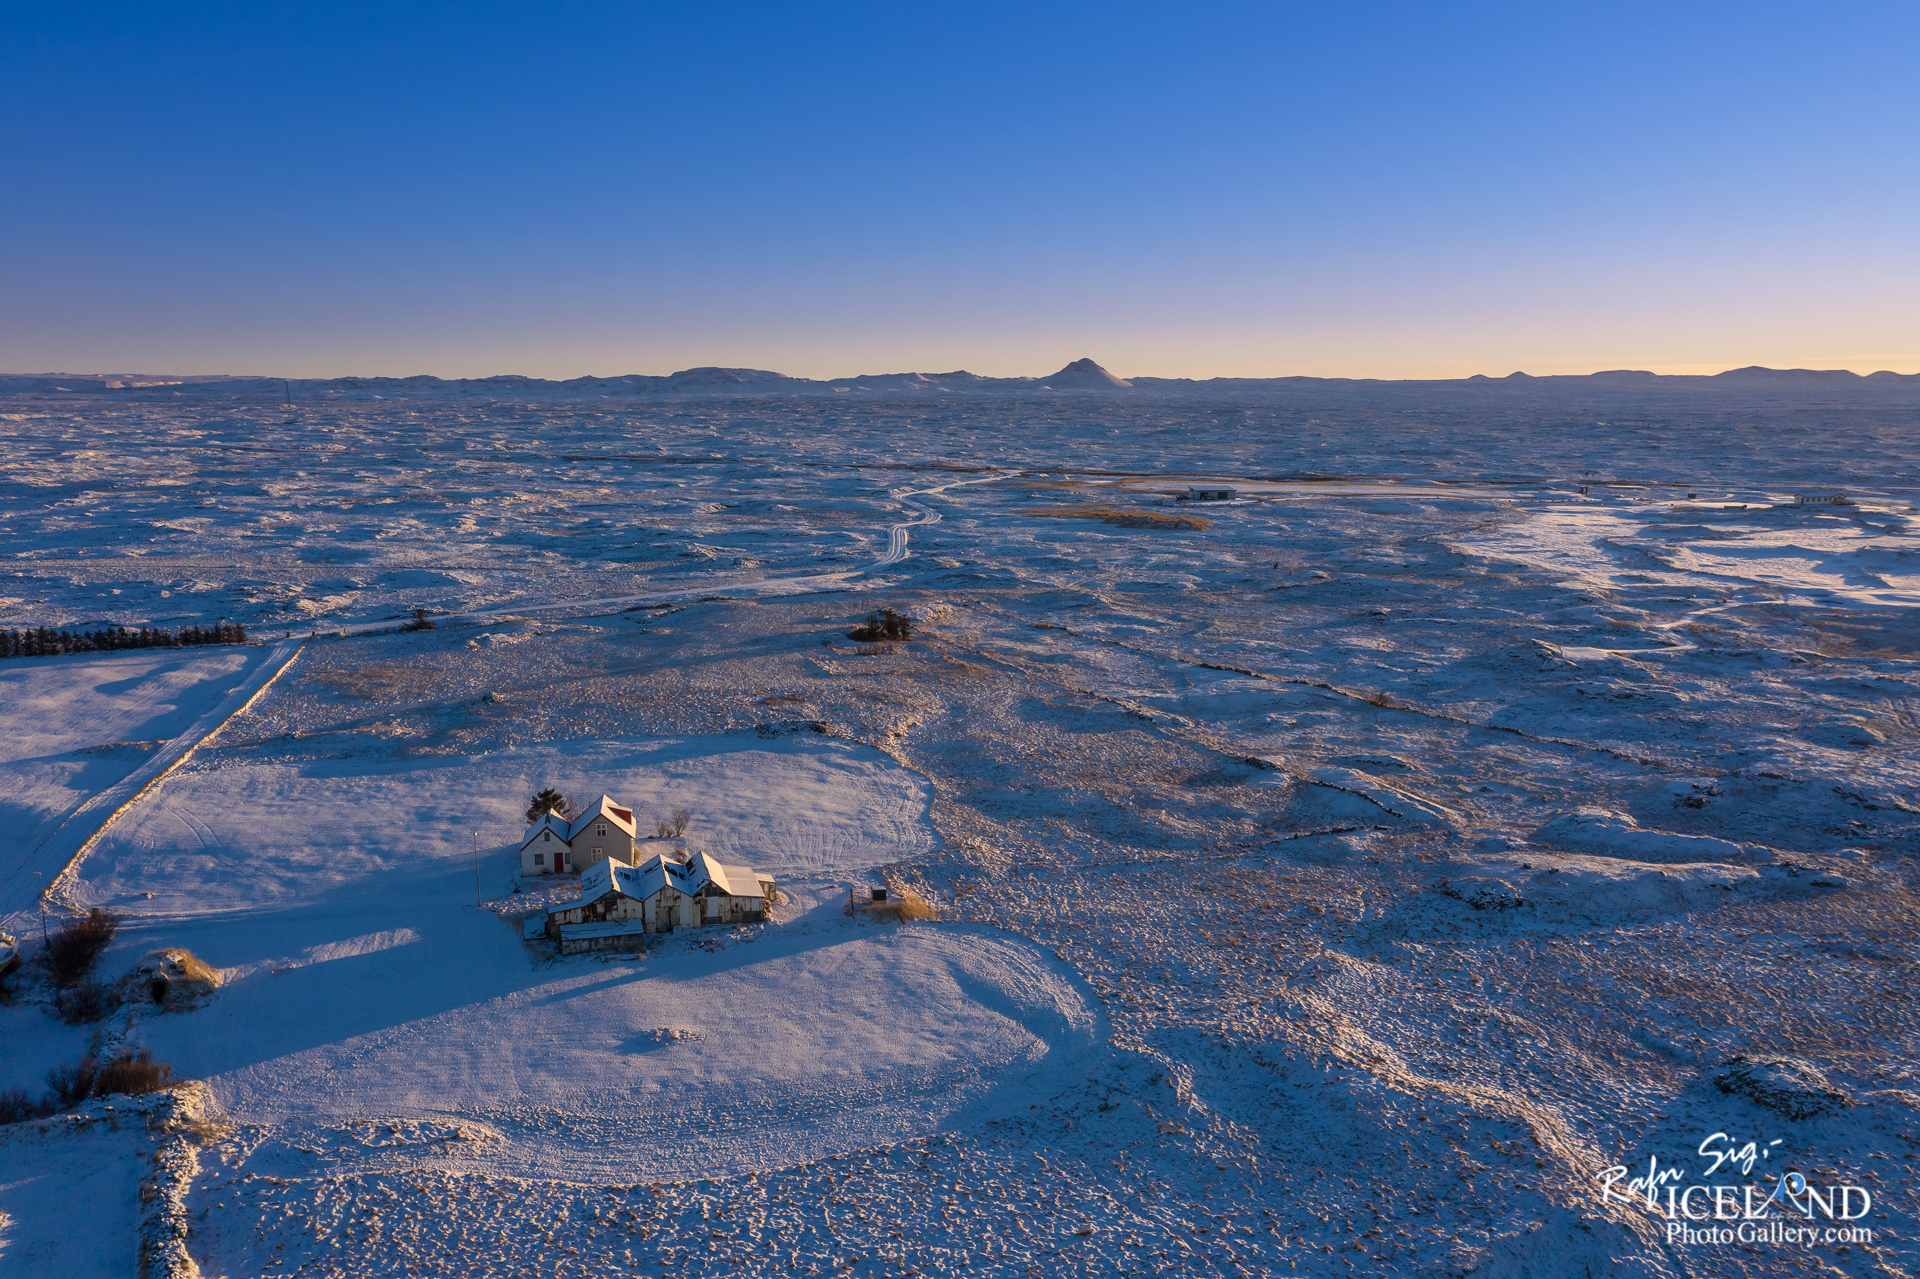
Photographing in the early morning or evenings, when the light is low, softer and more atmospheric can be beautiful. Take for instance photos straight down where you can see the long epic shadows from buildings, trees, people ore what ewer. Use the lite for your advantage and get creative with the shadows!
Tip 9: The rule of thirds:
Just like you take photos from ground, you should use the “Rule of Third” when you are photographing from above.
Turn on the Grids in your drone if it has that option. This allows you to better align shots and position the subject in accordance with this golden rule.
The overlay grids are also a good guide to get your shots straight!
You can find many articles about”The Rule of Third” so I will not go into it here.
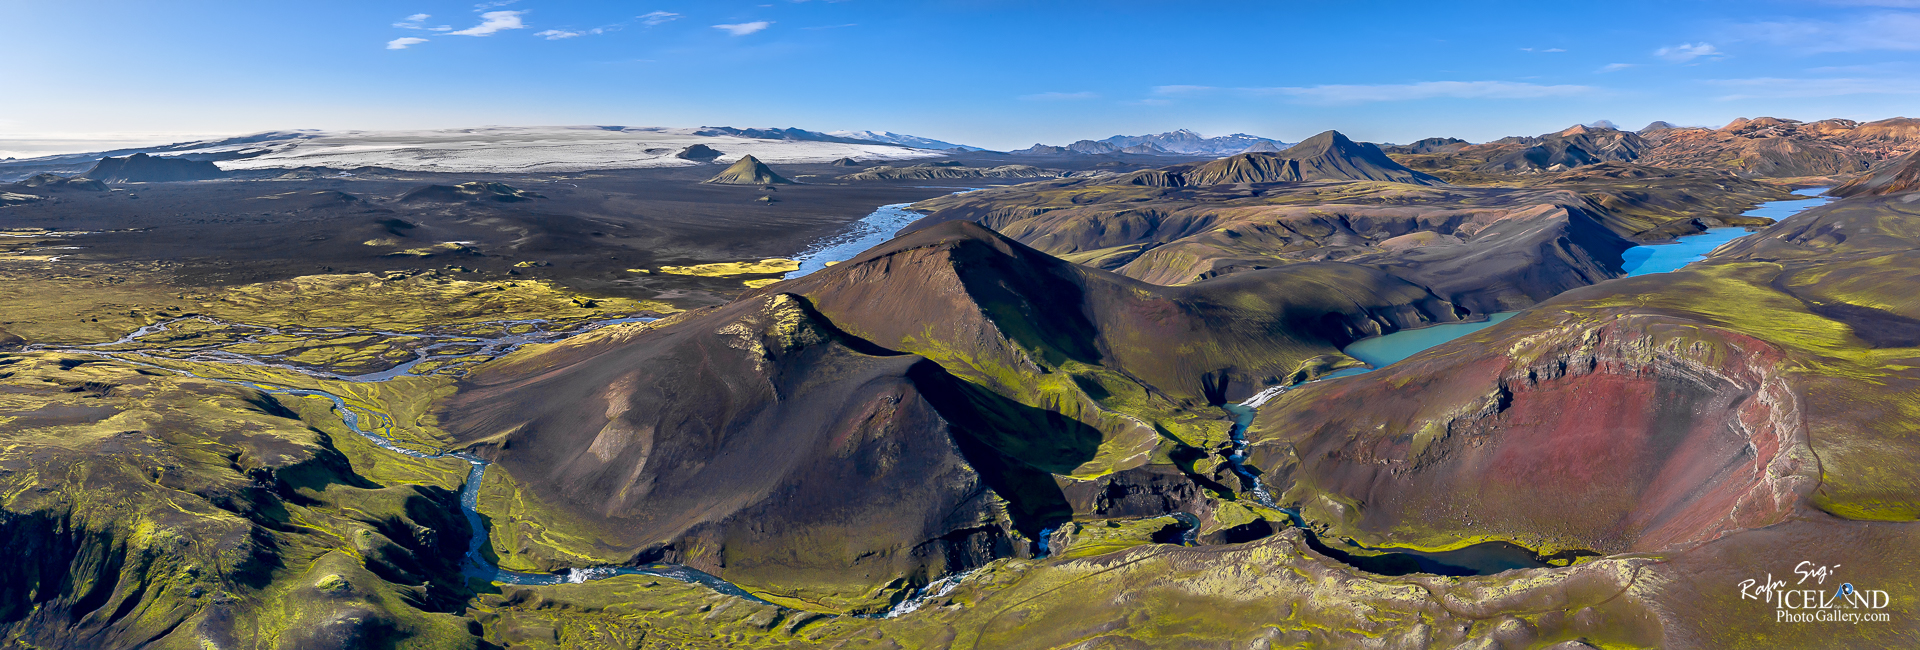
Include some leading lines will draw the viewer’s eye into the image and helps to create a visually interesting image with depth, such as a river, lava field or rows of trees.
Tip 10: Shoot in RAW format
If you’re serious about your drone photography then shoot in RAW – With all of the detail and information a photo keeps in RAW, editing things such as color tones, contrast, exposure, light and more will be easier to manipulate then with the same photo in a JPEG format.
Professional photographers always stress the importance of shooting in RAW format to get the most detail and information out of a photo, which is important in the post-editing process.
Tip 11: The right aperture makes all the difference
I recommend shooting in manual.
Like in our ordinary cameras, soot at ISO 100 try to have as low noise as possible, Next, is the aperture, I recommend somewhere around f/4-f/5.6. Some drones won’t allow you to do this, though the DJI Mavic 2 or 3 will. While this aperture might seem a little too wide to get a sharp image, but that’s not the case. I have found out, the higher value (less opening) you go, like aperture f/11 will result in image softness and poor quality.
Yes, this is different from the ordinary camera where we try to shoot in aperture f/11 or higher. This is not the case for the drone as you can ruin your shot
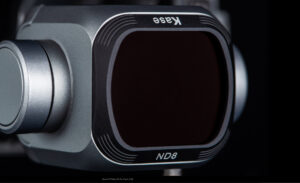
Tip 12: Use Filters
ND filters are accessories for cameras. It’s simply a filter that’s cuts the amount of light that enters your camera’s lens (like sunglasses would to your eyes). They are most commonly used in landscape photography and are also good to use for drone photography.
Neutral Density filters give you control over your exposures and, in the right conditions, allow for long exposure photography but the weather has to be good so the drone can be steady while you are taking the shot.
It’s also great to use in strong sunlight, so your shot won’t be over-exposed and therefore gives you better control over the light reaching your sensor by playing around with the shutter speed.
I can also recommend a Polarizer filter as it will reduce the glare from reflective surfaces like glass and water. It also saturates colors and increases the contrast of a scene to make your image pop with vibrance.
I’m using Kase filters and I wouldn’t fly without them.
Tip 13: Edit your photos
You always have to go through the editing technique; even it can be a hard process to learn. Every photo can be improved by editing it, even a simple edits can make all the different like straightening of the horizon, adjustment of the white balance, or adjustment of exposure and contrast.
Editing photos can take years to master so now is a good time to start learning it so you will be satisfied with your drone shots. The first step is to take the shot by your drone and then the work starts when you edit the photo in some of the software on the marked.
Tip 14: Respect privacy and other people
Make sure that you don’t invade anyone’s privacy when you’re out flying, you don’t want to make anyone feel uncomfortable by photographing them with your drone. Never fly your drone over groups of people you do not know or who are not anticipating your drone.
This is just common sense and also prohibited in some locations
A drone is an amazing tool, but take care out there.
Tip 15: Break all the rules!
You can also just Break all the rules and the tips I have been giving you. If you’re shot turns out good you’re cool.
Some photographers are famous for it, so why not you?
In the end
Anyone can buy a drone, but that doesn’t mean you will automatically be a good photographer. So practice.
That’s what it’s all about.
Liked it?
Take a second to support me on Patreon

Viltu styrkja þessa síðu?
Vefsíðan Iceland Photo Gallery er unnin í sjálfboðavinnu. Ef þú hefur áhuga á að styrkja þetta framtak til áframhaldandi uppbyggingar er hægt að leggja inn á:
Reikningsnr.: 0101-26-013169
Kennitala: 310155-4469