
2019-05-12
Camera Filters – and why I changed from Lee to Kase filters
by: Rafn Sig,-

Neutral Density filters and graduated filters have become standard gear in the bag of most Professional Landscape Photographers. They help capture well-balanced images in the highest quality. Camera filters have evolved since they introduced Resin filters to the photo industry and the demands for better filters have increased. New brands have risen with new technology which is worth looking at.
Digital cameras today have the best sensors and our lenses have the highest quality glass to catch the sharpest detailed images possible. This is why you have to get yourself the best filters on the market today.
There is no point of buying all the expensive lenses and cameras if you then use second class filters on the front.

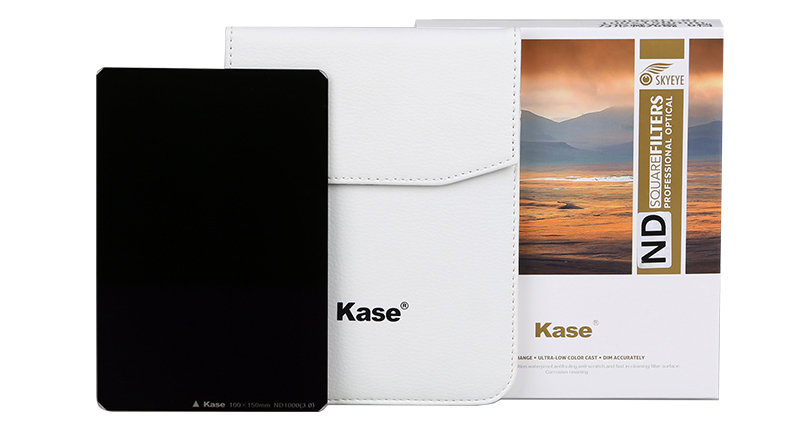
Neutral Density Filter – ND:
ND stands for Neutral Density which means it reduces the light in a neutral way without changing the color of the light. The ND filter actually blocks light coming into the lens like sunglasses. By doing that, they give you control over the image exposure so you have more control of your depth of field and shutter speed.
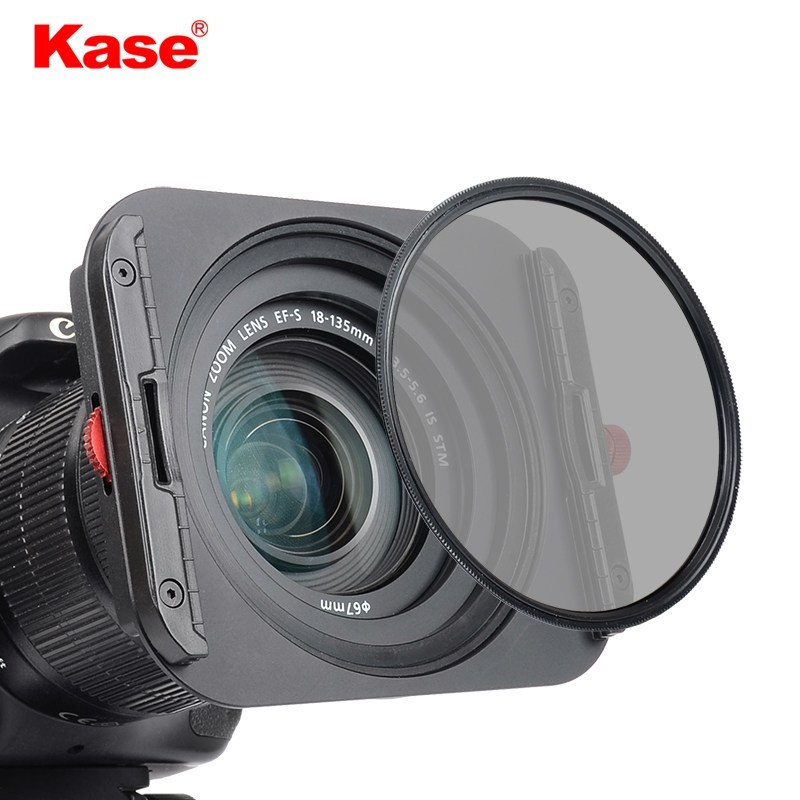
ND filters glass (or resin) can be round and screws directly onto the front of the lens. They can also be rectangular or square-shaped and are inserted into special holders that affix to the front of the lens. In this blog, I will be talking about the rectangular or square-shaped types. The round ones are also good but the problem with them is if you have different sized lenses you have to buy ND’s for each one of them (Except from Kase). If you use the rectangular or square-shaped types you only have to buy different adapter rings for each lens and then you can hook the ND holder onto this adapter ring.
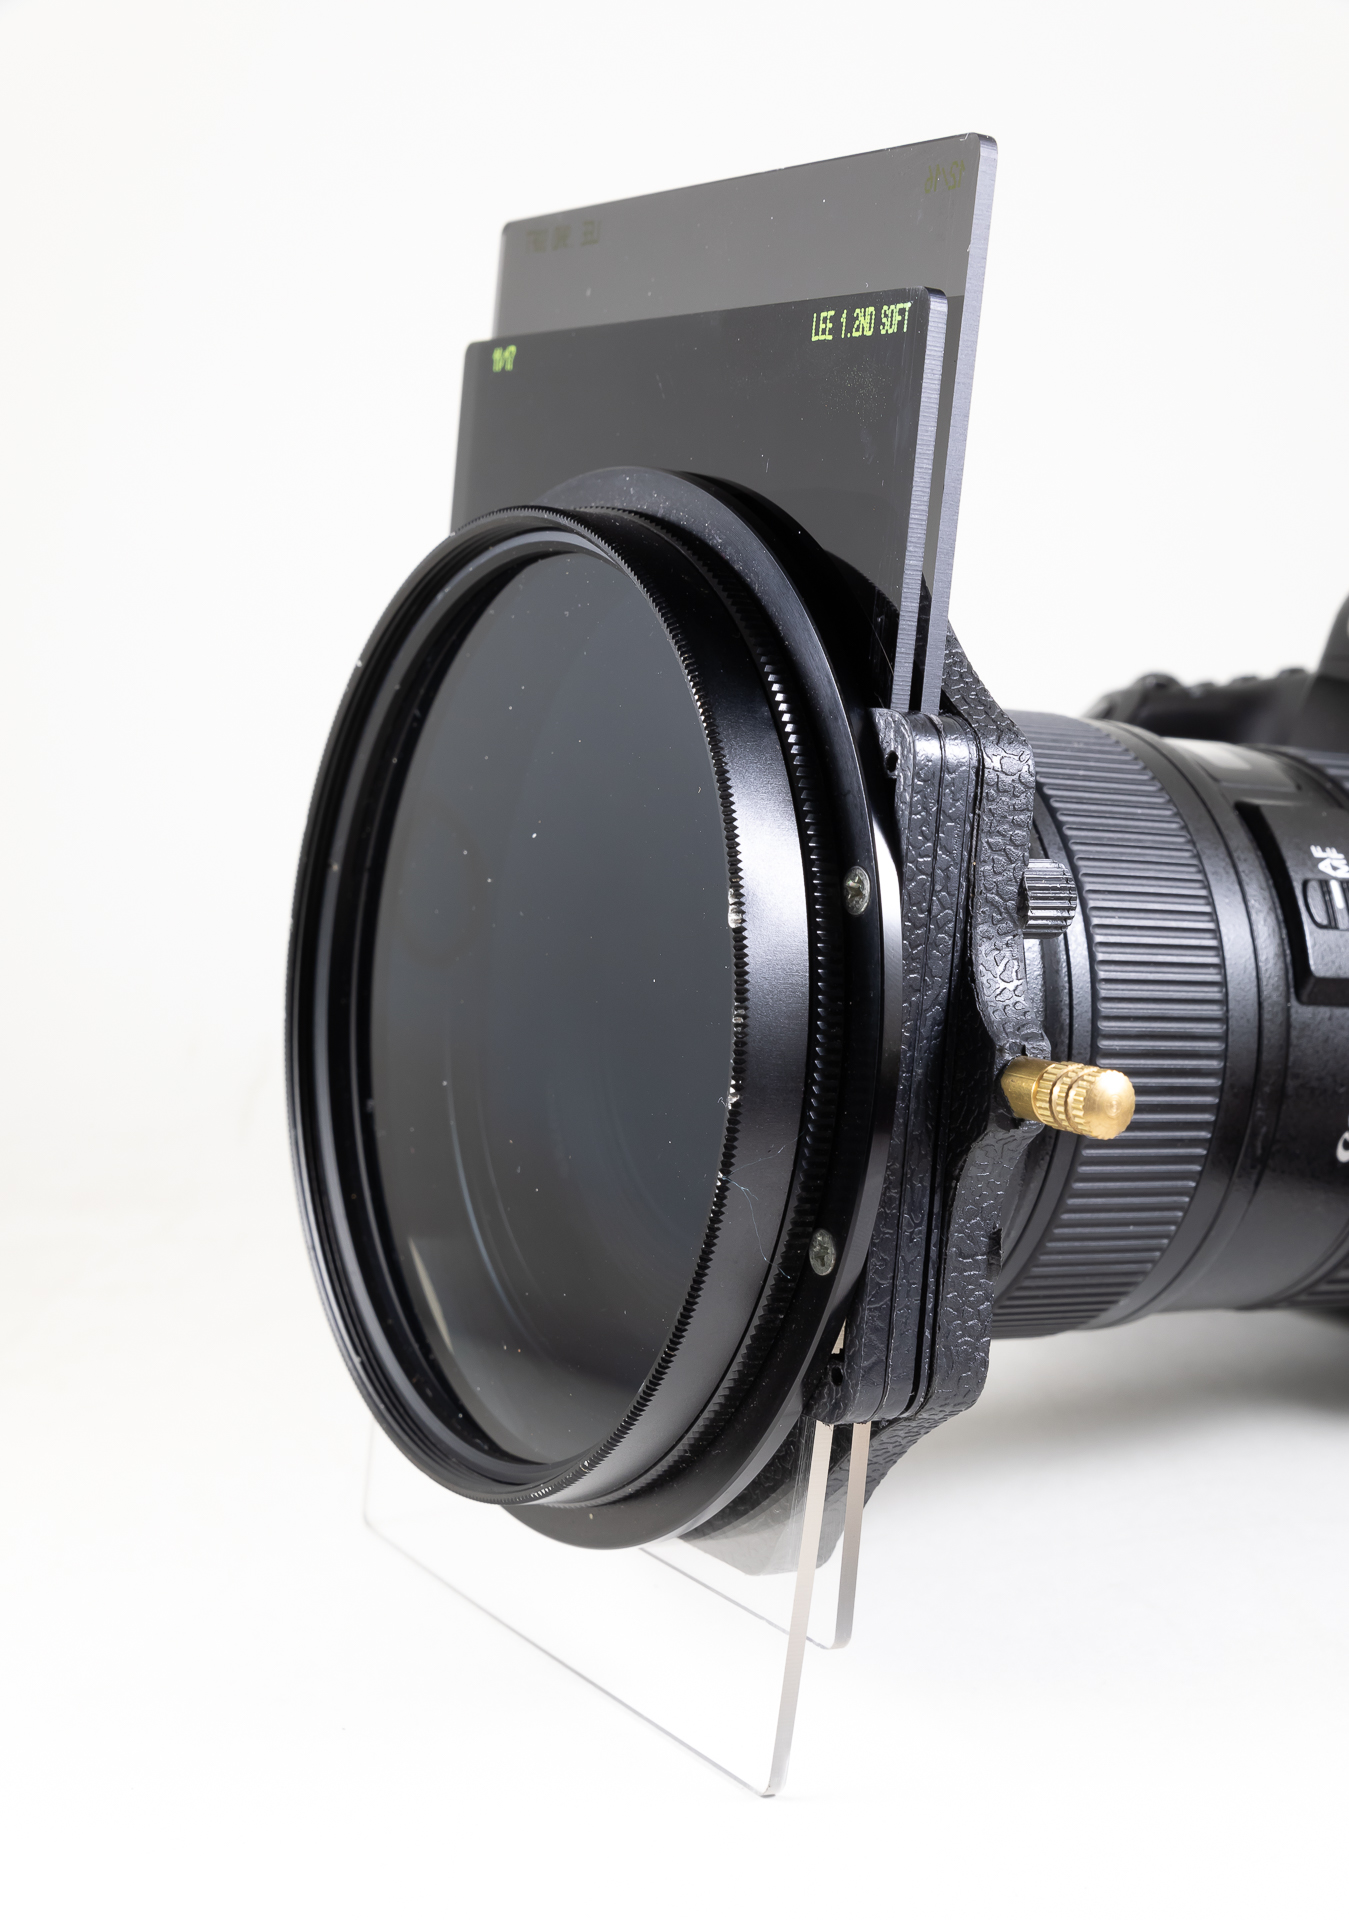
The rectangular or square-shaped types use a Filter holder, which you place in front of the lens. Therefore you can combine or “stack” two or more filters where that is needed.

ND filters come in different strengths or darkness levels, they tell you how many stops of light they will darken your exposure. Most common 100 x 150mm filters can be bought as:
ND4 (0,6 = 2 stops)
ND8 (0,9 = 3 stops)
ND16 (1,2 = 4 stops)
ND32 (1,5 = 5 stops)
ND64 (1,8 = 6 stops)
ND256 (2,4 = 8 stops)
ND1000 (3,0 = 10 stops),
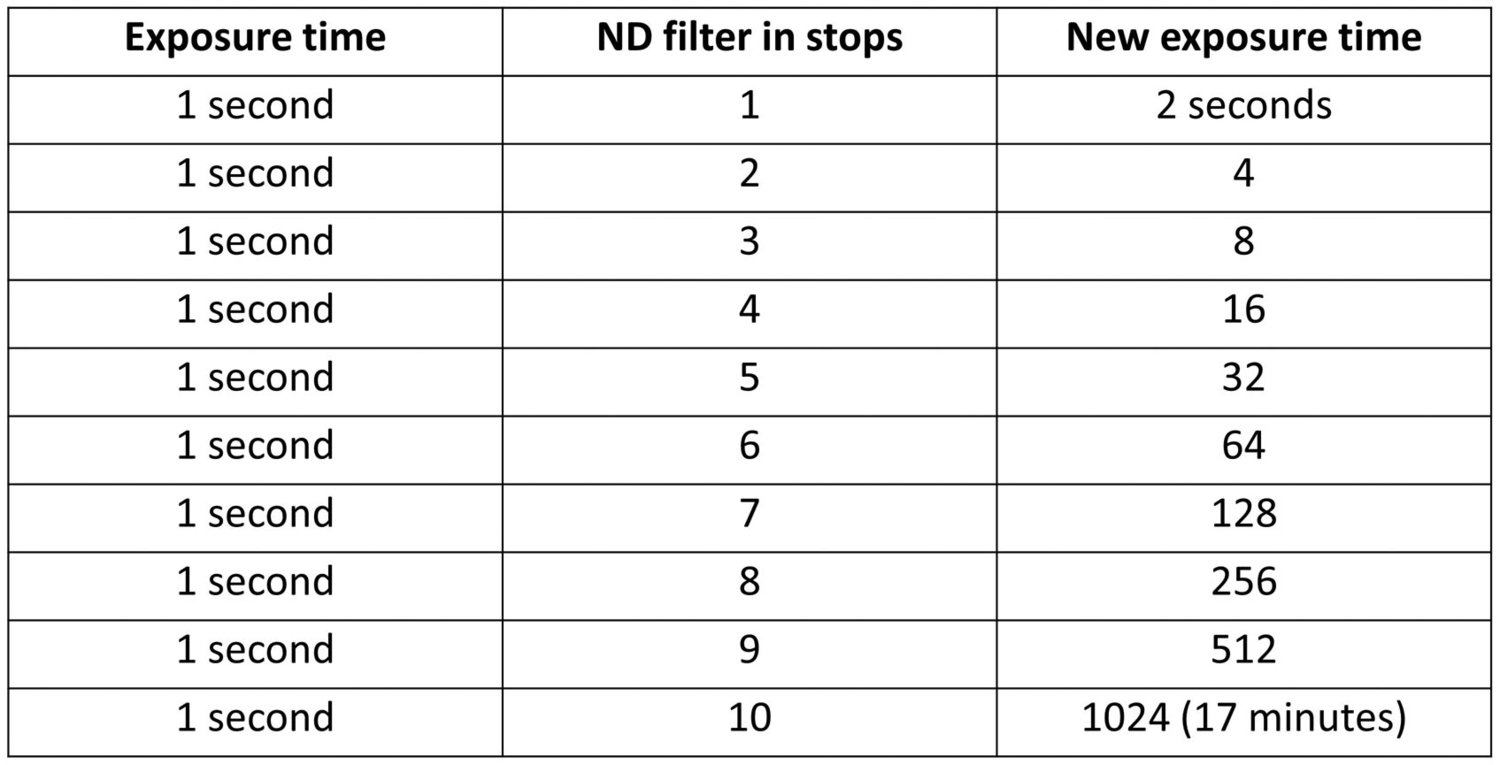
just to name a few. Let´s look at the table to the left:
The simple rule of thumb is that for every stop of ND filter, you halve the amount of light entering the camera which also means that if you want to maintain the same exposure, you need to double your shutter speed. Let’s look at the table:
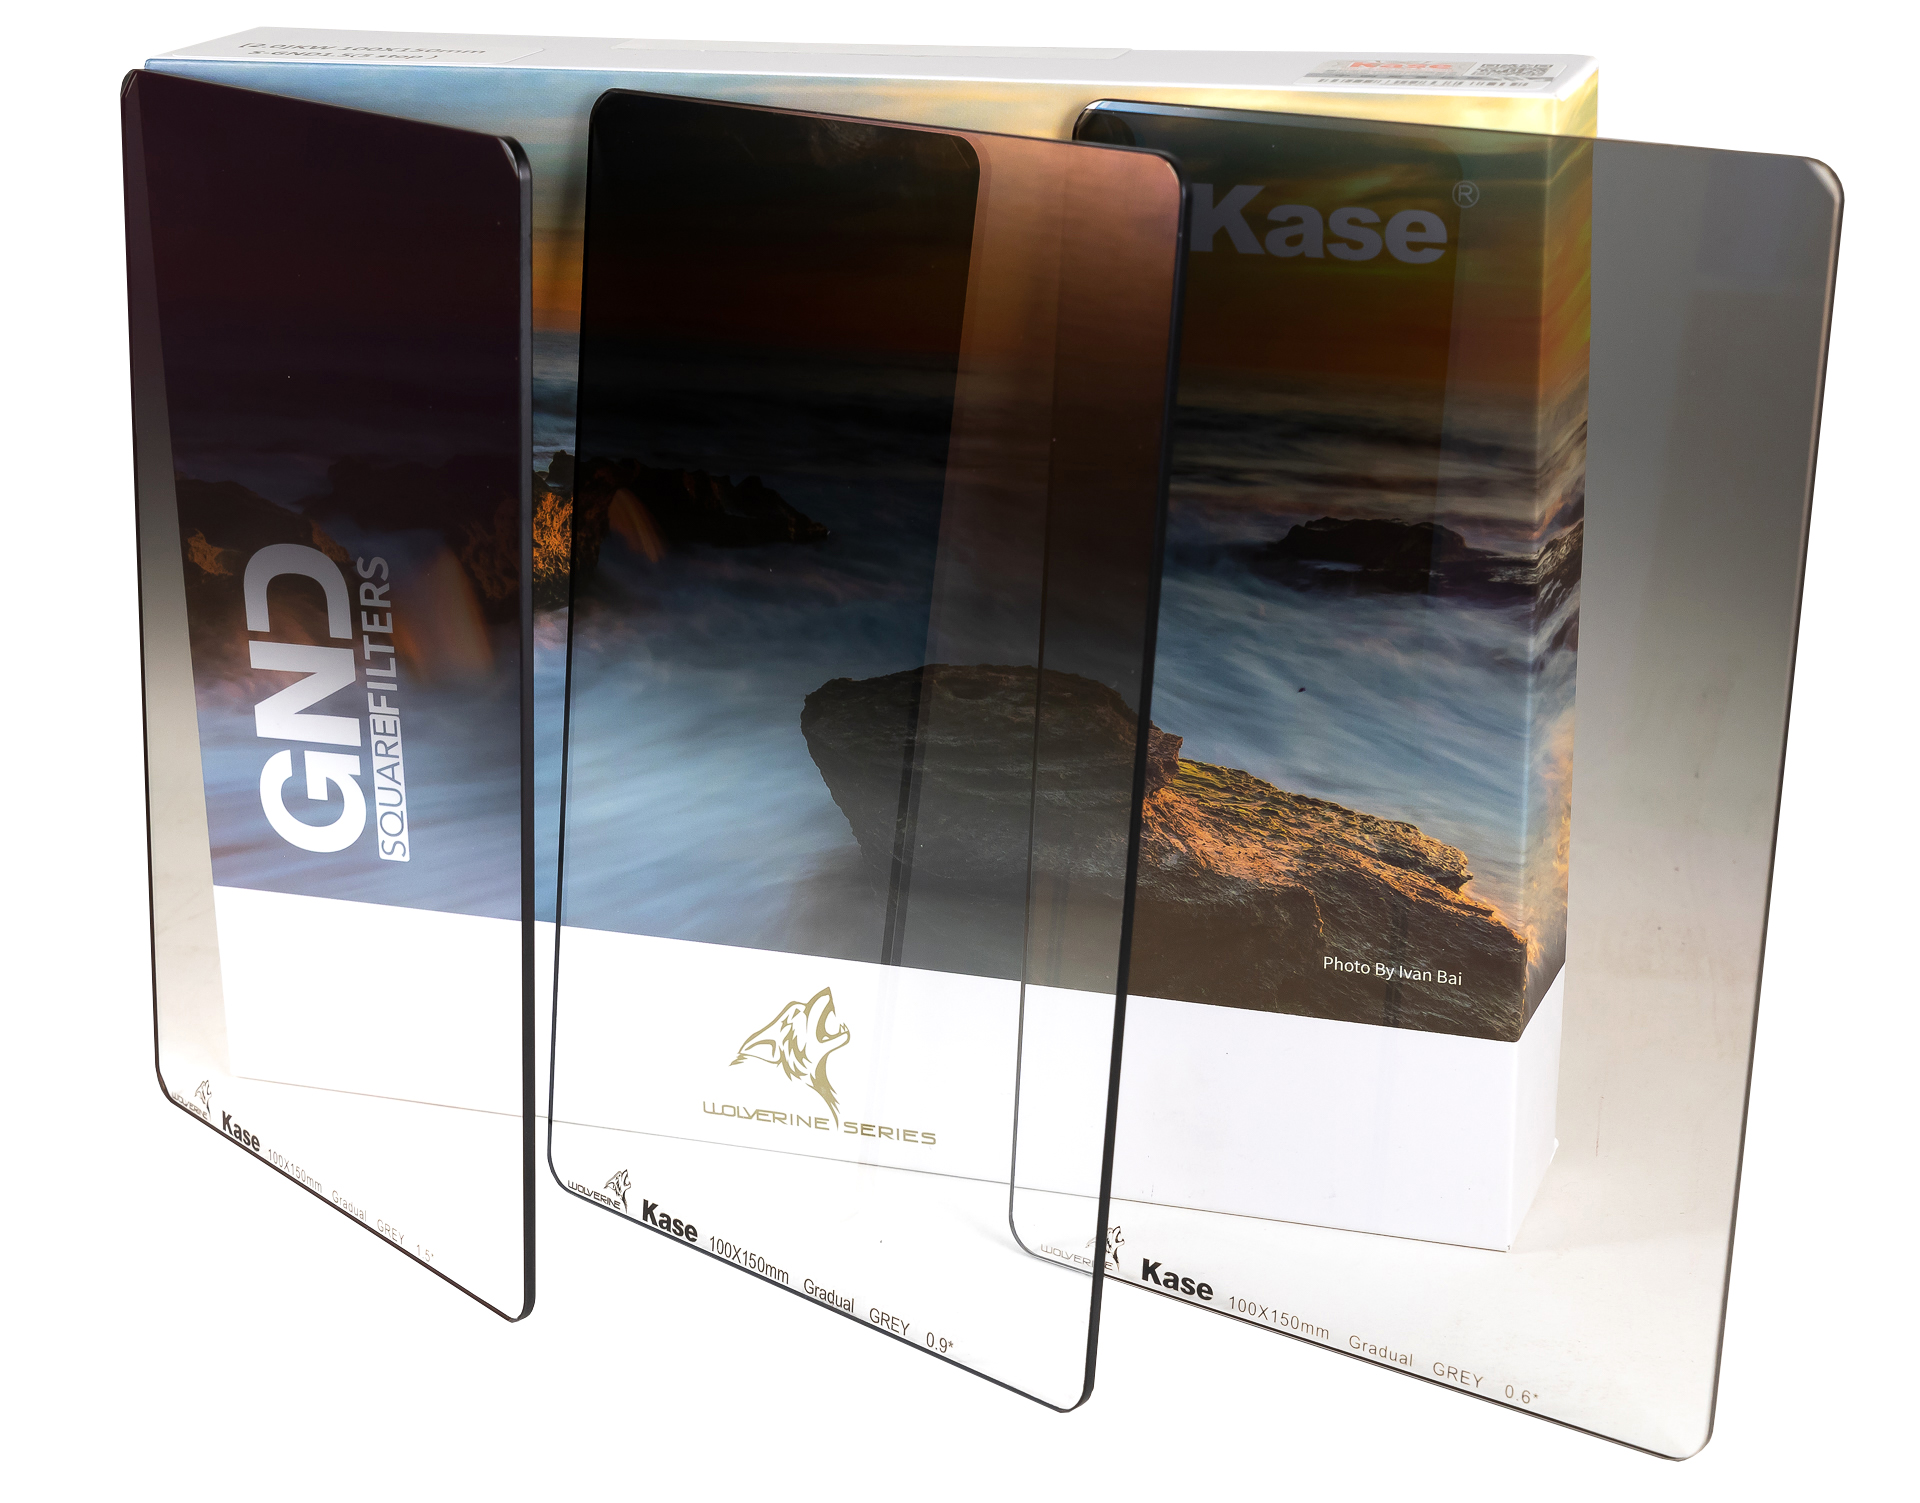
Graduated Neutral Density Filter – GND:
A graduated ND filter is for darkening a specific part of the image. They transition from dark to light, not the whole scene like the ND filter. Usually, landscape photographers use them to minimize the brightness between the sky and ground that is to make the transition from ground to sky a lot smoother. As they are graduated you can move them up and down in the filter holder and find the perfect balance. The GND filters are available as Soft – Medium and Hard Graduated Neutral Density Filter. They get more extreme the harder the graduate is. I’m mainly using the Soft ones.
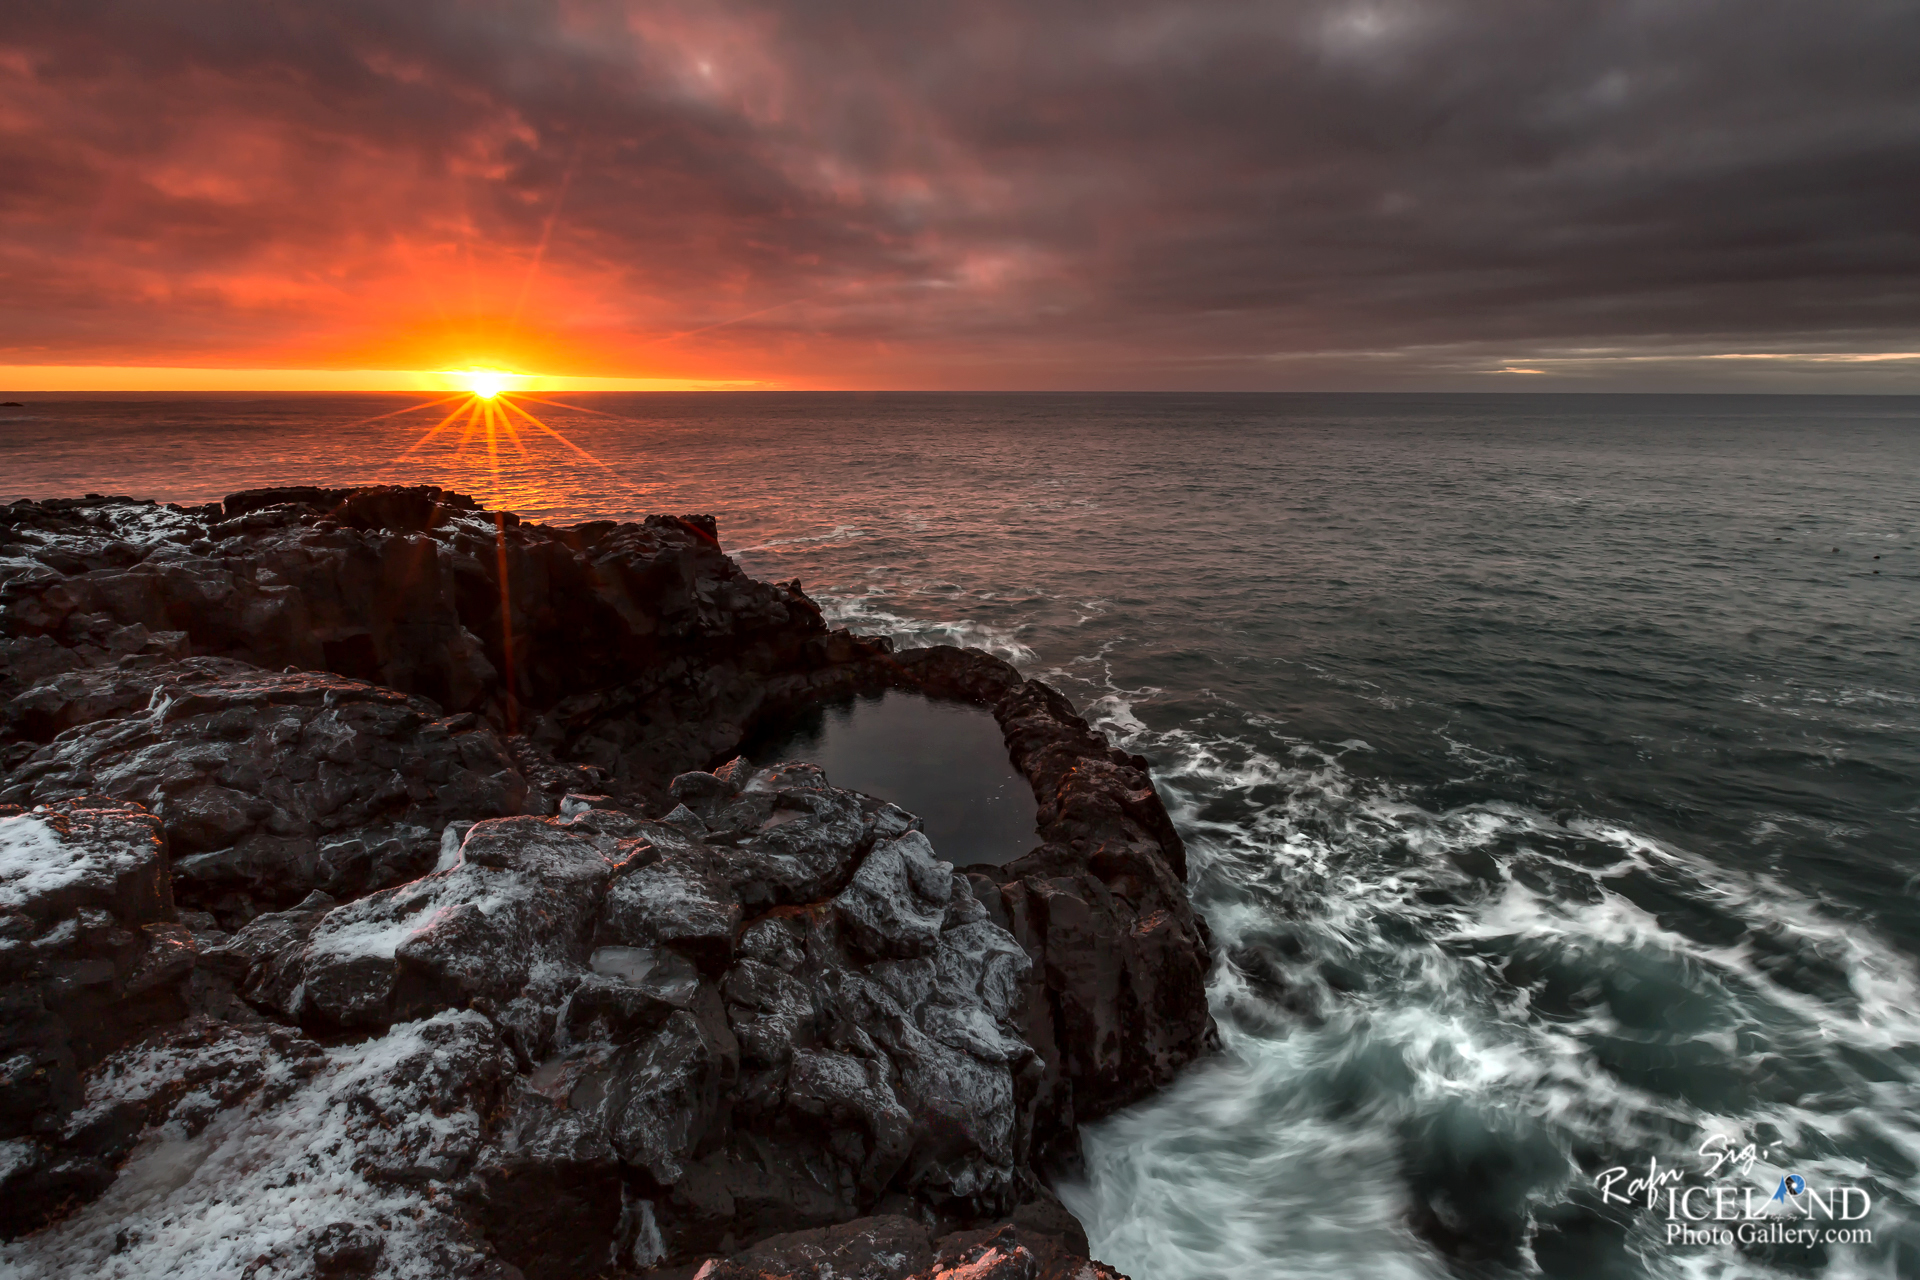
GND filters perform especially well when capturing sunset images.
The filter holder with the filter inside can be rotated if the lightest element is in the bottom half of the frame.
They come in the same strengths as the ND filters but graduate to 0 value in the middle of the filter and the lower part of the filter is clear glass (or resin).
GND 0,6 Soft – 2 stops. This is the first filter I bought and still, it is the first filter I put into my filter holder. I find it is good to use when I’m shooting away from the light. Also, I find it useful to control the sky’s exposure while not over-darkening subjects that stick above the filter edge.
GND 0,9 Soft – 3 stops. It’s ideal for an average day. I find it useful when the sun is breaking through gaps in the cloud giving vibrant colors and light but little direct light. From this filter, I go either up or down in the filter strength and it depends on how the clouds look. Sometimes I use it in the second half-hour of the Golden hours of sunrise/sunset.
GND 1,2 Soft – 4 stops. I usually take this filter out of my bag if I see there is a big contrast between the light and the dark areas, and if I feel like making my shot a little bit of a longer exposure. In the strong morning sun or sunset, this filter is really useful.
These three filters I use the most but sometimes I have to use them together with other filters like the ND or the C-GND, R-GND and the Polarizer. It all depends on what I’m shooting.
Ok since I have mentioned the C-GND, R-GND, let’s talk about it a little.

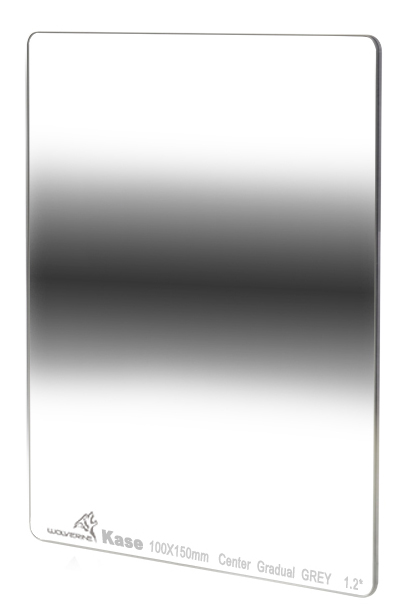
Center and Revers Neutral Density Filter – CND – RND:
As the word says the graduate starts in the center and is 0 at the top and the bottom. On the Revers, the darkest part is in the middle and 0 at the top. They also come in different strengths like the GND filters. I find them useful in different situations like in the strong morning sun and sometimes with the GND or ND’s as well with the Polarizer. This is something I recommend you should try out and also like the GND I recommend you start with the 0,6 -2 stop C-GND, R-GND.

Polarizing Filter:
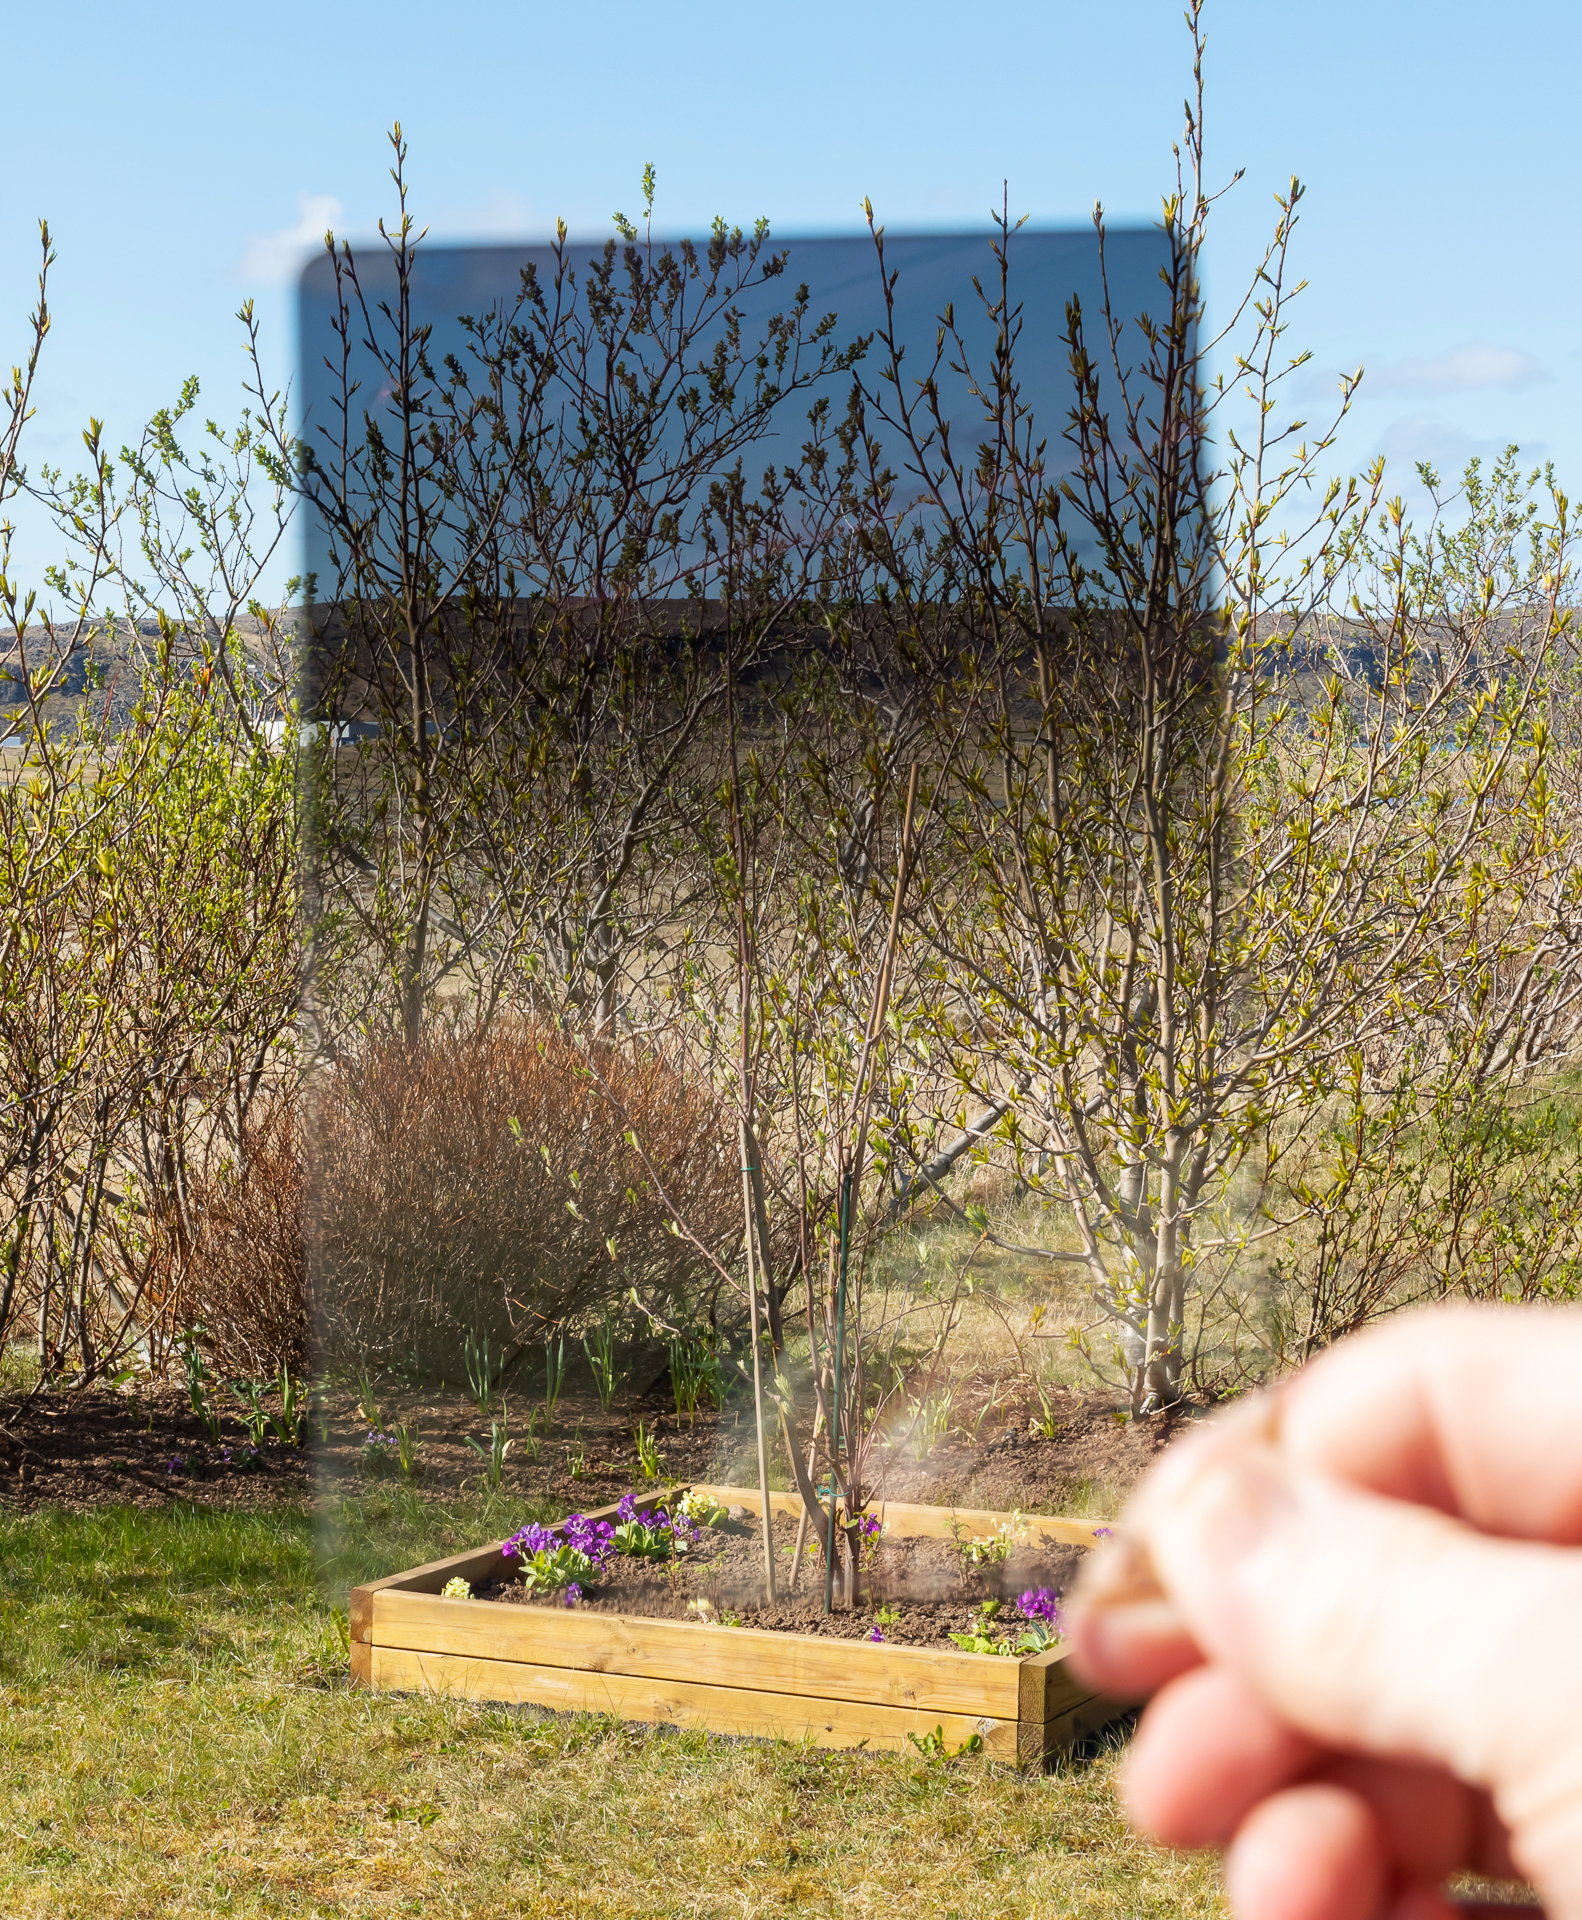
Most Polarizing filter is an 0,6 – 2 stop filter which helps out with cutting down glare, darkening the blue skies, and seeing farther into water. It’s the only lens filter which cannot be replicated using digital photo editing. They are an indispensable tool that should be in every photographer’s camera bag. Polarizers are placed in front of your camera lens in different ways. They work by filtering out sunlight which has been directly reflected toward the camera at specific angles. This is beneficial because the remaining light is often more diffused and colorful, but it also requires a longer exposure time (since light has been discarded). The angle that is filtered is controlled by rotating the polarizer itself, and the strength of this effect can be controlled by changing the camera’s line of sight relative to the sun.
Manufacturers use a different technique to put the Polarizer in front of the camera, and that is among one of the reasons I went from Lee filters which I have been using for ten years and switched over to Kase filters.
Why I changed from LEE filters to Kase Filters:
It came to the point in my photography that I wanted to start using Filters. It was ten years ago so there were not many brands on the market. I went on the Internet searching for reviews and I found out that most of the Professional Landscape photographers were using the LEE filter system. Well, I wanted to be like the BIG guys so I bought myself a set of Lee. I had to wait for some months to get the big stopper (10) but in the end, I had all the resin filters I wanted and the Polarizer. I finally was in the league with the BIG guys, I thought.
When I started to use the Lee “Big stopper” I found out that it suffers from serious color cast problem, but of course I could not mention that because this was supposed to be the best. I learned how to work around it and in some cases, it worked rather well and I got some nice shots by using it. The problem with the Polarizer was that it was the last filter on the Filter holder and by placing it there I always had some shadows around the edges of my photos, so I had to crop them in my software. Well, in the end, I just stopped using it so it was only resting in my backpack but somehow it always came along, I actually don’t know why.
Soon after I started to use the Lee system I found out that the filter holder was not good enough, the filters tend to slide off and fall to the ground. After one of them broke into many pieces I replaced it with a cheap holder from China (I don’t know the brand). The holder had screws to tighten them so they would stay in its place so I got rid of that problem. Then the next problem came. As you probably know the Lees slider (and the Chinese one) are clicked on. If it happens that they fall off the adapter ring or if they touch your clothes when you are walking then, crash. . . , another scratched or broken filter.
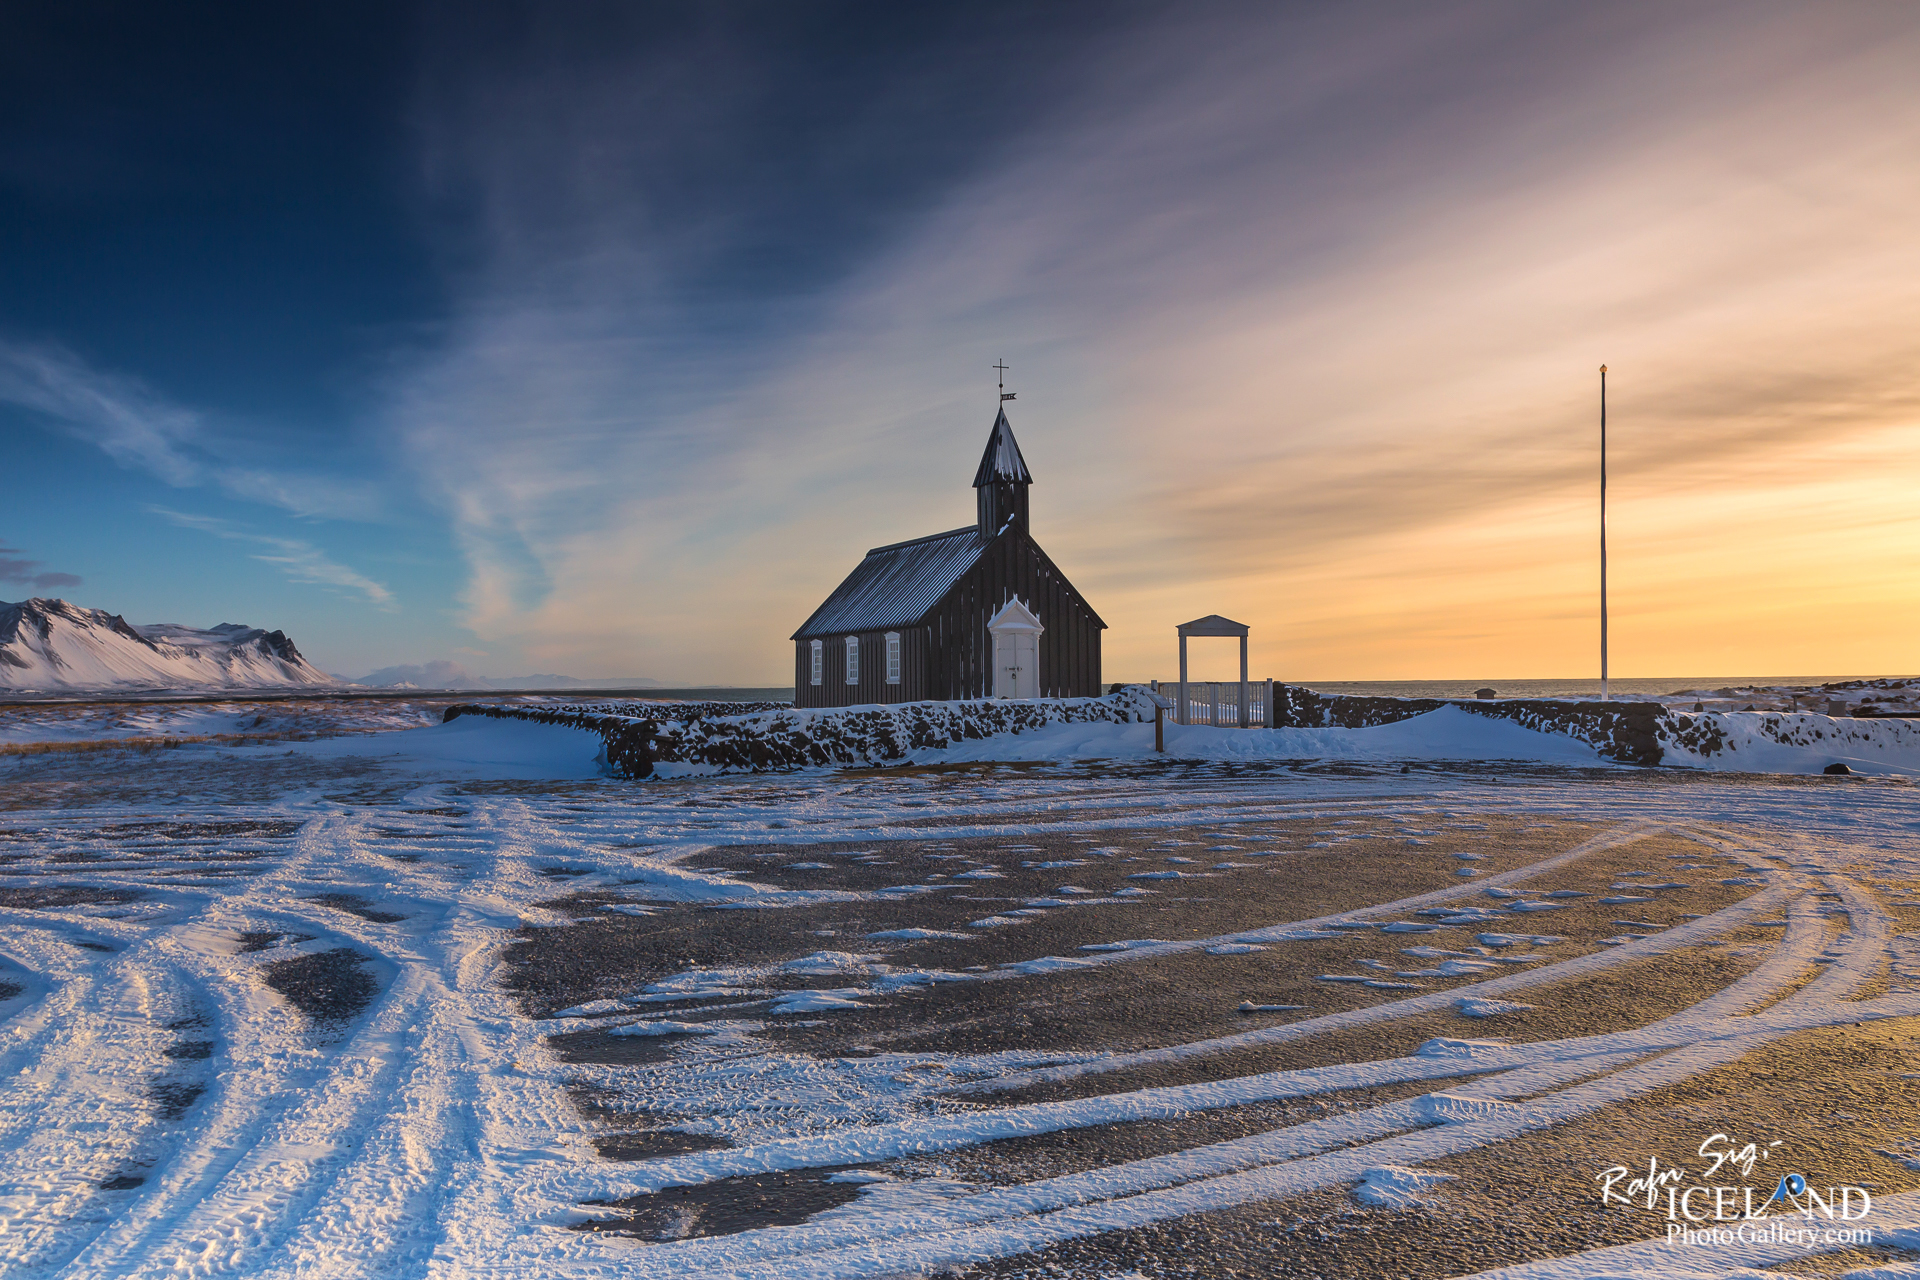
Living in Iceland and using filters can be challenging. We have Horizontal rain and snow, lot of wind, frosty twilights and up to only 4 hours and 15 minutes of daylight (if it’s a clear sky) in the winter time. When you are trying to change filters in a bad conditions like that the unpredictable can happen, you drop a filter to the ground. It means it either breaks or gets scratched so they are not usable anymore. I have lost several of them in cold conditions when my fingers had no sense anymore and were blue because of the cold and frosty wind. It is rather expensive to replace them, but I did and that was robbing me blind.
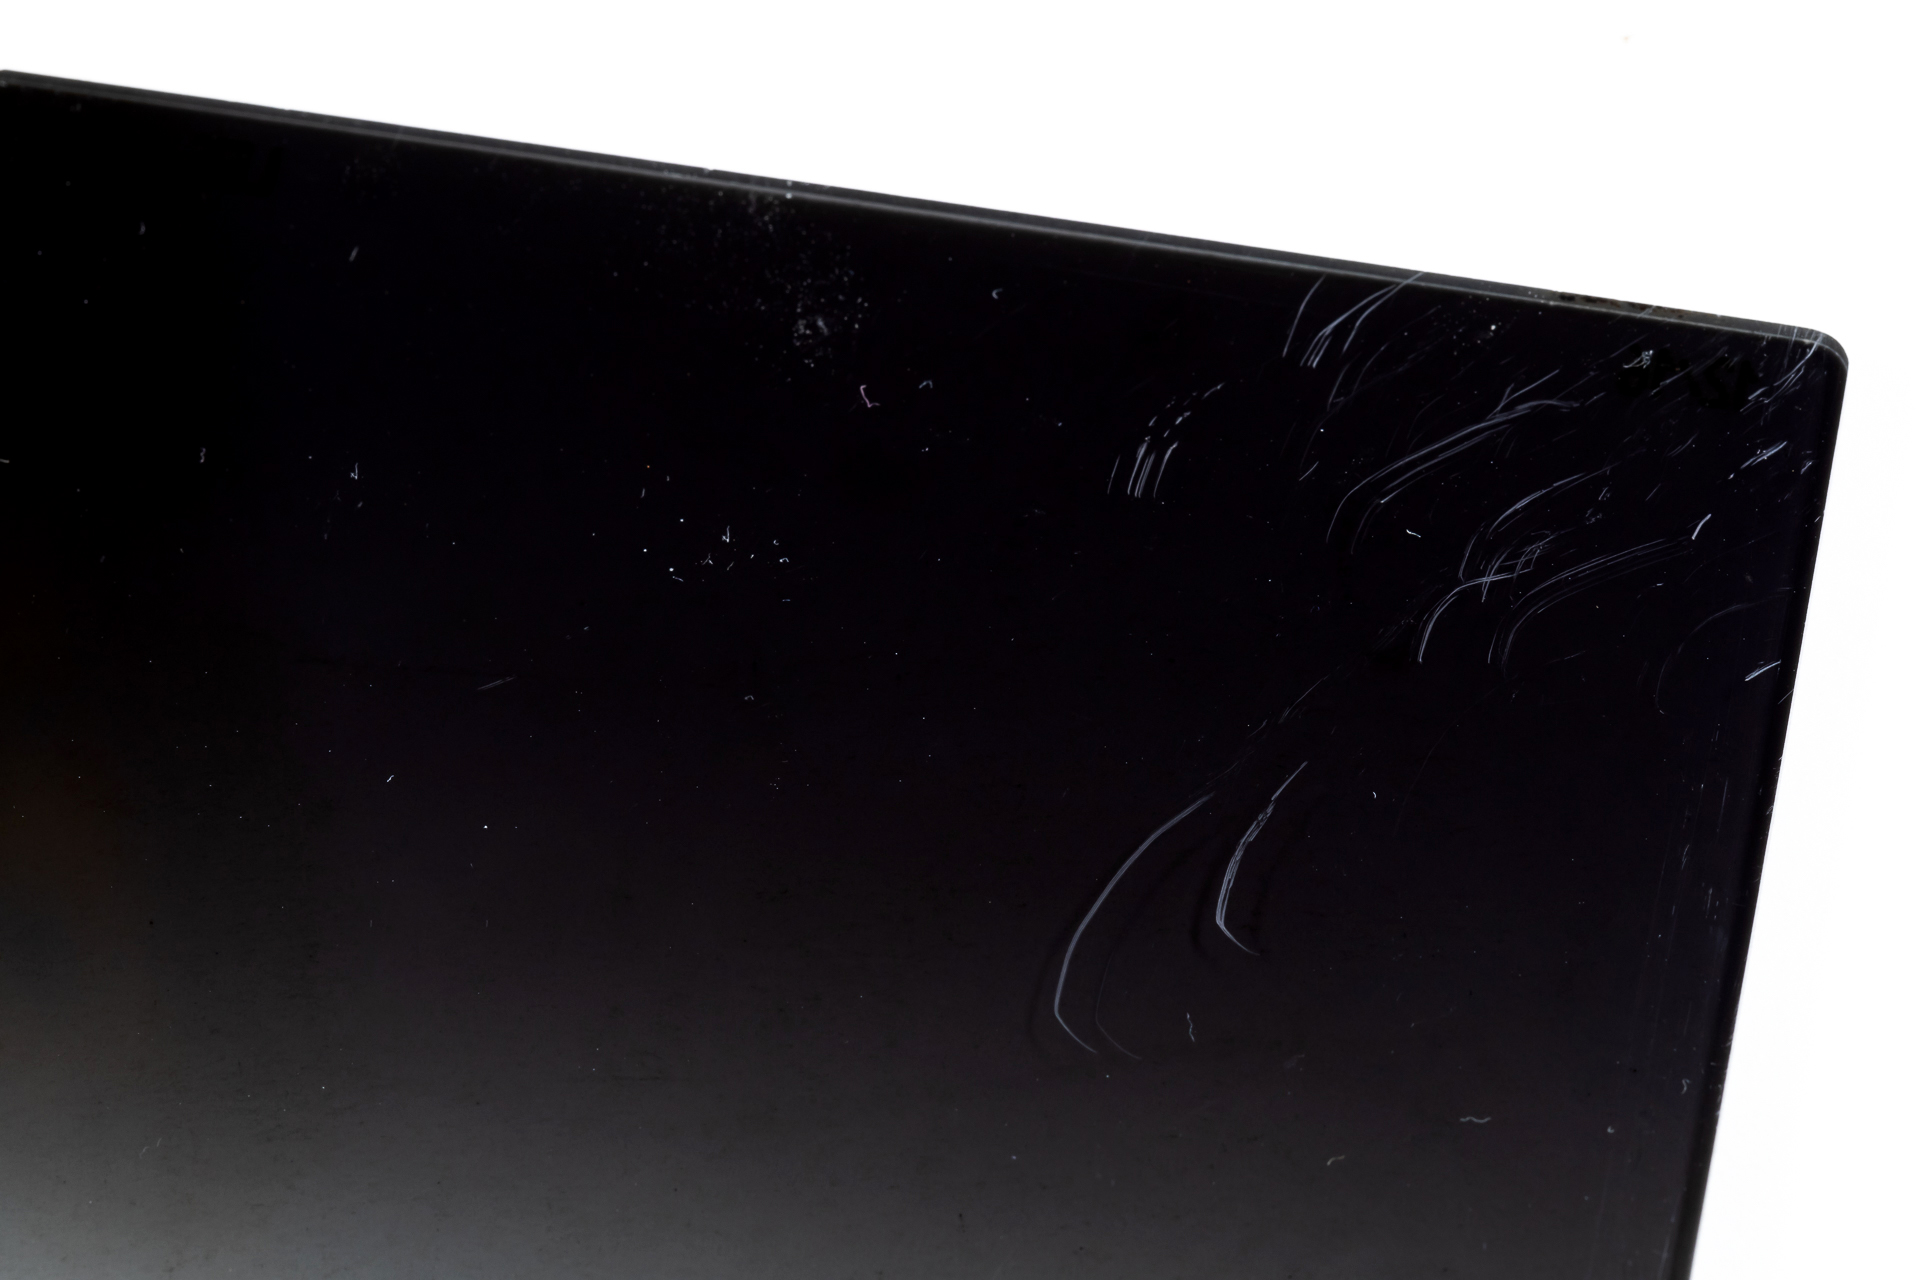
I never got used to how difficult it was to wipe the raindrops off the Lee filters. It only smudges the raindrops around and was almost impossible to deal with, especially in the Icelandic conditions, when you are finished you have to start all over again. Sometimes I just gave up and put them back in my backpack and tried another method of catching my shot or I used a lot of time taking the drops out in my software. I also was never satisfied with the corners of the filters, they are very sharp. It means when you put the camera with the filters on into your car seat they could easily cut through the material, yes it happened to me.
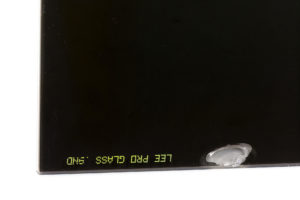 When I got a scratch on my GND 06 filter for the third time I said to myself – no, no, no. I will not spend more money on the Lee filters, enough is enough, there must be others more suitable for me and the weather conditions in Iceland. Something that is professional, very good, easy to clean, robust, and made of tough glass instead of resin.
At the same time as I was using what I had left of my Lee filter collection, with all their disadvantages I was constantly on the internet searching to find the “Right” ones for me and the Icelandic weather conditions. I had narrowed it down to two types, Kase and NiSi. I started to read all I could find about these two filters, looked at videos on YouTube until I made up my mind what I would go for – Kase.
Let’s make one thing clear before I continue with this blog. I used Lee for ten years and I made some nice images with the filters but I see now after I received my Kase filters that they seem to be child of its time. A lot of technical improvements have been made since then.
Kase filters are one of the technical wonders, I must say. – Let’s dig into it.
The Change:
I chose Kase because the Wolverine Shock-resistant, KW optical glass, with its high toughness and high definition are far superior to the resin material used by Lee. The filters produce a much sharper image. It does not hurt that they are also super waterproof, antifouling, ultralow color skew, IR-CUT Infrared cut-off coating, scratch resistant, anti-static, mould proof and antibacterial, which yields a true neutral color with no color cast.
The IR-CUT Wolverine optical Kase filters, which are made of KW glass and coated with an optical cutoff coating allows visible light to pass through and cutoff or reflection of infrared light. The CCD and CMOS sensors in digital cameras are very sensitive to infrared light which causes pseudo color and ripples from detection errors. The IR Cut can correct images and mitigate the influence of infrared light on sensors. The addition of optical glass camera filters between lens and CCD or CMOS image sensor can effectively suppress ripple disturbance caused by light waves passing above CCD or CMOS image sensor space frequency, and effectively suppress infrared light wave, improve the effective resolution and color reduction of color CCD and CMOS image sensor, make the image clear and stable and restore the image color, make the image clear and consistent with the human eye feel. In a simple word – No color casting.
The Kase filters are made from toughened glass that will withstand a drop or three, so no more accidentally broken filters when out in the field in the windy weather conditions of Iceland. They also will not scratch or mark very easily at all.
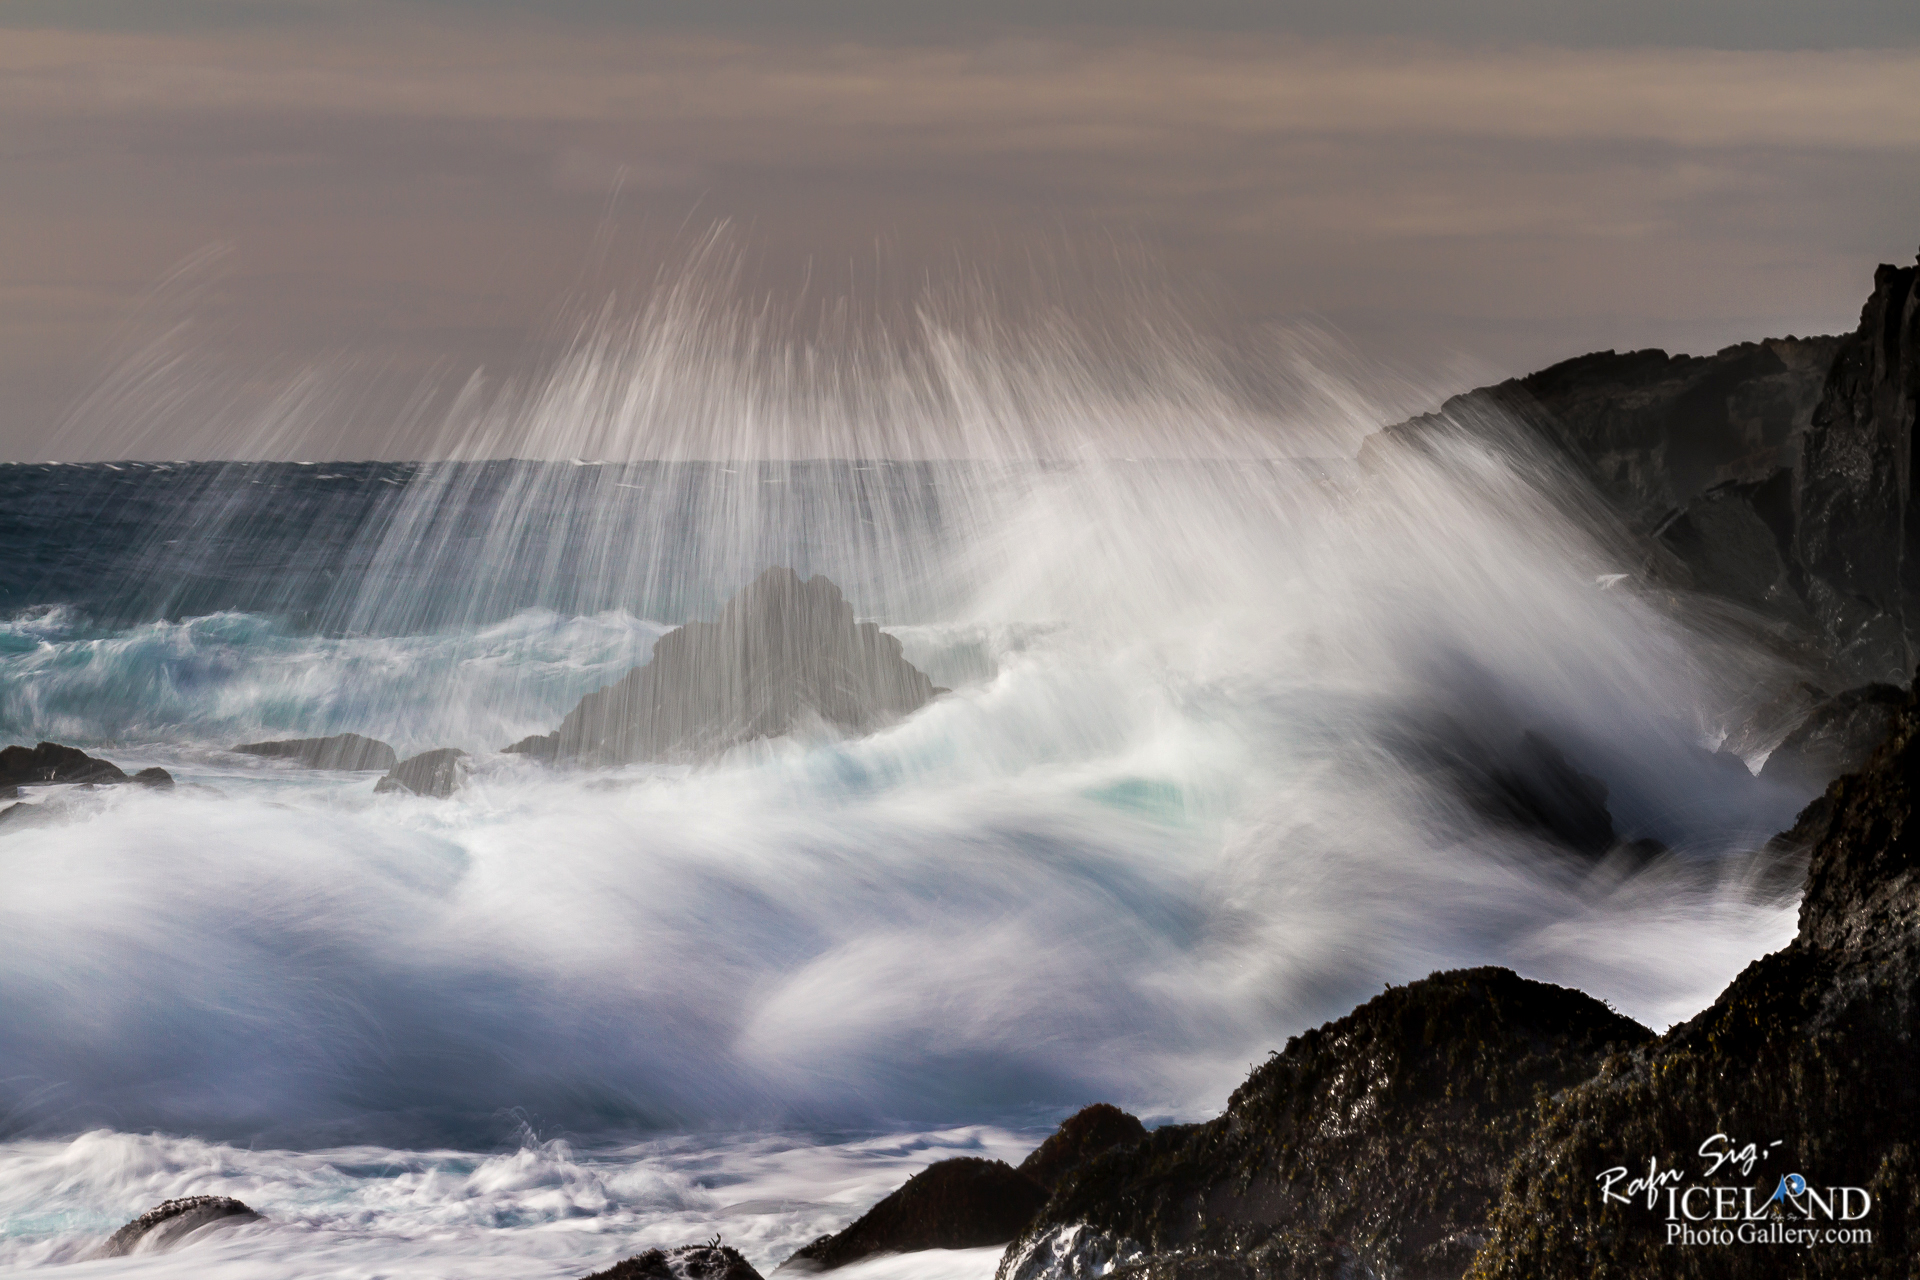
I have already accidentally dropped one ND filter down to the ground when I was photographing a waterfall in Hvalfjörður and it did not break or even get a scratch. Just because of that incident it has started to pay off.
(Please keep in mind that toughened glass has been stress tested and drop tested at heights of 1m plus, falling onto multiple surfaces without any issues. However, as with all toughened glass products, it will weaken after repeated shocks from falls, etc. The products are designed to reduce accidental breakages and not to be treated roughly all the time.)
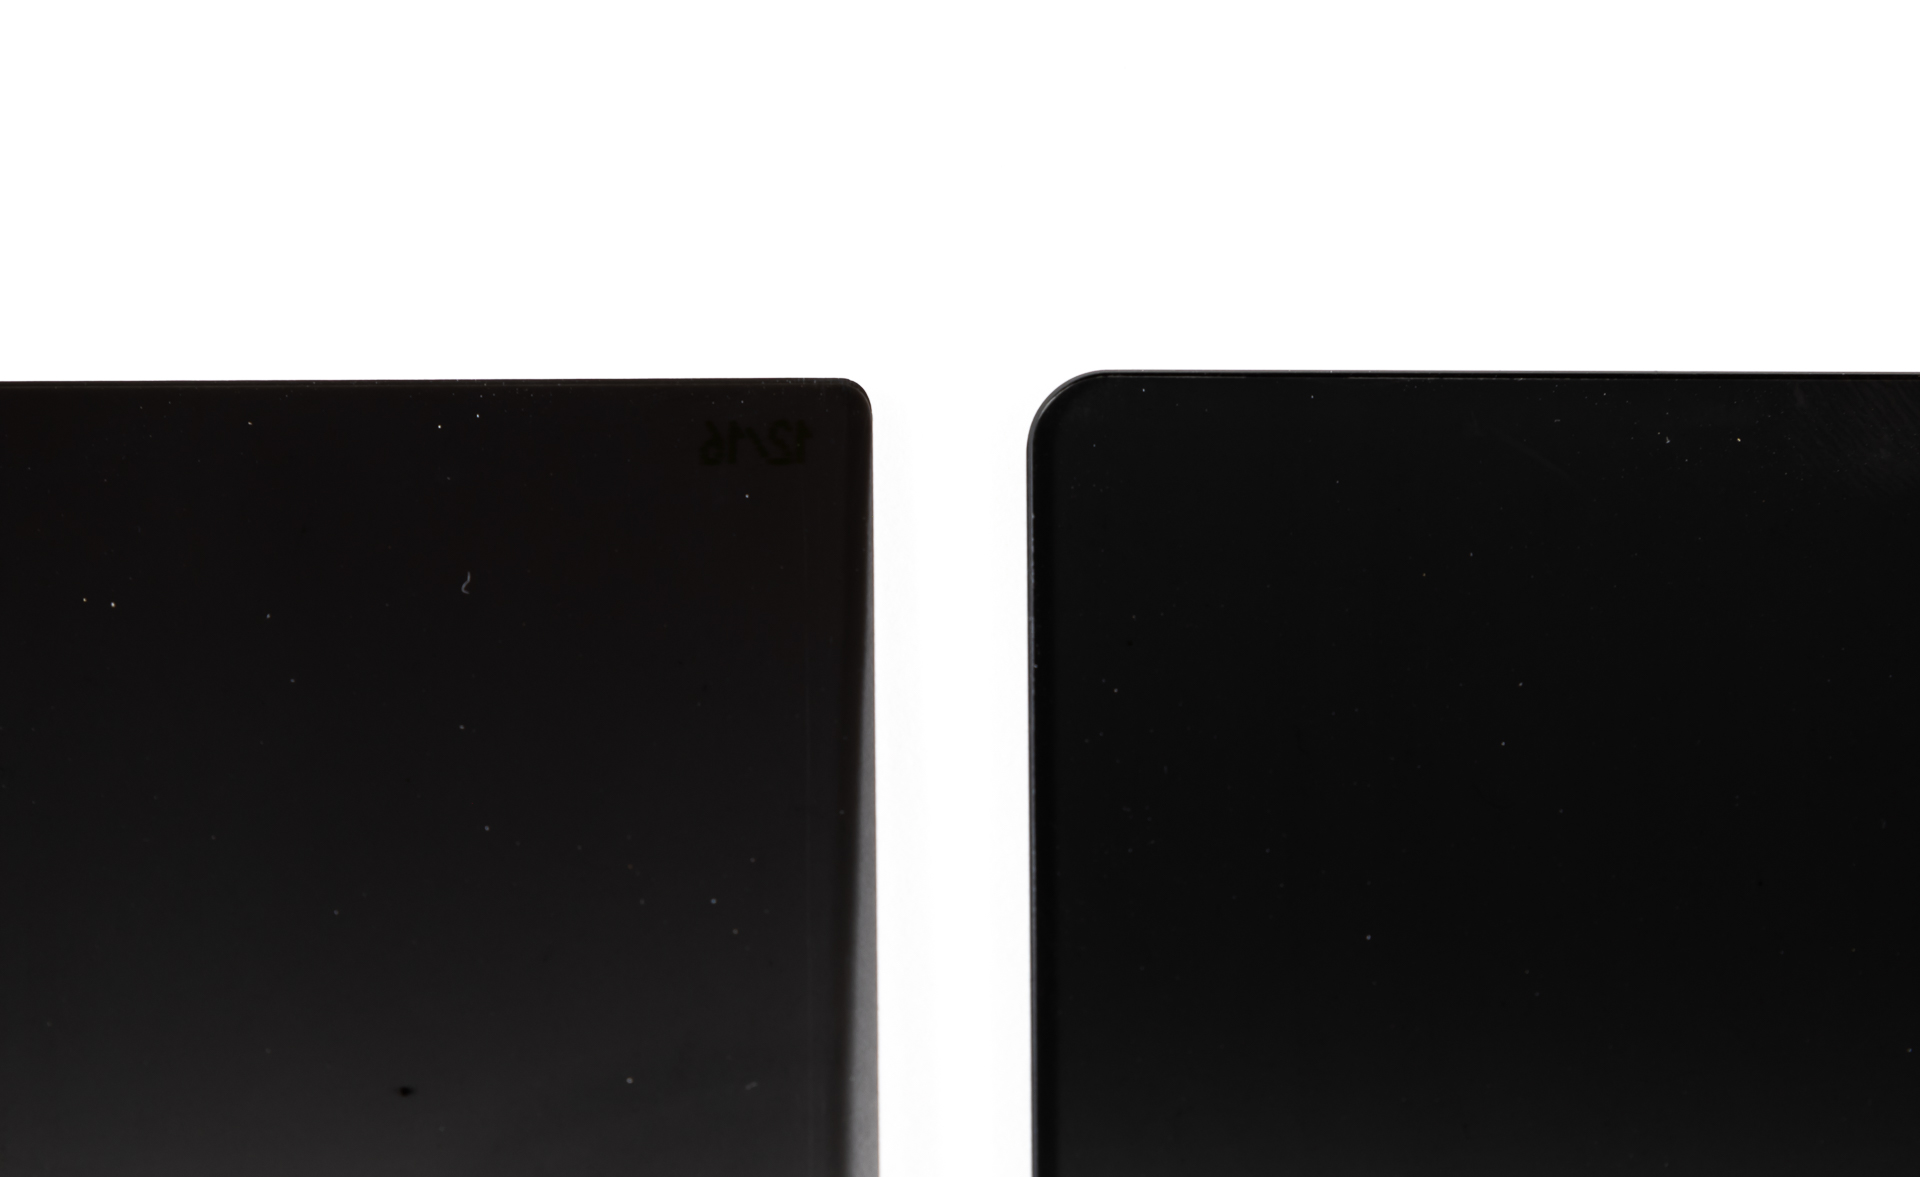
All Wolverine filters have nanotech coatings that help control reflections, repel oil and water, and are mould resistant. They simply wipe clean when covered in sea spray, or water. Standing out in a horizontal snow storm or rain (like we have in Iceland), it’s a big factor and I have proven that it’s right. No more huffing and puffing trying to get the smudged raindrops off. Just wipe off once or twice, and it’s clean.
The corners of the Kase filters are rounded so I can leave the filters on my camera, put the gear on my car seat, and drive on the bumpy Highlands off roads without facing the problem of cutting through my seat. Yes, sorry, but sometimes I don’t have the time or I don’t make the time to take the filters off when I’m changing locations. I want the camera to be ready when the moment is right.
Let’s mention the Kase K100-K8 Filter holder a little bit before I go into the Polarizer.
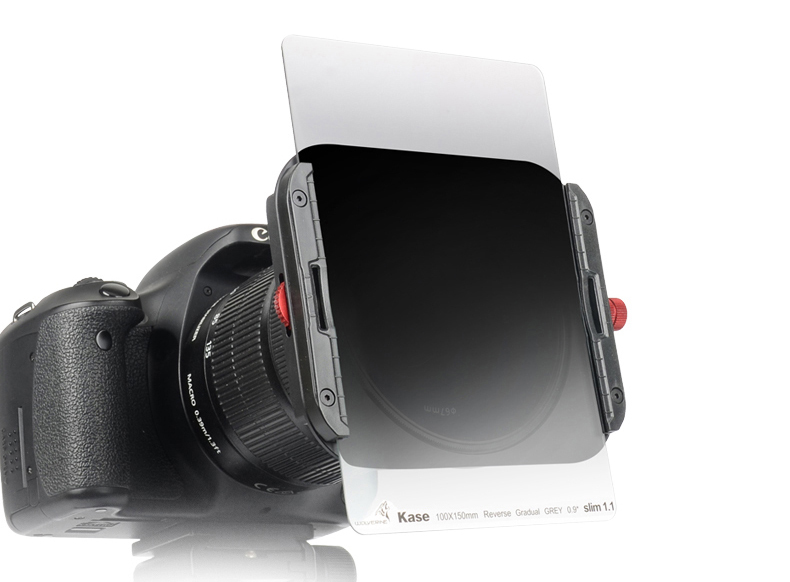
Installing the Kase filter system. First the rotating adapter ring, next the magnetic polarization filter
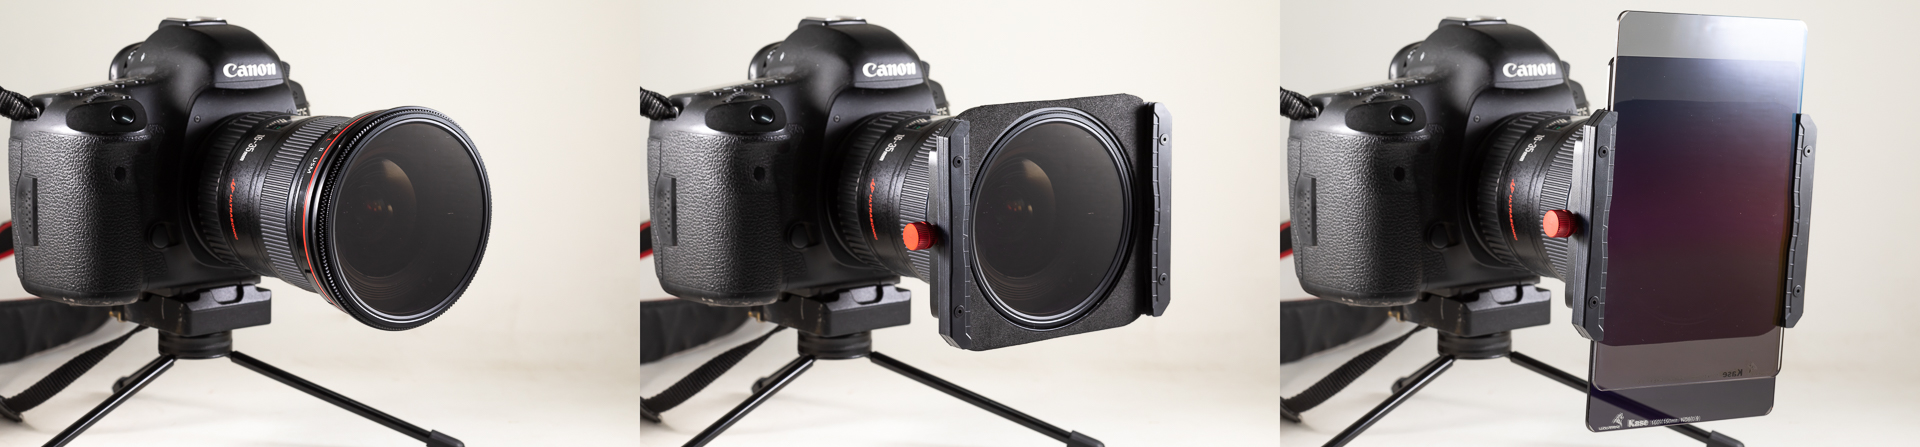
Put on the K100-Slimline filter holder. Finally one or two filters are installed.

Ok, the filter holder is compact and made of lightweight material. It comes with two slots as standard for 2mm filter glass but can be changed for three slots if you are using the 1,1 thickness filters. I’m using the 2mm filters so I didn’t have to do anything. The 1,1 filter slot holders come within the package and even the screws and the screwdriver, so it can be changed very easily.
The Filter holder is screwed on the adapter ring so it won’t fall off like other brands. If you want to turn it, then you loosen up the screw a little bit, turn it and tighten it up again. Behind the first slot there is a filter to prevent any unwanted light leakages between the ND and the sensor.
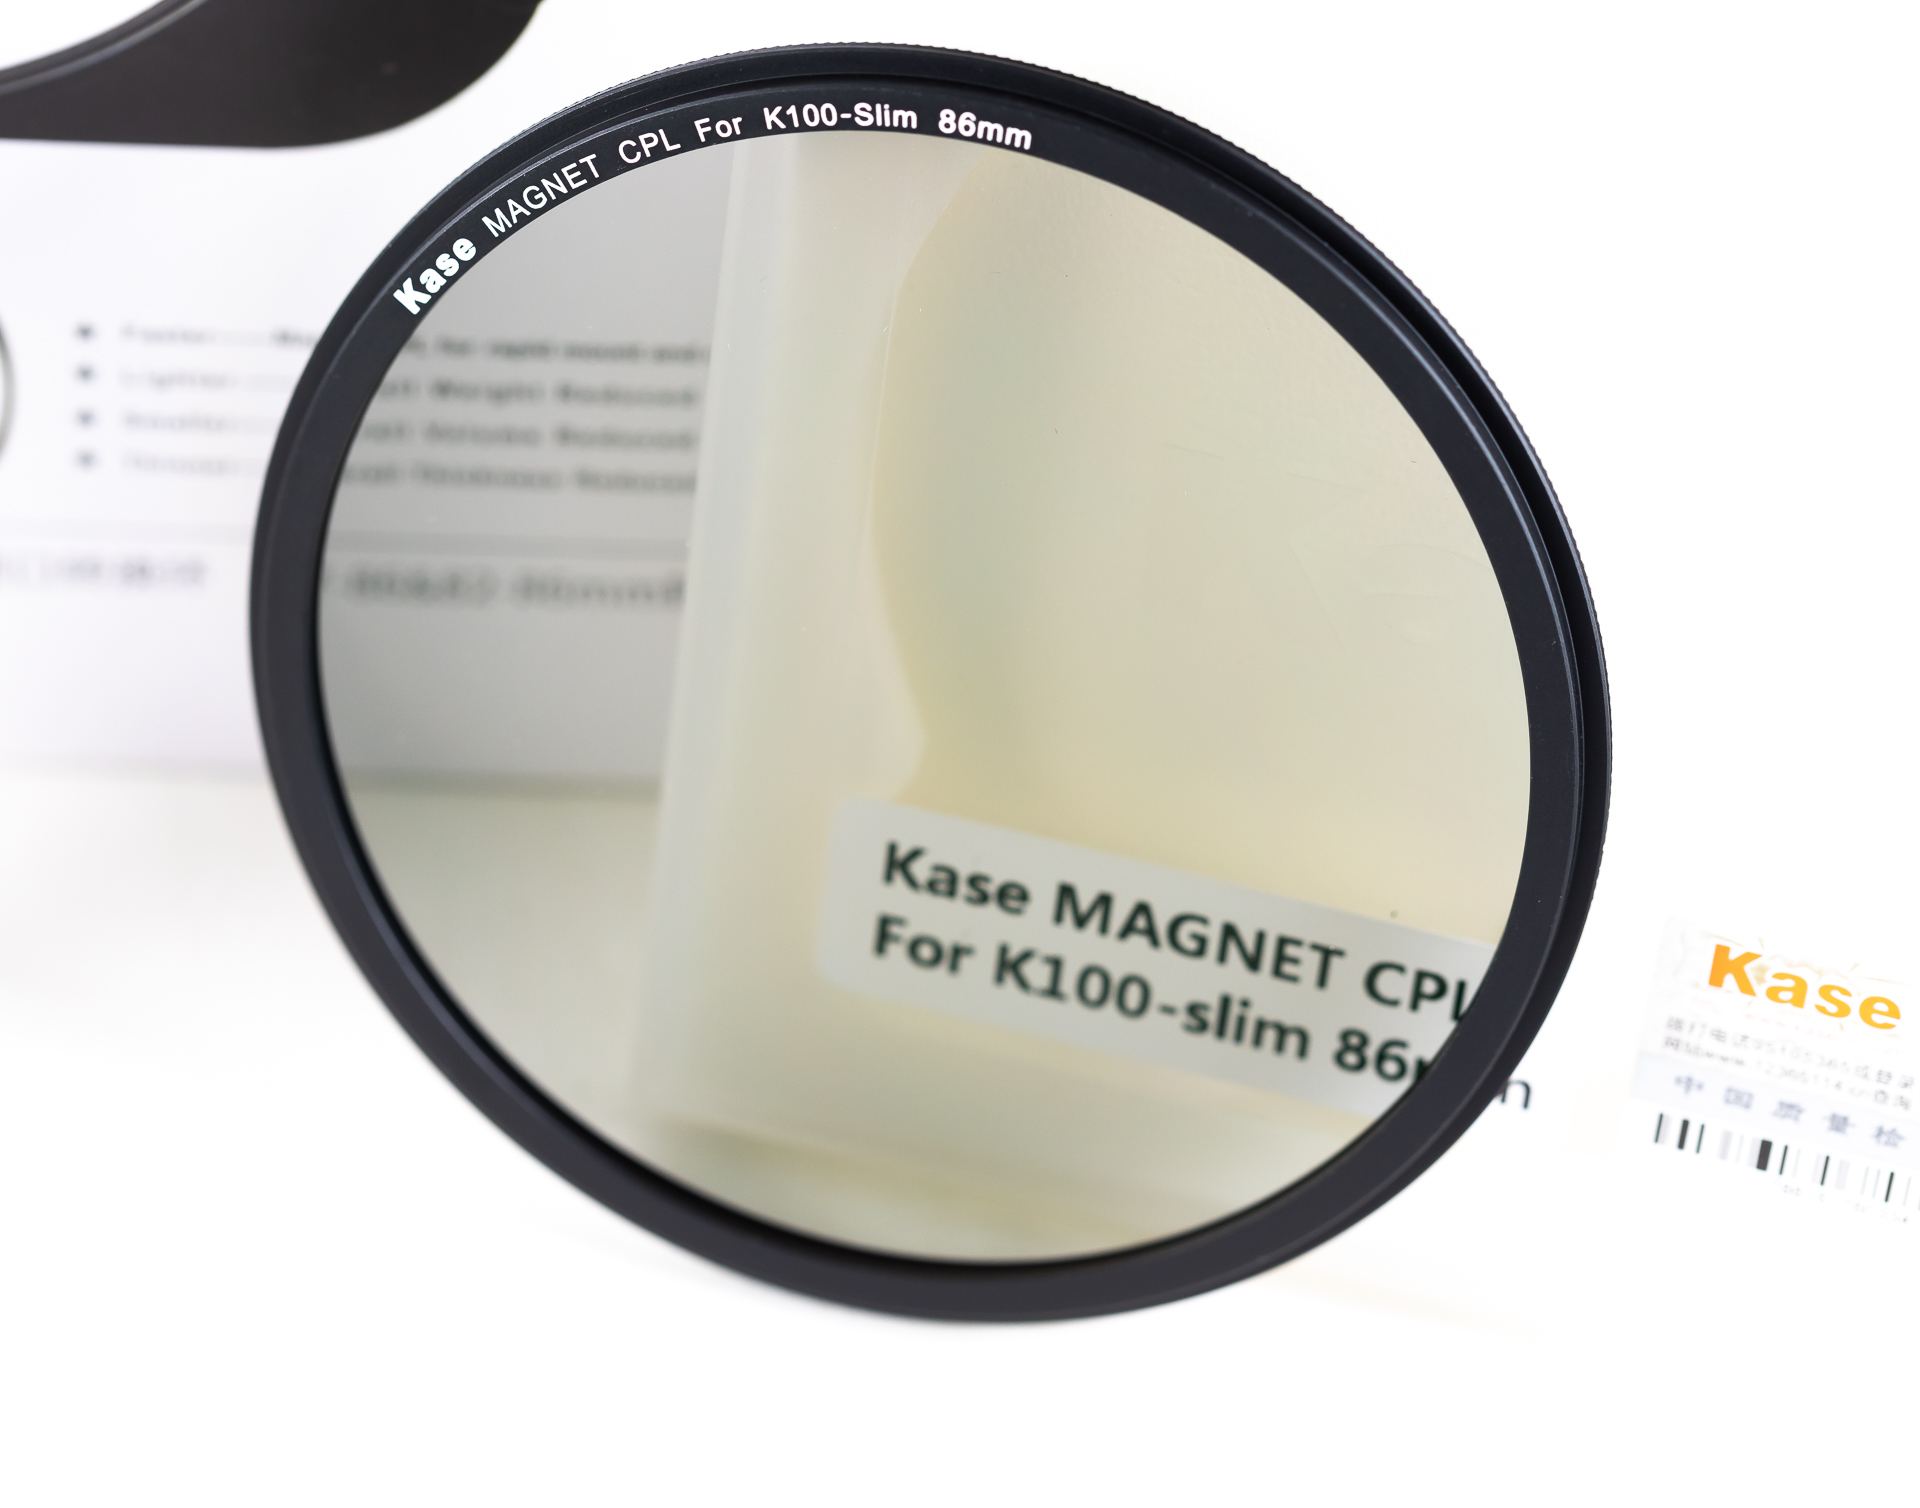
The Polarizer Filter:
The polarization filter of Kase is placed directly on the adapter ring with a powerful Magnet to hold it in place. There is no screw on or off so it’s really easy to use in the freezing windy winter months as we have up here in the North. You don’t have to use the Filter holder if you don’t want to. From there you turn it directly. One can also place the Filter holder on first and then put the Polarizer in place if that’s the case. By doing that, you turn the Polarizer with a small wheel on the site of the Filter holder. It rotates freely and feels as sturdy as you could wish for.
When I started using the Polarizer I was afraid it would drop out of its place as there is no screw mechanism. But due to the strong magnet, it was secure. Now I don’t think about it and up until now, it has never happened. Now I have an easy to mount magnetic polarizer that works on all my lenses and Kase has that. The Polarizer system is simple and well made. Easy on – Easy off.
ND Grad (GND) and the C-GND, R-GND Grads:
The ND grads and C-Grads, R-Grads are made of the same glass as the ND filters. I haven’t found any discernible color cast when using them which means no special correction required during processing and the sharpness is high quality. As mentioned before it’s very easy to clean and wipe off any water drops which is a big issue for me.
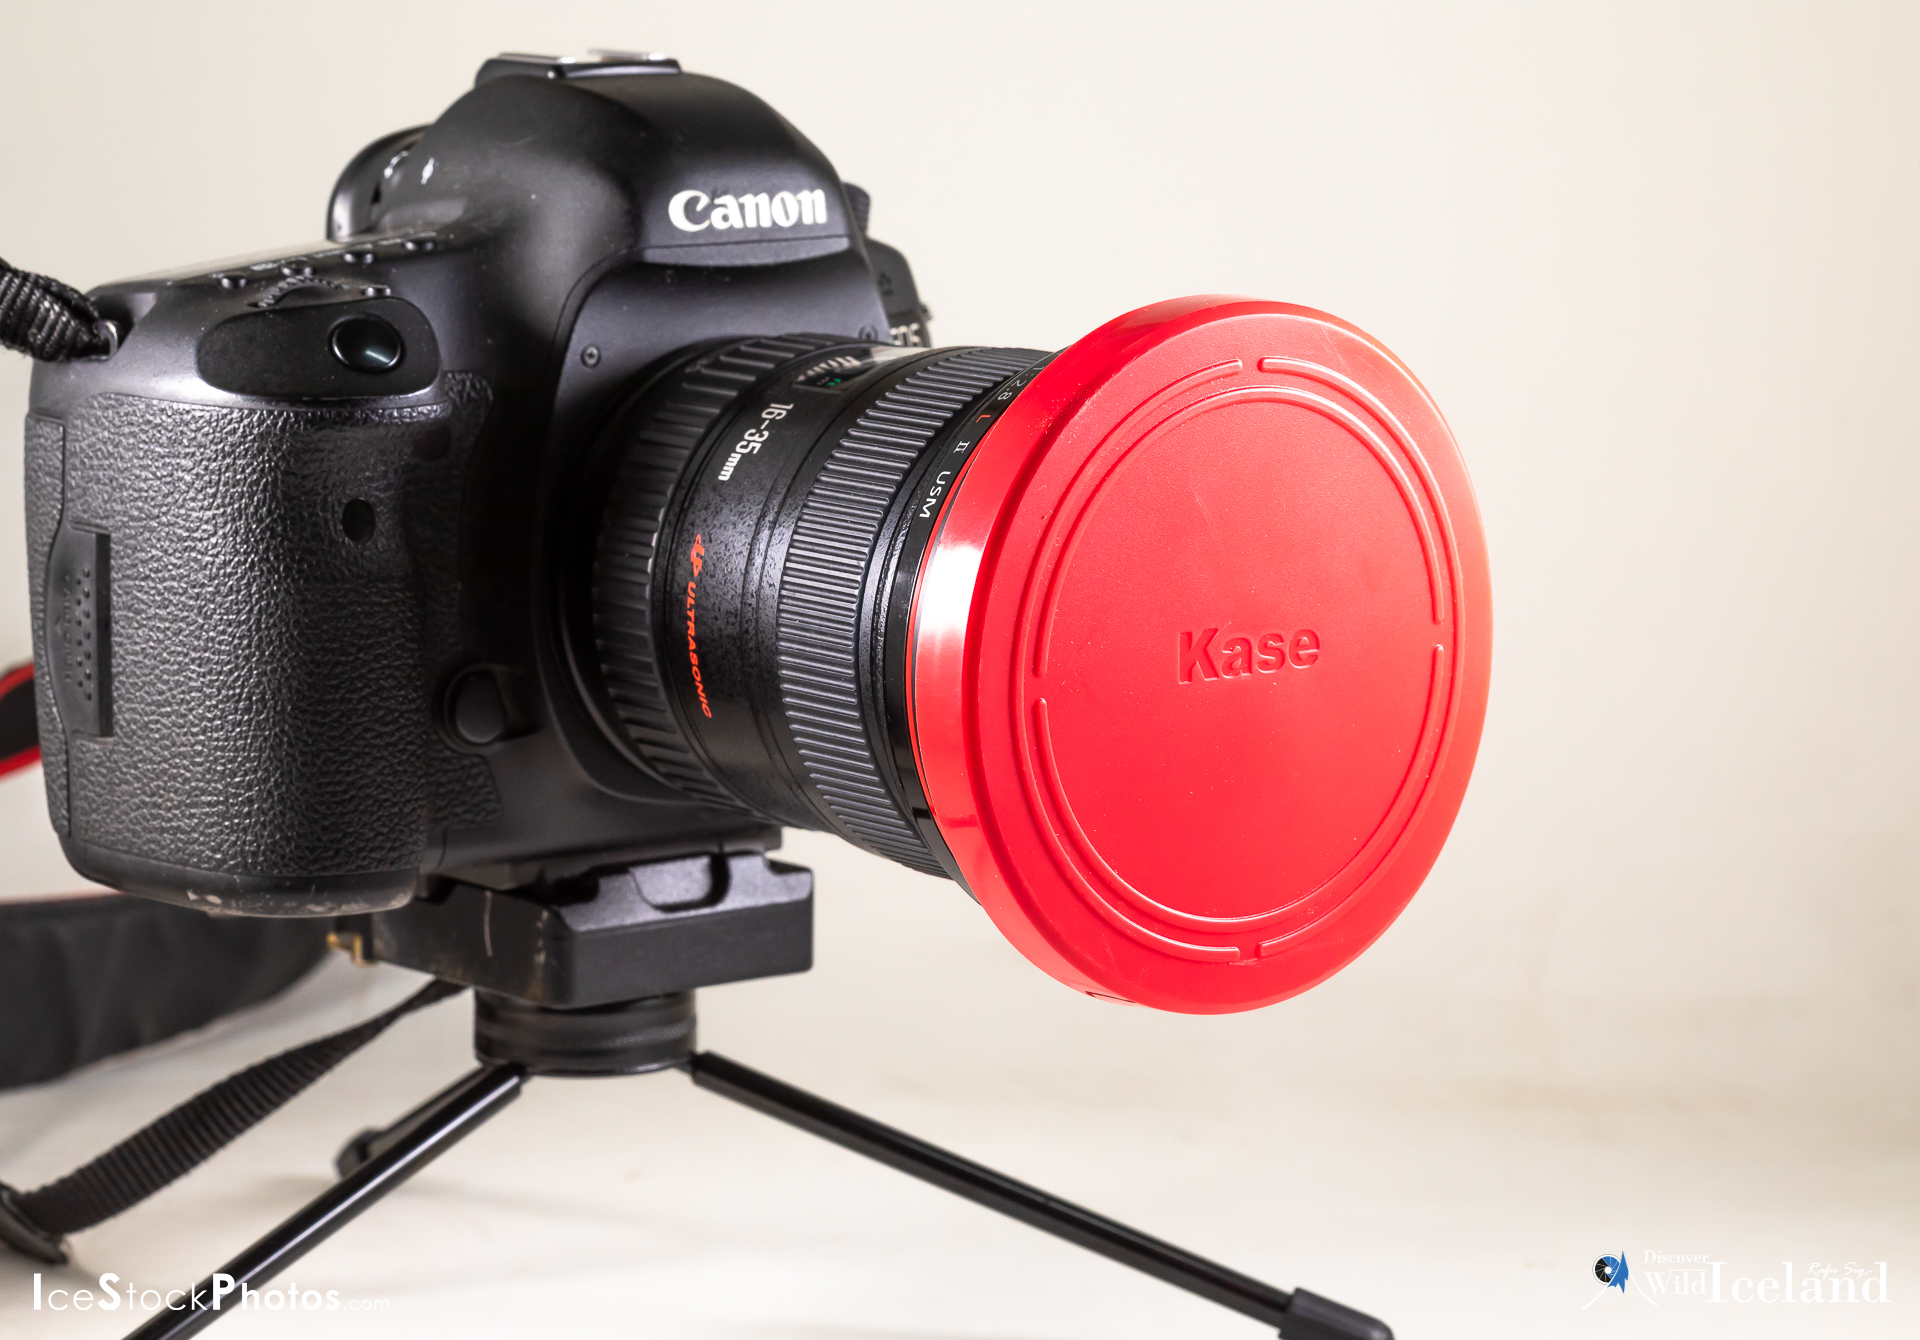
In all Filter systems, you buy today; you have to put on the adapter rings to your lenses to fit the filter holder. By doing that you are not able to use the caps on your lens so there’s a great risk of scratching the first glass. You can avoid that by unscrewing the adapter ring off each time you are not using the Filter holder or take the chance.
Kase made it easy by making a cap which goes over the adapter ring and lens so you can leave them on all the time. This makes things much easier.
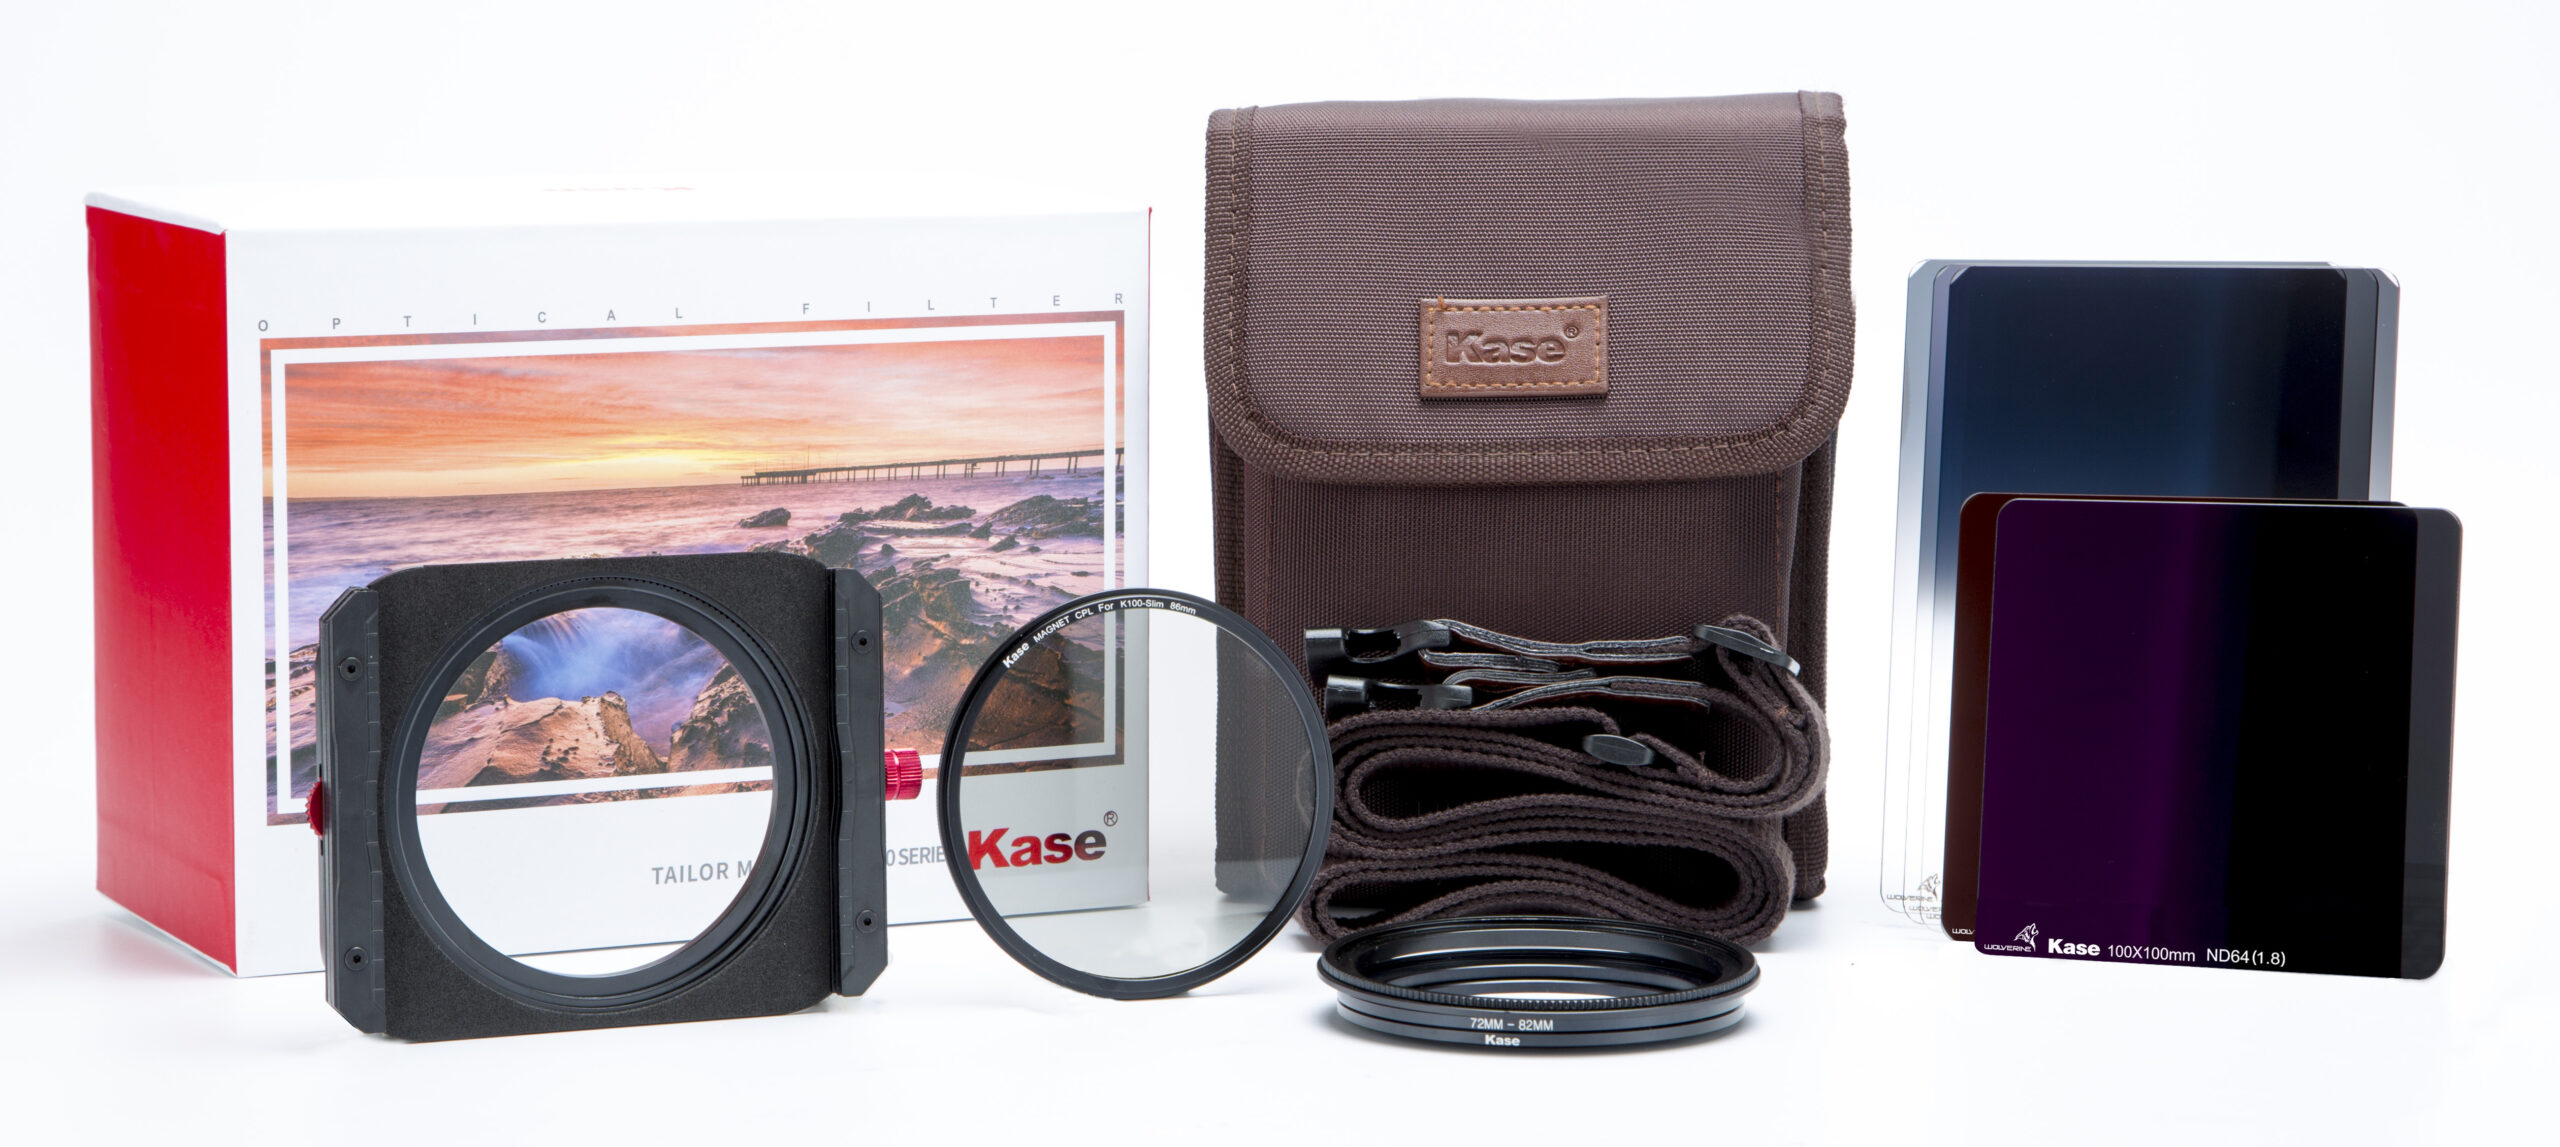
What I got from Kase:
The K100 Wolverine Master Kit comprises of the following:
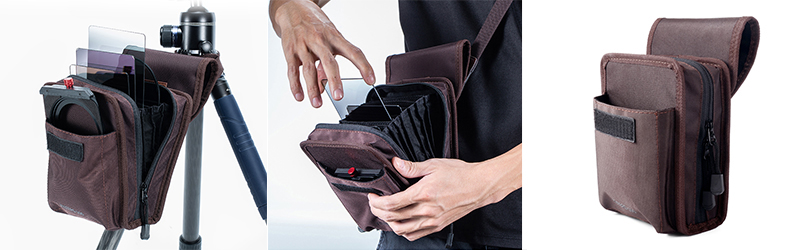
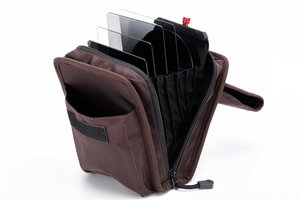
Soft pouch bag for storing your filters and filter holder
K100-X filter holder
Geared adapter rings: 77-86mm & 82-86mm
Step up rings: 67-82mm & 72-82mm
86mm slimline polarizer
Wolverine 100x150mm soft GND filter GND 0.9 (3 stop Soft Grad)
Wolverine 100x150mm soft GND filter GND 1.2 (4 Stop Soft Grad)
Wolverine 100x150mm R -GND filter 0.9 (3 Stop Reverse Grad)
Wolverine 100x150mm ND filter ND 64 (6 Stop ND)
Wolverine 100x150mm ND filter ND 1000 (10 Stop ND)
Filter cleaning cloth
Soon after I received my Master kit, I added the following items to it as I was fully satisfied after all my tests and I wanted to have the whole range and change out my complete range of Lee filters.
Wolverine 100x150mm soft GND filter GND 0.6 (2 stop Soft Grad)
Wolverine 100x150mm soft GND filter GND 1.5 (5 stop Soft Grad)
Wolverine 100x150mm ND filter ND 8 (3 Stop ND)
Wolverine 100x150mm R-GND 1.2 (4 Stop Reverse Grad)
82 – 86mm geared adapter ring (for my third lens)
K8 Adapter ring Plastic Caps (3 in the pack)
Choosing the right filters isn’t as simple. High-quality filters are not cheap and many of us can’t afford to spend hundreds of dollars on a product that doesn’t meet our expectations. That’s why it’s vital to choose the right ones from the beginning.
I’m not the one, who will tell you what to buy, but for me, the Kase filters fulfill all my expectations as a professional Landscape and Nature Documentary photographer, I can really recommend them.
Whatever you do, “Don’t buy second class filters and put them in front of your first class lens and camera”.
Liked it?
Take a second to support me on Patreon

As a native photographer I feel responsible to leave all I can behind to show how it looked like, with my photography, before it’s too late.
Help Support This Blog
This blog is offered free of advertising and corporate sponsors, but needs your support. Making an income in art and writing is not easy or consistent. If you find these essays useful, please consider showing your appreciation by making a small donation.


After this article, I think I wil try out the KASE filters
Thanks man
This website was… how do you say it? Relevant!! Finally I’ve found something that helped me. Thanks a lot!
Thank you for this article. I needed it. I will go for Kase
I like this article.
THank you so much.
Now I know more about filters.